You are using an outdated browser. Please upgrade your browser to improve your experience.

How to Choose the Perfect Dual-Colour Palette for Your Home’s Exterior

How to Choose the Perfect Dual-Colour Palette for Your Home’s Exterior

Imagine pulling into your driveway and seeing a home exterior that feels fresh, modern, and beautifully balanced—a look that turns heads for all the right reasons. That’s the magic of a well-chosen dual-colour palette for your home’s exterior. Whether you’re looking to enhance curb appeal, highlight architectural features, or simply stand out in your neighbourhood, a dual-colour palette offers endless possibilities to elevate your home’s style.

Dual-colour exteriors are becoming a favourite among homeowners for their ability to add depth, character, and sophistication. But how do you pick the perfect pairing? Don’t worry—we’ve got you covered. Let’s dive into the art of dual-colour palettes and how you can transform your home with the right combination.

beige and charcoal grey dual-color palette

1. Benefits of a Dual-Colour Exterior Palette

Why settle for one shade when you can make your home exterior more dynamic with two? Dual-colour palettes offer several advantages:
  • Adds Depth and Dimension: Two colours can break the monotony of a single-tone façade, making your home look more architecturally interesting.
  • Highlights Architectural Features: Use contrasting colours to draw attention to trims, shutters, or decorative mouldings.
  • Encourages Creativity: Dual palettes let you experiment with bold hues while maintaining a harmonious balance.
Think of it as giving your home a personality makeover—subtle yet striking. Plus, with the right colours, you can tailor the look to reflect your style.

Benefits of Wall Putty in Achieving Perfection

Using Wall Putty offers several advantages, making it an essential step in the painting process:

  • Fills Cracks and Holes: Wall Putty seals gaps and imperfections, creating a level surface.
  • Improves Paint Longevity: By providing a stable base, putty prevents peeling, cracking, and flaking of paint.
  • Enhances Paint Finish: It ensures a uniform texture, allowing paint to glide on smoothly for a flawless result.
  • Works on Multiple Surfaces: Wall Putty is versatile and can be applied to plastered walls, concrete, and even previously painted surfaces.

Terracotta orange and soft cream walls

2. Key Factors to Consider Before Choosing Colours

Choosing a dual-colour palette isn’t just about picking your favourite shades. Several factors come into play to ensure your home looks cohesive and stunning:

Architectural Style of the Home
Your home’s design sets the tone for colour selection. Traditional styles may lean towards classic combinations like beige and white, while modern homes can pull off bold pairings like grey and yellow. Colonial homes, with their stately appearance, look fantastic in combinations like navy and white.

Tip: Let your home’s architecture guide your palette—it’s like finding the perfect outfit for its “personality.”

Surrounding Environment
Take a moment to observe your neighbourhood and natural surroundings. Do you want to blend in or stand out? Homes near lush greenery look beautiful with earthy tones like olive green and cream, while urban settings may call for sleek modern combos like black and white.

Climate and Lighting Conditions
Colour perception changes depending on sunlight, shadows, and weather. Bright sunlight can wash out lighter tones, while darker shades can absorb heat in warmer climates. Always test your colours in different lighting conditions to see how they truly appear.

modern Indian-style home

3. Choosing the Right Base and Accent Colours

Here’s where the fun begins—picking your base and accent colours!

Base Colour
The base colour typically covers most of the exterior, so choose something neutral and versatile for longevity. Shades like white, beige, and grey are timeless and adaptable to changing trends.

Accent Colour
Accent colours are the finishing touch—the cherry on top. Think navy blue for shutters, terracotta for trims, or even a pop of forest green for your front door. Accents bring personality and flair, so don’t be afraid to get a little creative.

When and Where to Use Wall Putty

Wall Putty can be used on both interior and exterior walls but serves different purposes in each setting:

  • Interior Walls: Used to create a polished base for decorative paints, enhancing the aesthetic appeal.
  • Exterior Walls: Applied to protect surfaces from weather elements and improve the durability of exterior paint.

white and olive green dual-color palette

4. Popular Dual-Colour Combinations for Home Exteriors

Not sure where to start? Here are some tried-and-true combinations to inspire you:

Classic Combinations
You can never go wrong with white and black or beige and brown. These timeless duos exude elegance and work well with both traditional and modern homes.

Modern Pairings
For a contemporary look, try grey and yellow or navy and white. These combinations feel fresh and on-trend, perfect for making a bold statement.

smooth painted wall textures
Earthy Tones
Bring nature closer to home with olive green and cream or terracotta and beige. These combinations offer a warm, inviting feel that blends beautifully with outdoor landscapes.

5. Tips for Balancing the Two Colours

Selecting colours is one thing, but knowing how to use them effectively is key. Here are some tips to achieve harmony:
  • Follow the 60-30-10 Rule: Use one colour for 60% of the exterior (base), 30% for the secondary colour (accents), and 10% for details like the front door or railings.
  • Place Colours Strategically: Apply lighter shades to larger surfaces for a spacious look and use darker tones to highlight features.
  • Avoid Overcomplicating: Stick to two primary shades to maintain balance and avoid a cluttered appearance.

Before and After comparison

6. Final Steps Before Painting

Before committing to your colours, there are a few steps to ensure everything goes smoothly:
  • Test Swatches: Paint small sections of your wall and observe how the colours look in natural and artificial light.
  • Consult a Professional: Get expert advice to refine your choices and ensure compatibility with your home’s style.
  • Choose High-Quality Paints: Invest in weather-resistant paints from Indicus Paints to protect your exterior from the elements and ensure long-lasting results.

dual-color exterior palette

Conclusion

A dual-colour palette has the power to elevate your home’s exterior, adding depth, dimension, and a touch of personality. Whether you’re drawn to classic, modern, or earthy combinations, the right colours can transform your home into a masterpiece of design.

Ready to bring your vision to life? Explore the premium range of weather-resistant paints and expert guidance from Indicus Paints. With their support, you can create an exterior that’s as stunning as it is durable.

Your home deserves to stand out—let’s make it happen!
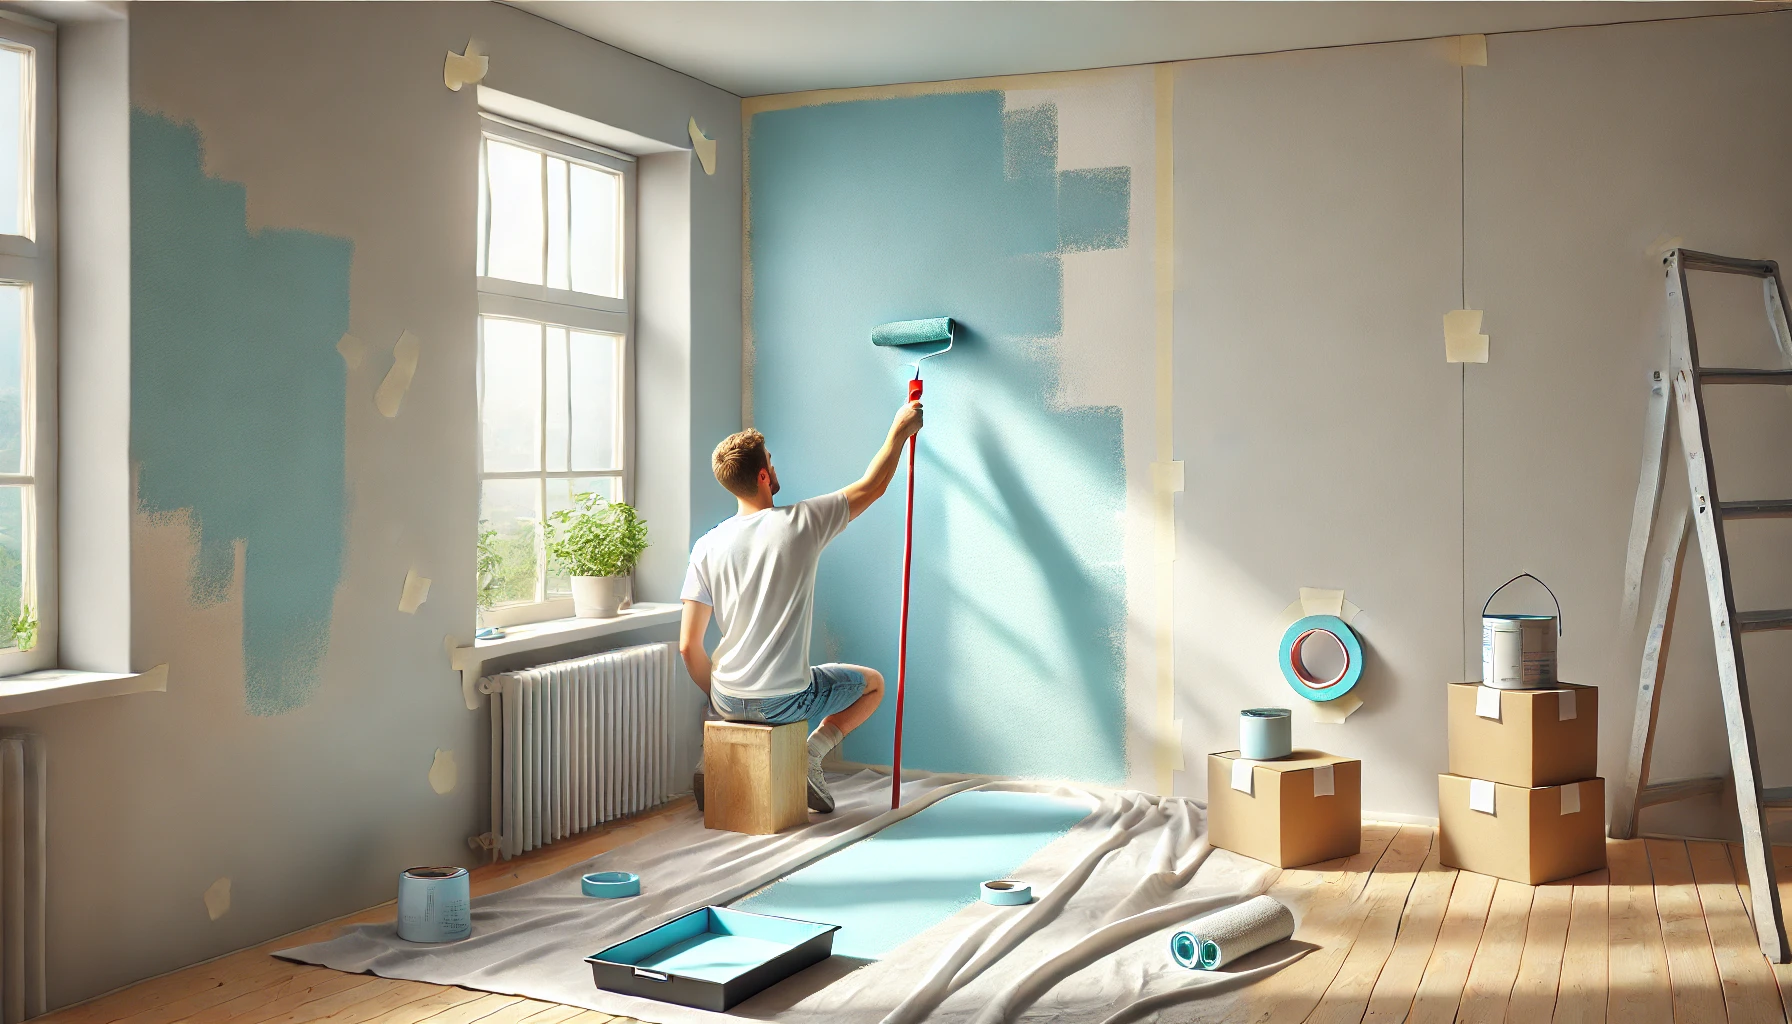
How to Use Wall Putty for a Smooth Surface Before Painting

How to Use Wall Putty for a Smooth Surface Before Painting

A flawless paint finish begins with a smooth and even surface. Walls that are cracked, uneven, or full of imperfections can ruin the final look, no matter how premium the paint quality is. This is where Wall Putty becomes indispensable. Wall Putty is the secret weapon that helps achieve a polished and professional appearance by filling in imperfections and creating a uniform surface.

In this guide, we’ll explore the importance of Wall Putty, its benefits, types, and a step-by-step process to use it effectively. By the end, you’ll be equipped to prepare your walls for painting with confidence and ease.

Importance of a Smooth Surface Before Painting

The smoothness of your wall surface plays a crucial role in determining the final paint outcome. Uneven or damaged walls can lead to visible cracks, patches, and an overall unappealing look. A smooth surface ensures:

  • Better Paint Adhesion: Paint adheres evenly to a smooth surface, resulting in a durable and long-lasting finish.
  • Enhanced Appearance: A polished surface brings out the true beauty and vibrancy of your chosen paint colour.
  • Cost Efficiency: A smooth base reduces paint consumption, preventing wastage due to uneven absorption.
finished look

Benefits of Wall Putty in Achieving Perfection

Using Wall Putty offers several advantages, making it an essential step in the painting process:

  • Fills Cracks and Holes: Wall Putty seals gaps and imperfections, creating a level surface.
  • Improves Paint Longevity: By providing a stable base, putty prevents peeling, cracking, and flaking of paint.
  • Enhances Paint Finish: It ensures a uniform texture, allowing paint to glide on smoothly for a flawless result.
  • Works on Multiple Surfaces: Wall Putty is versatile and can be applied to plastered walls, concrete, and even previously painted surfaces.

What is Wall Putty and Why is it Important?

Wall Putty is a white cement-based compound used to prepare walls for painting. It is applied to interior or exterior surfaces to smoothen imperfections and enhance the paint’s adhesion. Its importance lies in its ability to:

  • Level Uneven Surfaces: Provides a consistent base for painting.

  • Prevent Moisture Damage
    : Protects walls from dampness, especially in exterior applications.

  • Improve Wall Strength
    : Adds durability to weak or damaged surfaces.
primer application process

Types of Wall Putty and Their Uses

Wall Putty comes in different types, each designed for specific applications:

  1. White Cement-Based Putty
    • Best for interior and exterior walls.
    • Provides an even and durable finish.
  2. Acrylic Wall Putty
    • Ideal for interior walls.
    • Provides a rich and smooth finish
    • Flexible and quick-drying, suitable for minor repairs.

Understanding the type of putty you need ensures optimal results for your specific surface.

When and Where to Use Wall Putty

Wall Putty can be used on both interior and exterior walls but serves different purposes in each setting:

  • Interior Walls: Used to create a polished base for decorative paints, enhancing the aesthetic appeal.
  • Exterior Walls: Applied to protect surfaces from weather elements and improve the durability of exterior paint.

Step-by-Step Process for Using Wall Putty

1. Cleaning the Wall
Before applying Wall Putty, clean the surface thoroughly. Remove dust, grease, and loose particles using a damp cloth or sandpaper. For exterior walls, pressure washing may be necessary.

2. Mixing and Applying Wall Putty

  • Mixing: Combine the putty powder with water as per recommended ratio Stir continuously to form a smooth, lump-free paste.
  • First Coat: Apply the first layer evenly with a trowel. Let it dry completely (usually 6–8 hours).
  • Second Coat: Apply a thinner second coat to refine the surface and achieve uniformity.
3. Sanding for a Smooth Finish
Once the putty is dry, use fine-grit sandpaper (220–240) to smoothen the surface. This step ensures an even texture, ready for painting.

Tips for Best Results
  • Avoid Over-Mixing: Over-mixing can introduce air bubbles, affecting the application.
  • Work in Thin Layers: Thick coats take longer to dry and may crack. Always apply thin, even layers.
  • Check for Consistency: Ensure the putty paste is smooth and free from lumps for optimal application.

finished look

Common Errors to Avoid During Application

  • Skipping Surface Cleaning: Dirt or grease on the wall can prevent the putty from adhering properly.
  • Rushing the Drying Process: Allow sufficient time for each layer to dry before proceeding.
  • Using the Wrong Type of Putty: Choose the right putty based on the surface and intended use.

Preparing the Wall for Painting After Putty

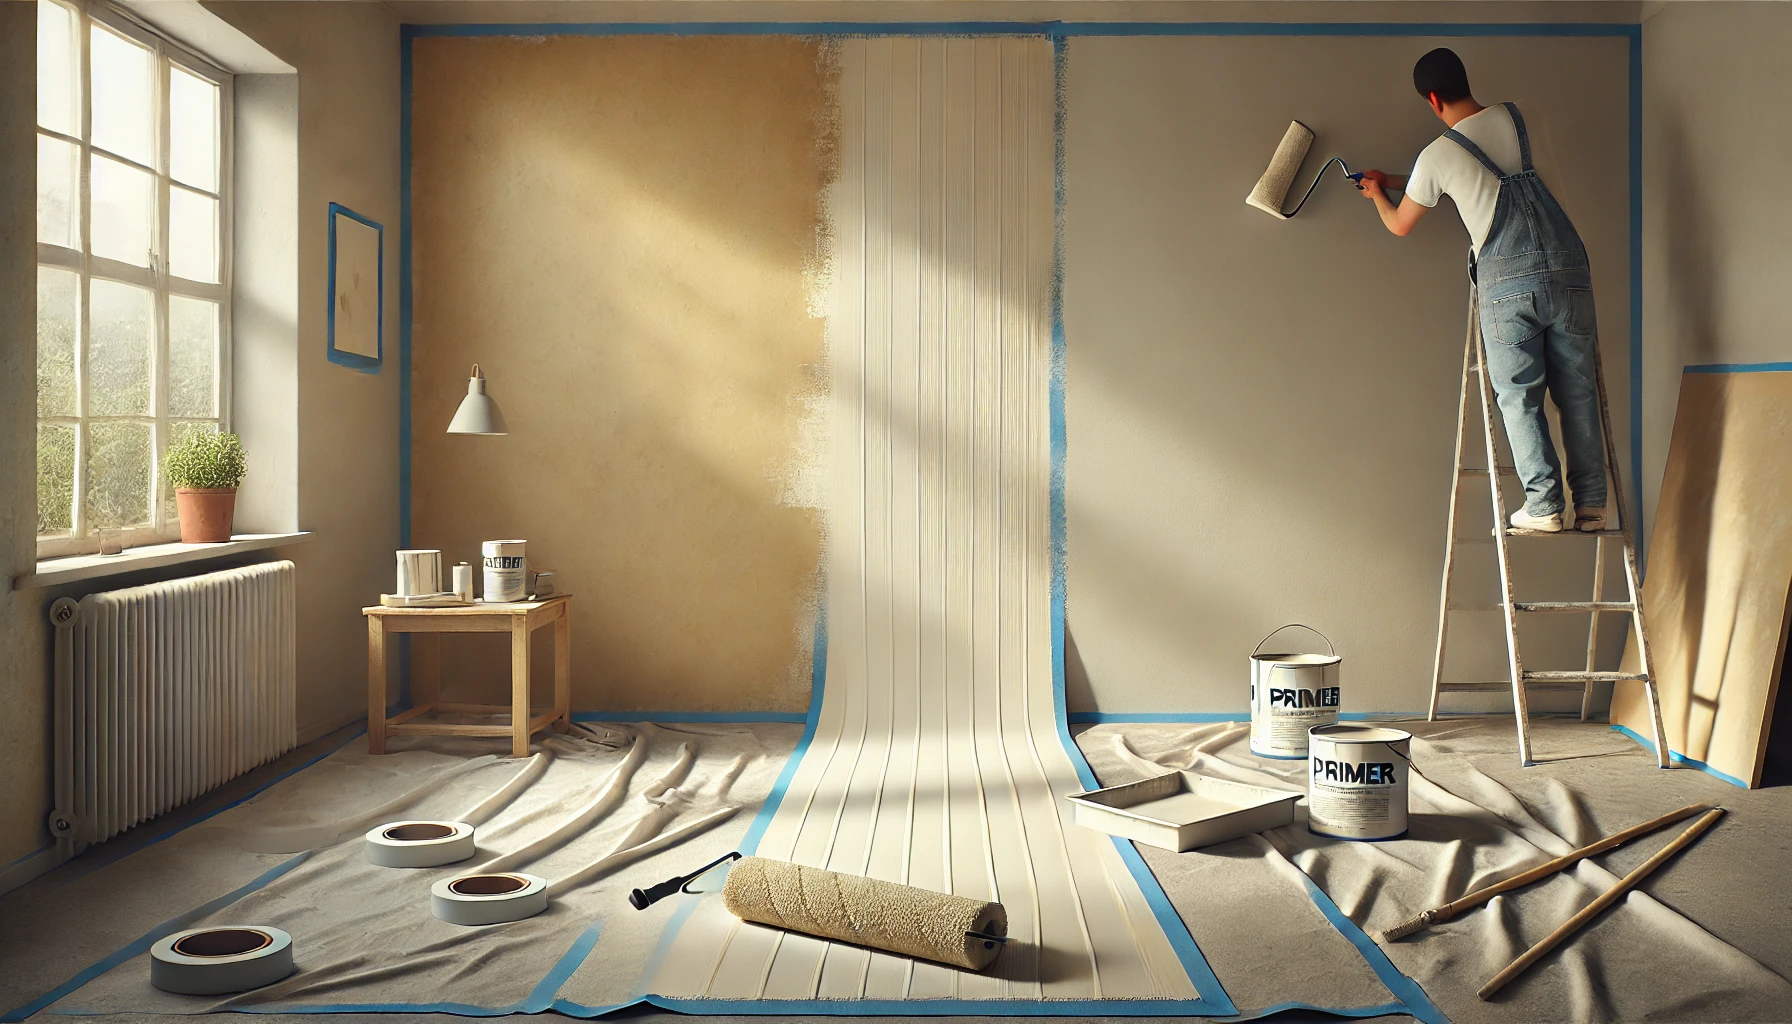
After the Wall Putty application is complete, it’s essential to prime the surface before painting. Primer helps seal the putty, enhances paint adhesion, and prevents stains from bleeding through. Apply a high-quality primer evenly over the putty-coated surface and allow it to dry thoroughly. This step ensures your paint finish is vibrant and long-lasting.

Conclusion

Wall Putty is a crucial step in achieving a flawless paint finish. From filling cracks to creating a smooth, durable surface, its role in preparing walls cannot be overstated. By understanding the types of putty, proper application techniques, and preparation tips, you can elevate the quality of your painting projects and transform your space with ease.

Whether you’re repainting a single room or refreshing your entire home, Wall Putty ensures your walls are ready to showcase their best look. Invest time in preparation, and your final paint finish will speak volumes about your attention to detail.

Modernize Your Wooden Furniture with Easy DIY Painting Techniques

Modernize Your Wooden Furniture with Easy DIY Painting Techniques

Wooden furniture has long been a cornerstone of home décor, cherished for its durability, timeless appeal, and versatility. But as design trends evolve, there’s a growing interest in giving wooden pieces a modern makeover through painting. Easy DIY techniques make it possible to transform outdated furniture into stylish, contemporary pieces without spending a fortune.

In this guide, we’ll explore why wooden furniture painting is trending, its benefits, and step-by-step techniques to achieve a professional-looking finish. Whether you’re modernising a vintage find or refreshing a family heirloom, these tips will help you create unique and stunning furniture for your home.

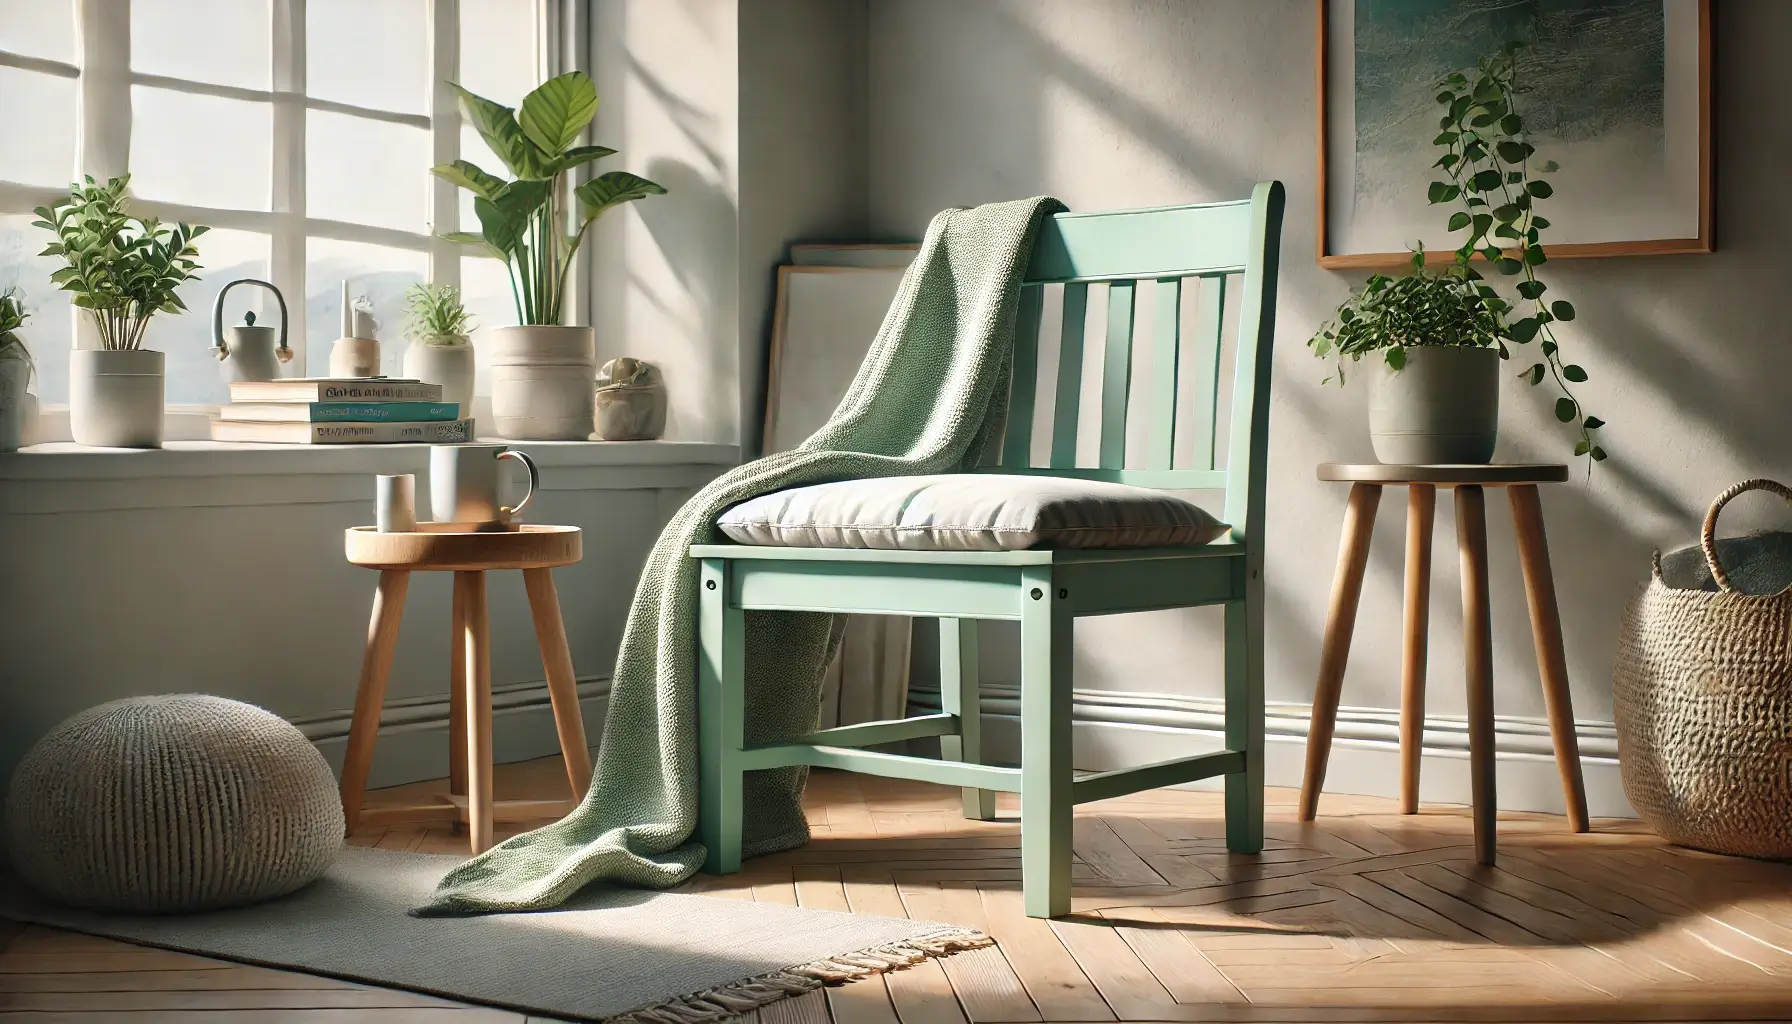
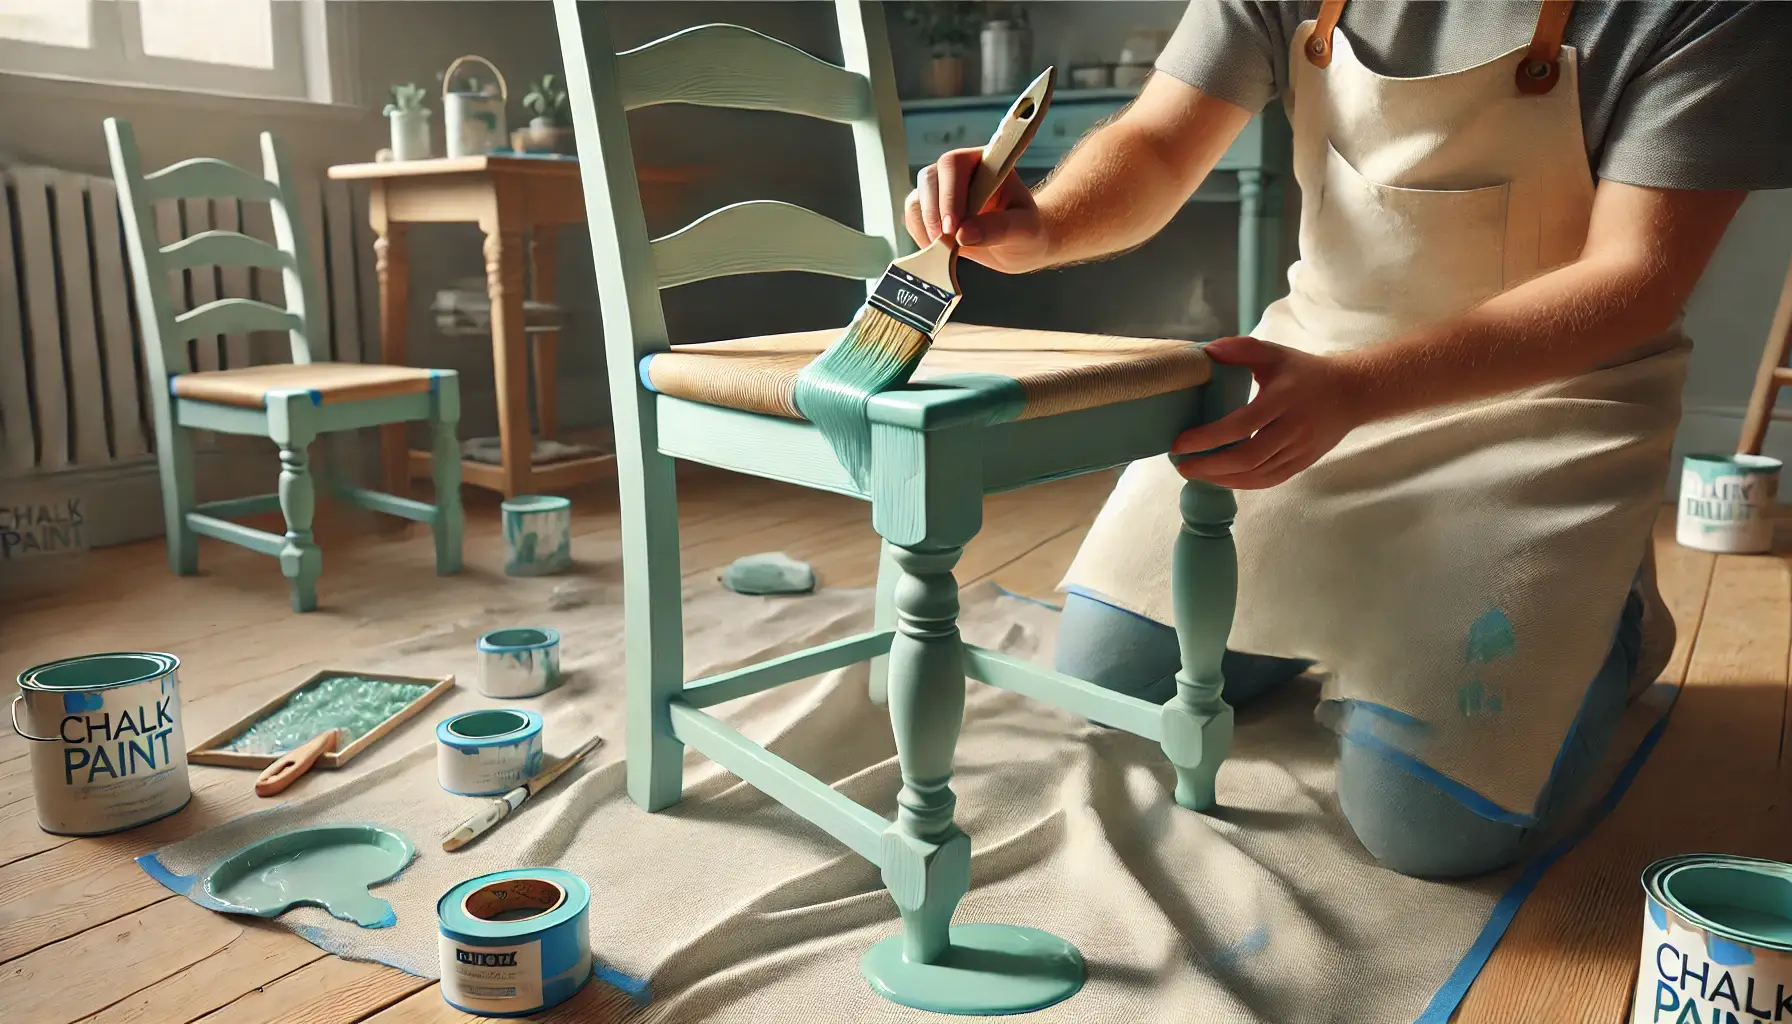
soft mint green chalk paint with a glossy finish

Why Wooden Furniture Painting is Trending

Painting wooden furniture has become increasingly popular due to its ability to blend tradition with modernity. As homeowners seek personalised and affordable ways to update their spaces, painting provides a creative outlet to experiment with colours, finishes, and designs. Social media platforms showcase countless DIY transformations, inspiring people to repurpose and refresh their existing furniture. Moreover, eco-conscious living encourages upcycling, and painting is a sustainable way to extend the life of wooden furniture while reducing waste.

Finished look

Benefits of Updating Your Wooden Furniture

Transforming wooden furniture with paint offers several advantages:

  • Cost-Effective: Instead of buying new furniture, painting allows you to refresh old pieces at a fraction of the cost.
  • Customisation: Choose colours, patterns, and finishes that align with your unique style and home décor.
  • Eco-Friendly: By repurposing furniture, you contribute to sustainability and reduce landfill waste.
  • Enhanced Durability: A fresh coat of paint can protect wood from wear and tear, prolonging its lifespan.
  • Adds Value: Updating furniture gives it a polished, modern look that can elevate the overall aesthetic of your home.
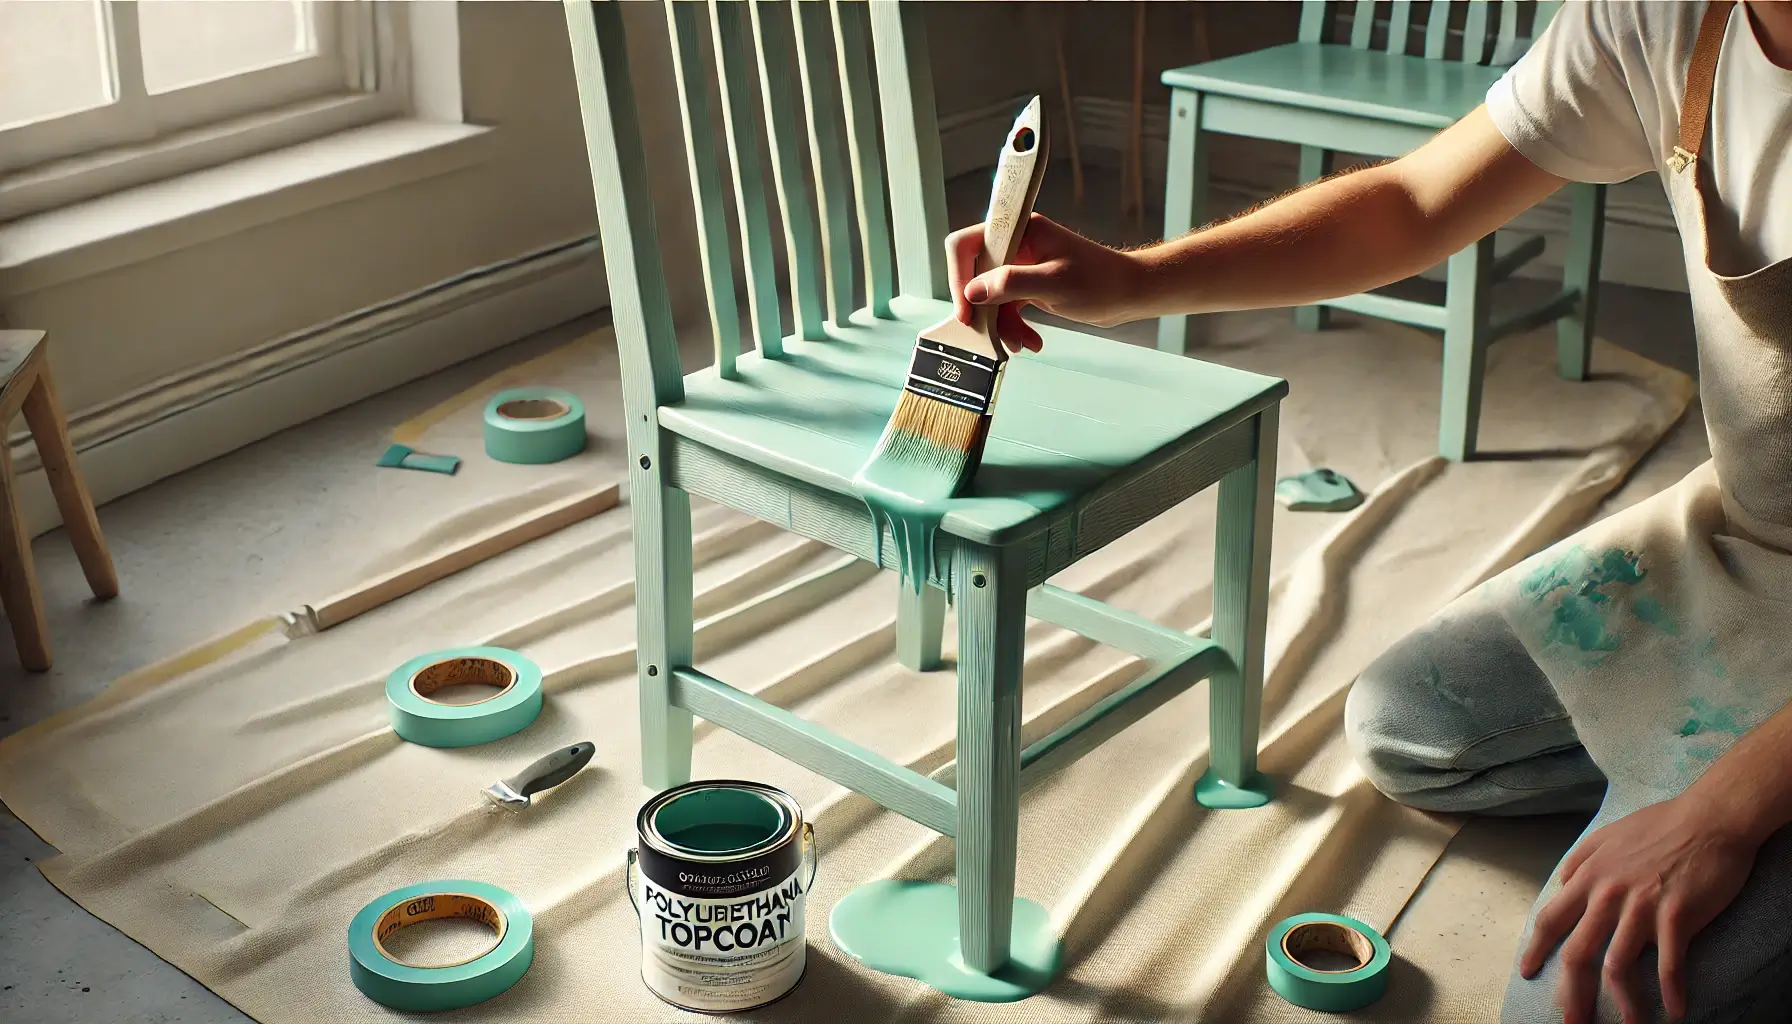
Finishing Process

Understanding Wooden Furniture Types

Before you begin, it’s essential to understand the type of wood you’re working with, as this impacts preparation and painting techniques.

Solid Wood vs. Plywood: Preparation Differences

Solid wood is a natural material, making it durable and easy to sand and refinish. However, it may require more attention to detail, as it can have knots or grain patterns that need sealing.

Plywood, on the other hand, is a composite material with a smooth surface, making it easier to work with. However, it often requires a high-quality primer to ensure paint adheres properly to its surface.

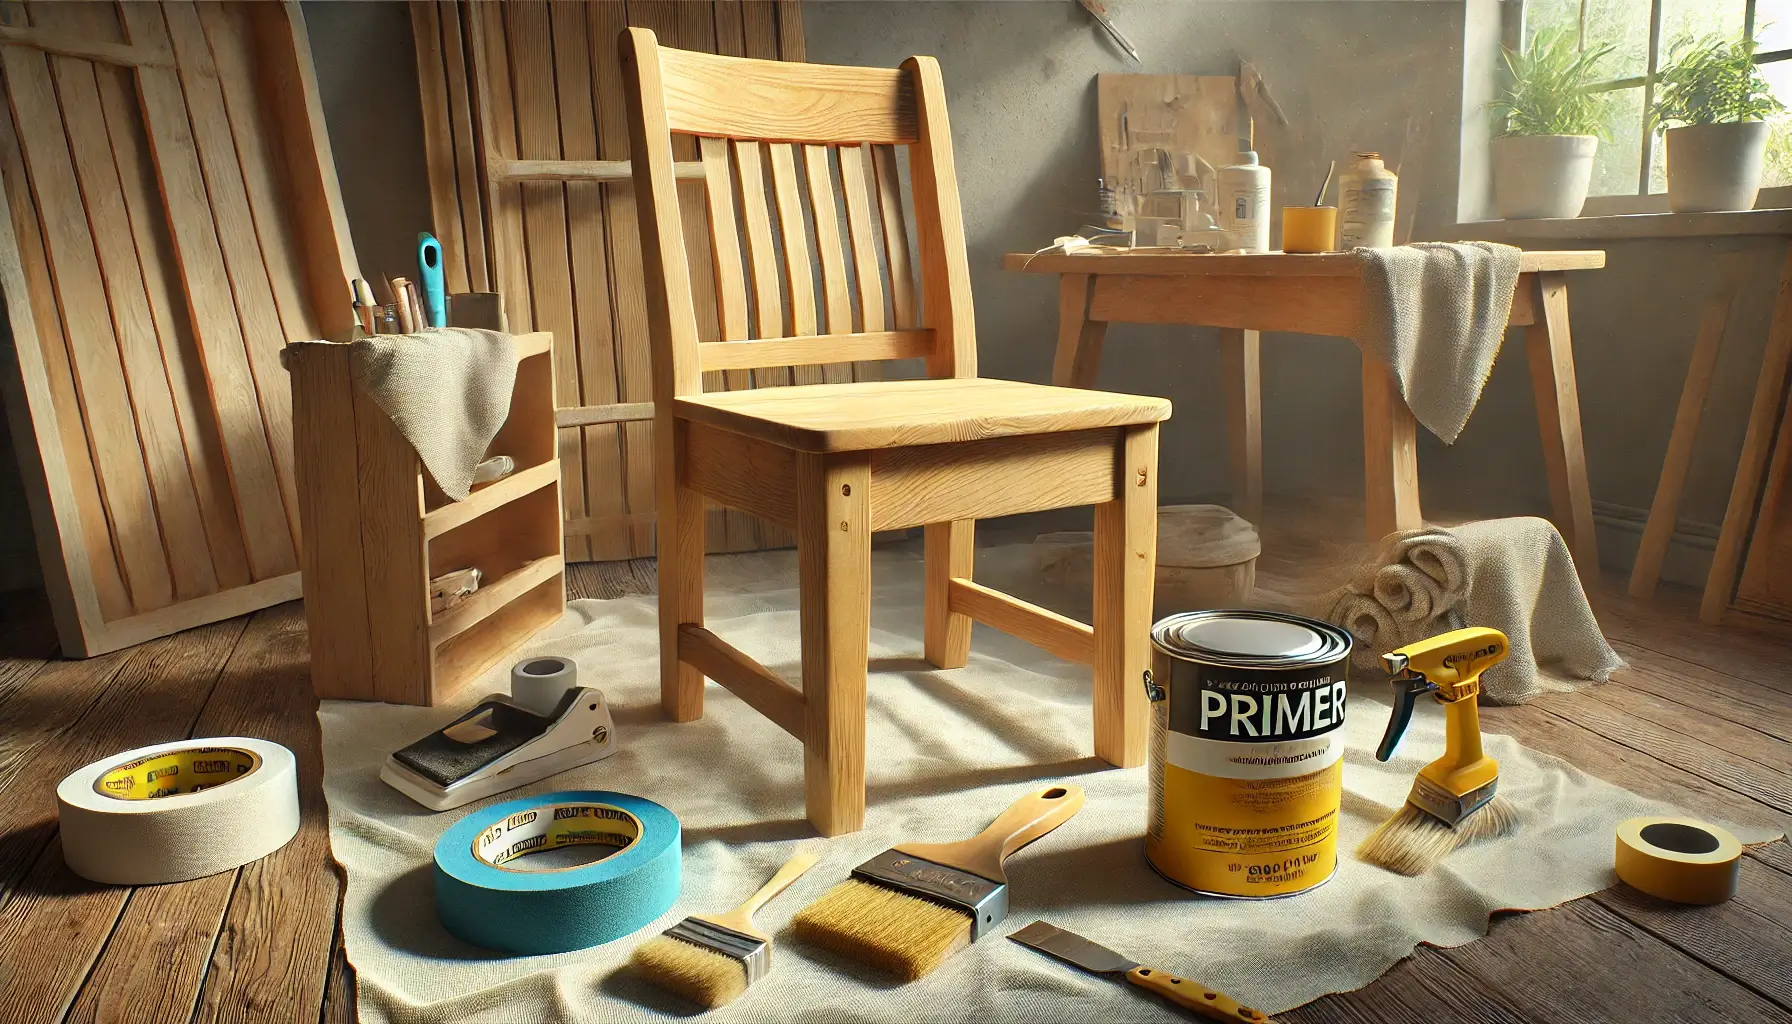
Preparation Process

Why Wood Type Matters for Painting

Different wood types absorb paint differently. Porous woods like pine may require multiple coats, while dense hardwoods like oak need thorough sanding to remove the original finish. Knowing your wood type ensures you choose the right products and achieve a flawless finish.

Essential Tools and Materials Needed

Before starting your DIY project, gather the following tools and materials:

  • Paints: Choose furniture-specific paints such as chalk paint, acrylic paint, or enamel for durability.
  • Primer: A high-quality primer helps paint adhere and enhances colour vibrancy.
  • Brushes and Rollers: Use fine-bristle brushes for detailed work and foam rollers for smooth, even application.
  • Sandpaper: Medium-grit (120–150) for sanding the surface, and fine-grit (220) for smoothing before painting.
  • Drop Cloths: Protect floors and surrounding areas from paint splatters.
  • Painter’s Tape: Ensure clean, sharp edges for a professional look.
  • Cleaning Supplies: A damp cloth, mild detergent, or wood cleaner to remove dirt and grease.
Preparation Process

Step-by-Step DIY Painting Techniques

1. Cleaning and Sanding the Surface
Begin by cleaning your furniture to remove dust, grease, or residue. Sand the surface with medium-grit sandpaper to create a smooth, paint-ready finish. For pieces with an old finish or varnish, sanding is essential to remove the sheen and allow the primer to adhere properly.

2. Choosing the Right Primer and Paint Type
Apply a primer suited to your wood type and paint. For dark woods or stained surfaces, use a stain-blocking primer to prevent bleed-through. Once dry, select a durable paint, such as chalk or enamel, depending on the desired finish.
Painting Process
3. Applying Paint with Even Strokes
Use a foam roller for large, flat surfaces and a fine-bristle brush for detailed areas. Apply thin, even coats, allowing each layer to dry fully before adding the next. This ensures a smooth, streak-free finish.

Creative Painting Ideas for a Modern Look

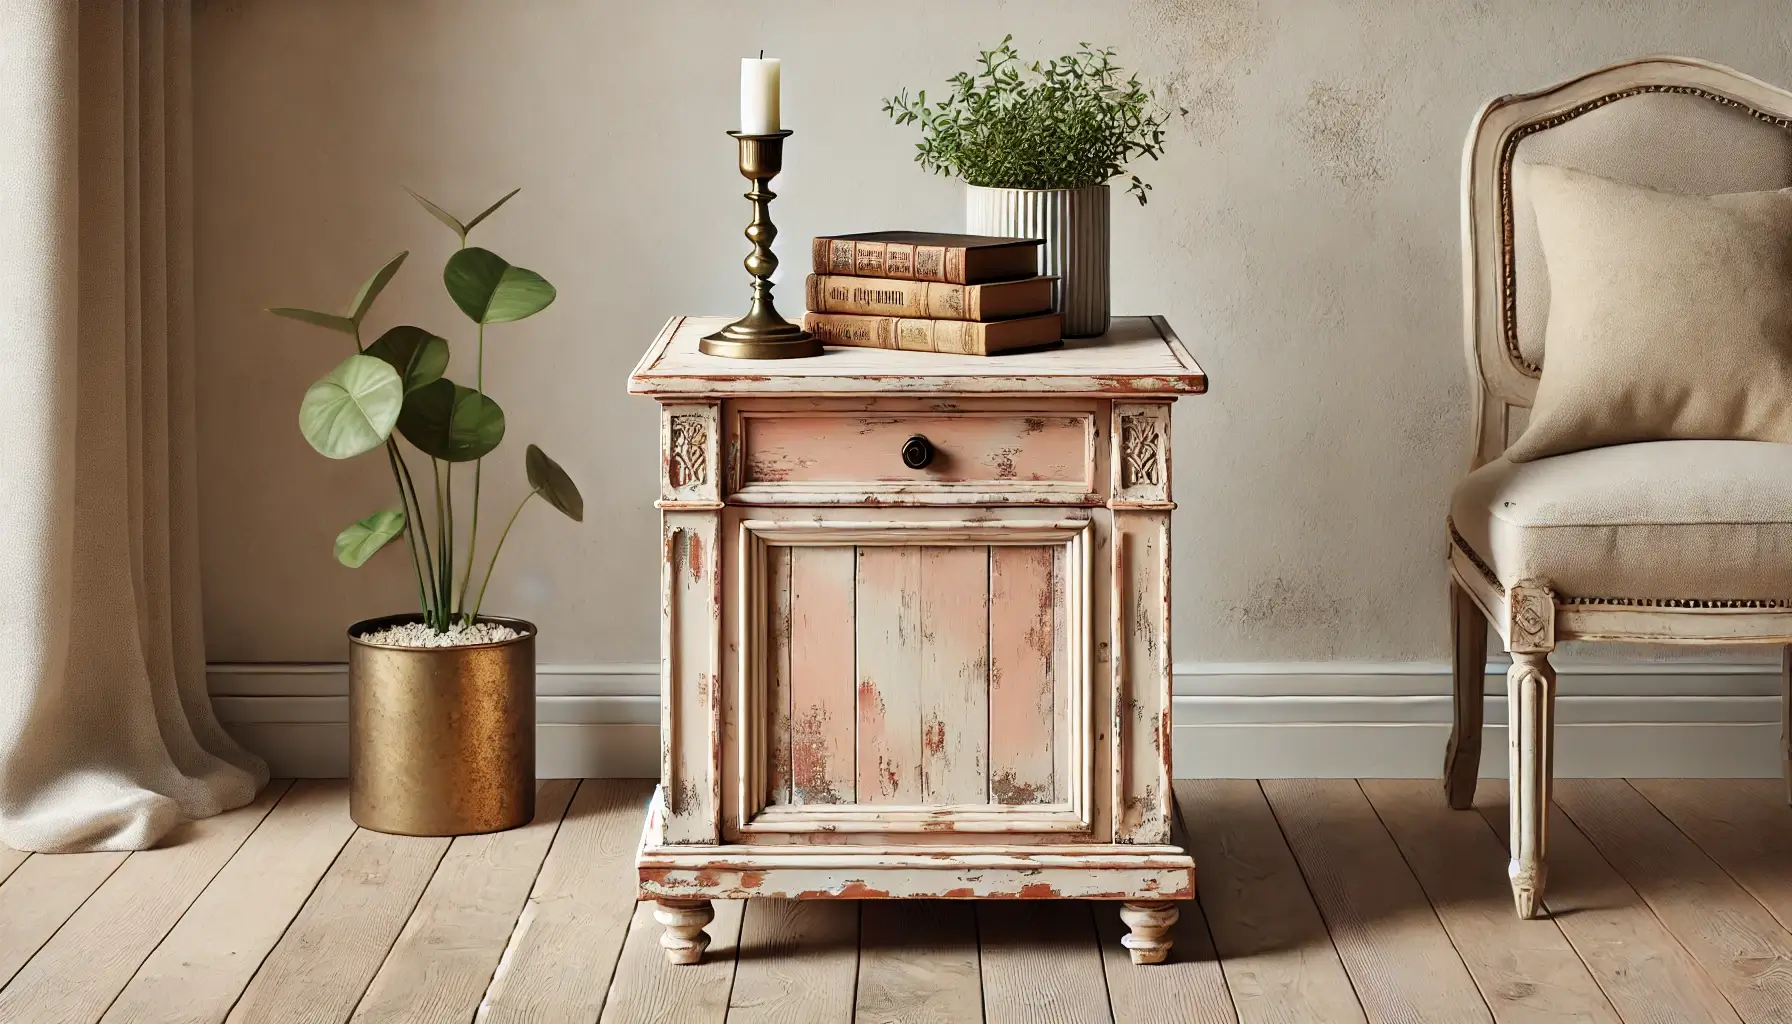
1. Distressed Finish
Achieve a shabby chic aesthetic by sanding edges and corners after painting to reveal the underlying wood. This technique works well for vintage-inspired décor.

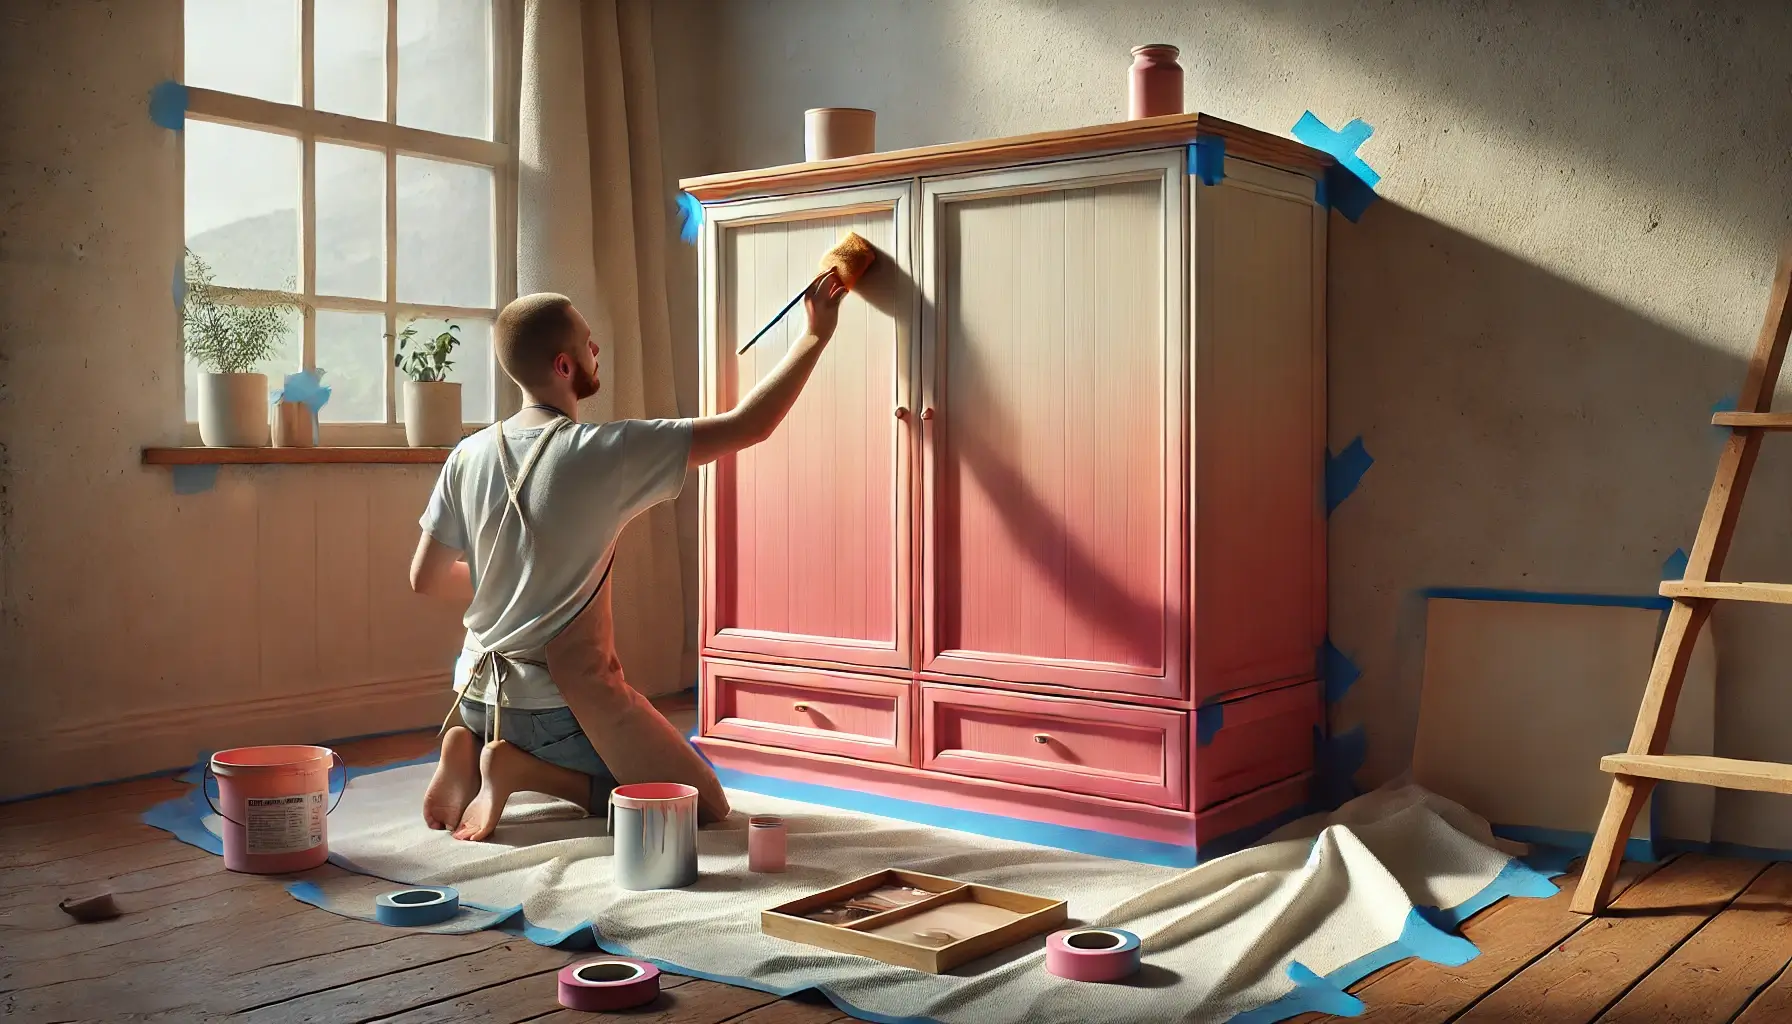
2. Ombre Effect
Blend two or more pastel or bold colours to create a gradient effect. This adds depth and interest to furniture, making it a unique statement piece.
Creative Designs – Ombre Effect
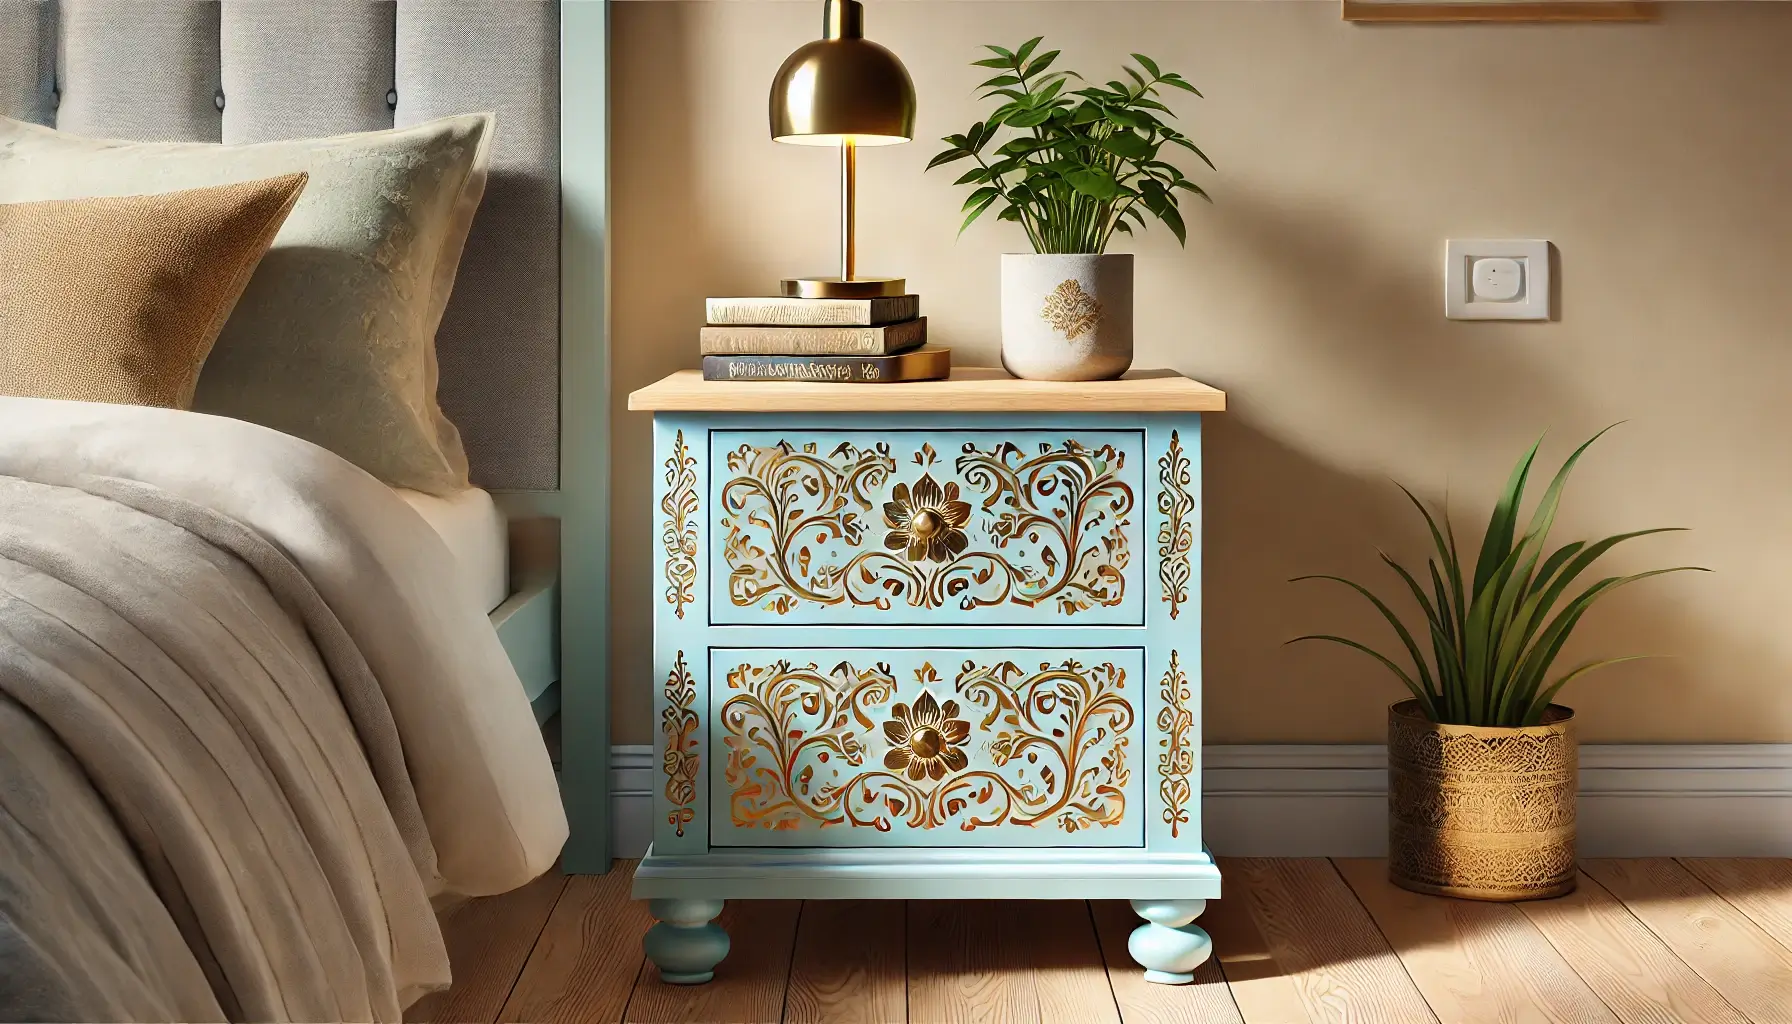
3. Stencilling
Use stencils to add intricate patterns, such as florals or geometric shapes, to drawers, tabletops, or cabinet doors. Metallic paints can add a touch of luxury to the design.

Maintenance Tips for Painted Wooden Furniture

To keep your painted furniture looking its best, follow these maintenance tips:
  • Protect Against Scratches: Apply a clear polyurethane topcoat for added durability. This is especially important for high-use pieces like dining tables or cabinets.
Distressed Finish V01
  • Clean Gently: Use a damp cloth or mild detergent to clean painted surfaces, avoiding abrasive scrubbers.
  • Avoid Moisture: Keep furniture away from direct sunlight or damp areas to prevent paint from peeling or fading.
  • Touch-Up Chips: Keep leftover paint for touch-ups in case of scratches or chips.
Stencilling

Conclusion

Modernising your wooden furniture with DIY painting techniques is a cost-effective, creative way to refresh your home décor. From choosing the right tools and paints to exploring unique finishes like distressed effects or ombre gradients, there’s no limit to how you can personalise your furniture. With careful preparation and a touch of imagination, you can turn old wooden pieces into stunning focal points that reflect your style and creativity.

So, gather your tools, unleash your inner artist, and give your furniture the makeover it deserves. Your modernised wooden masterpiece awaits!

Step-by-Step Guide to Preparing and Painting Your Metal Furniture

Step-by-Step Guide to Preparing and Painting Your Metal Furniture

Metal furniture is a durable and versatile addition to any home, but over time, it can lose its charm due to rust, scratches, or outdated finishes. Instead of replacing your metal pieces, painting them can give them a fresh, modern look that complements your décor. Whether it’s a patio set, bed frame, or furniture, a fresh coat of paint can transform your space while saving money.

This guide will walk you through the benefits of painting metal furniture, the importance of preparation, and the techniques needed to achieve a professional-looking finish.

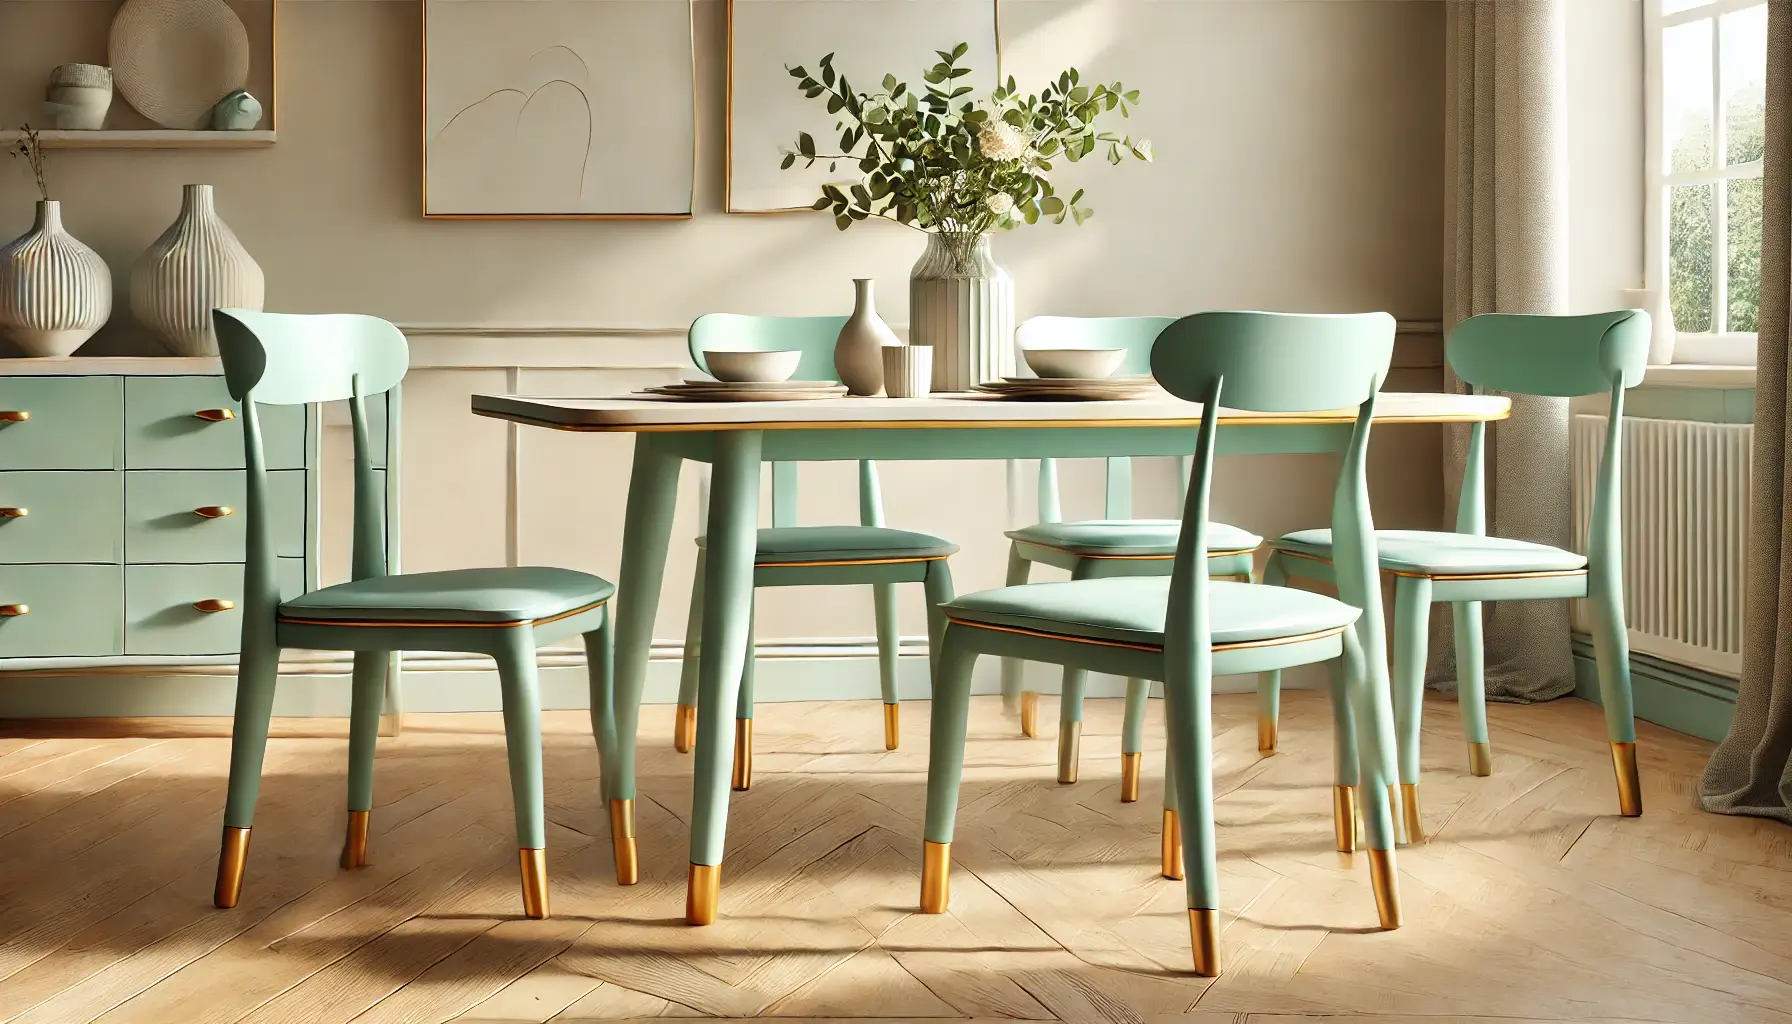
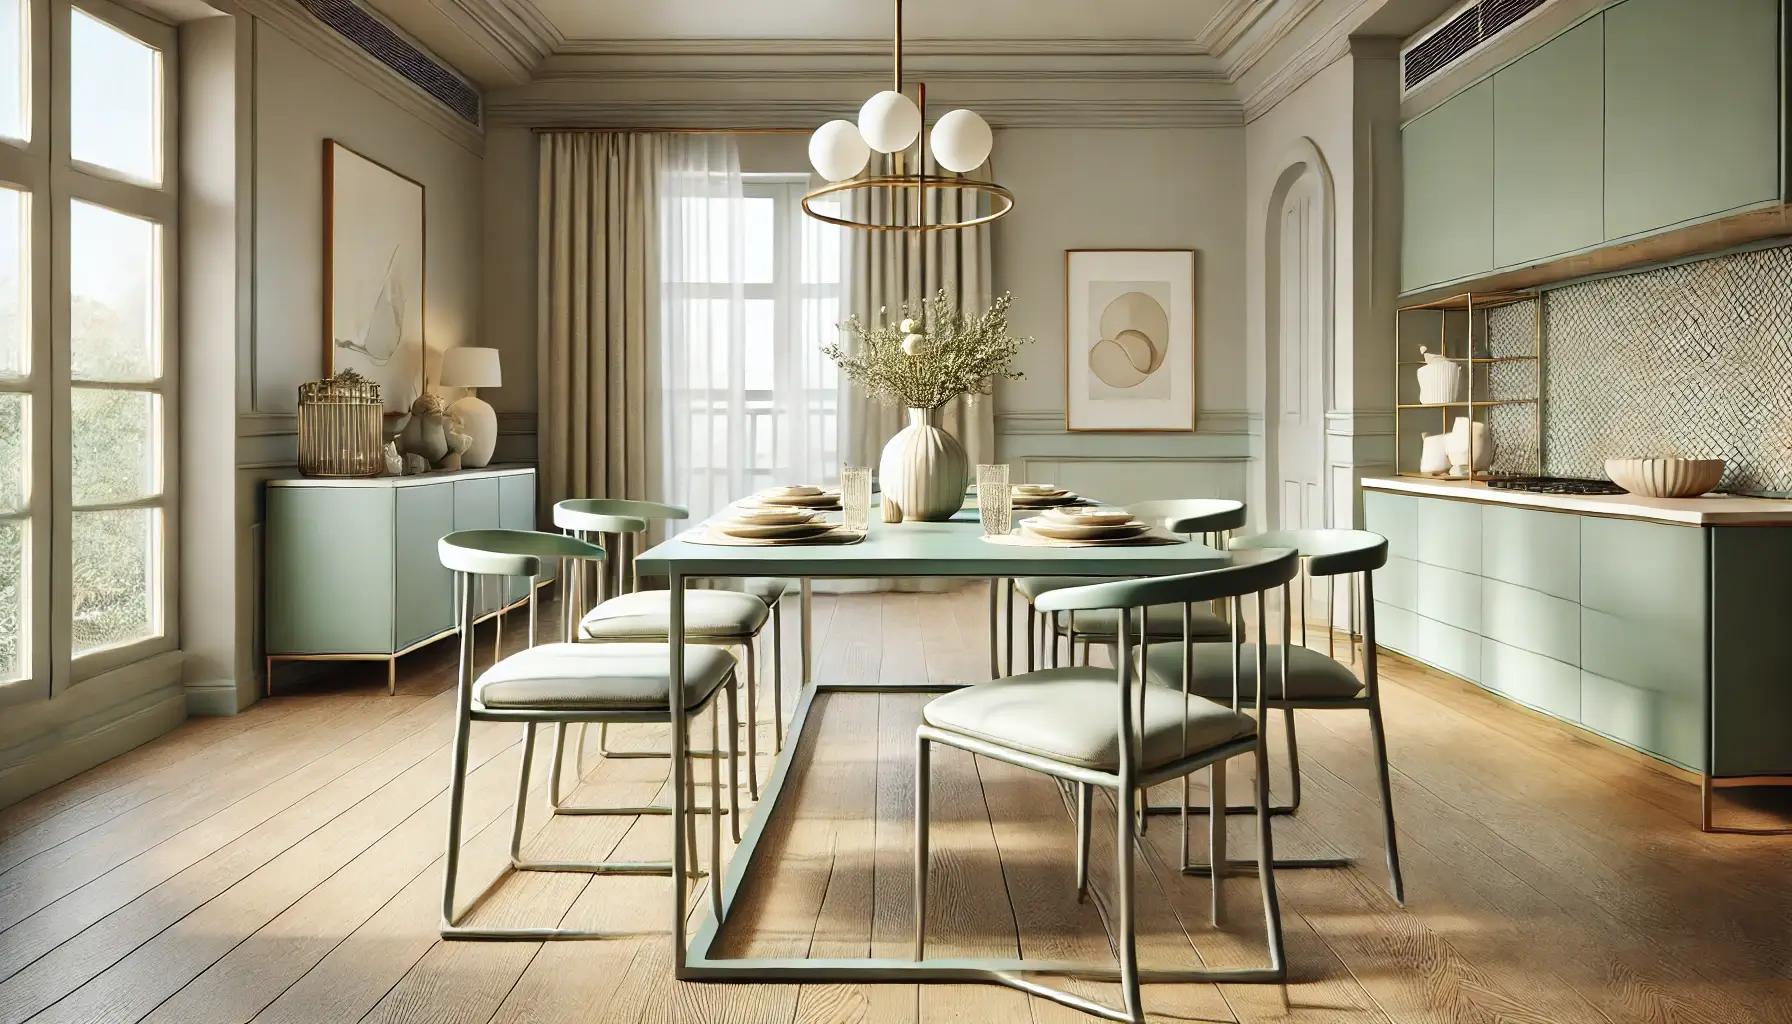
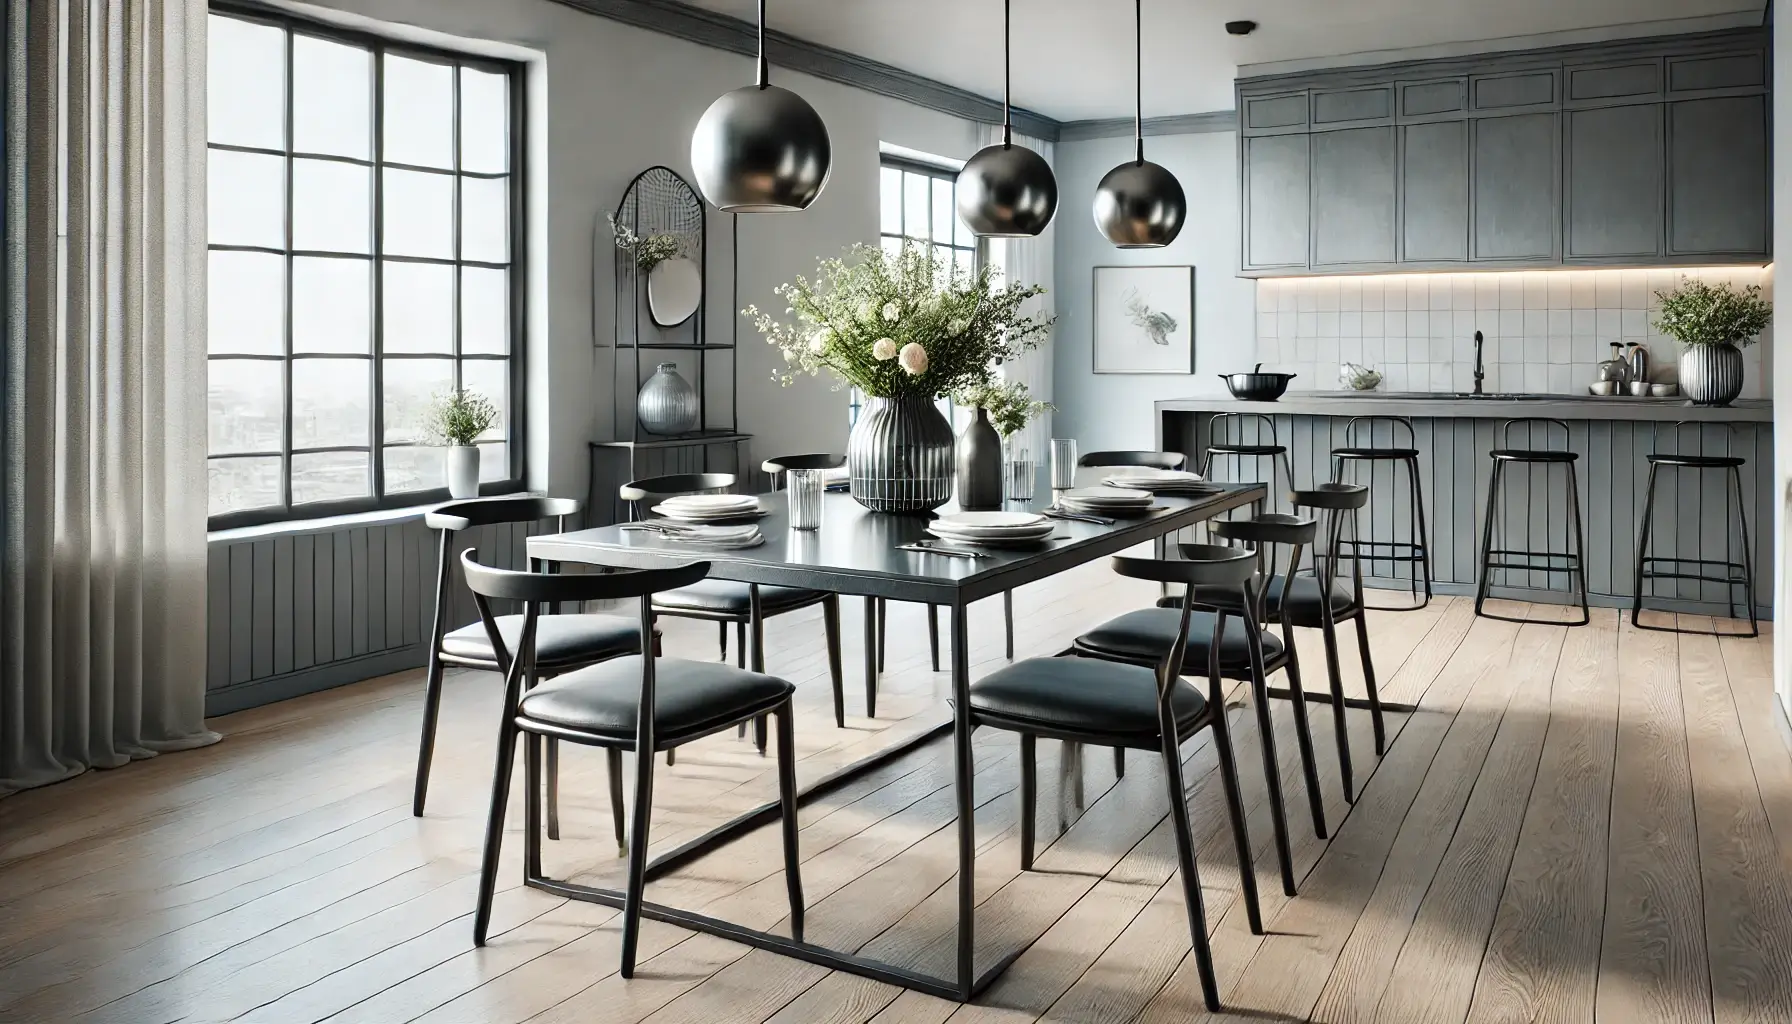
finished modernized metal dining set

Why Painting Metal Furniture Can Transform Your Space

Painting metal furniture is a simple yet impactful way to refresh your home’s aesthetic. It allows you to:

  • Customise Your Style: Change colours to match your evolving décour preferences or add bold tones for a statement piece.
  • Extend Furniture Lifespan: Painting protects metal surfaces from rust and wear, prolonging their durability.
  • Save Money: Revitalising your existing furniture is far more cost-effective than buying new pieces.
  • Adapt to Trends: Switch to trendy hues like matte black, metallic gold, or pastel shades to modernise your space.

Benefits of Painting Metal Over Replacing It

Painting metal furniture is not only a budget-friendly option but also a sustainable choice. By repurposing and upgrading existing pieces, you reduce waste and minimise environmental impact. Whether you want to restore an heirloom or upgrade a thrift find, painting is a rewarding project that combines creativity with practicality.

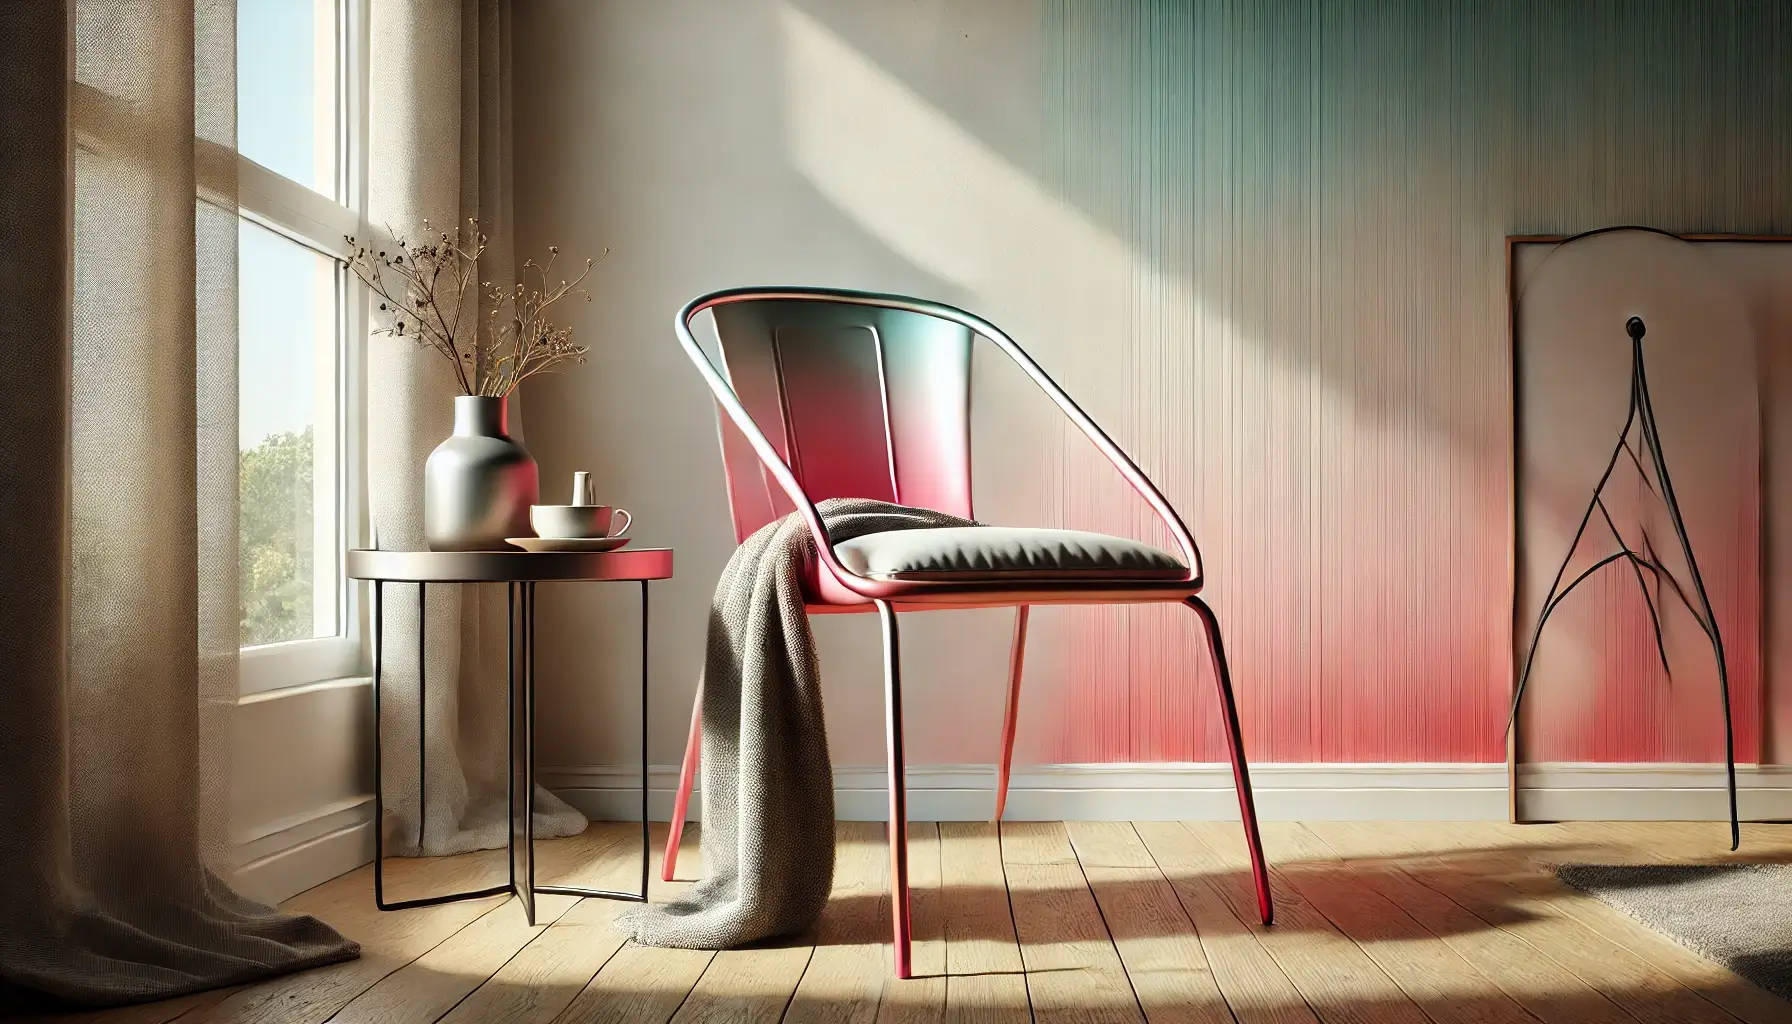
modernized metal chair with a creative ombre finish

Why Preparation is Key for Metal Painting

Preparation is the foundation of a successful metal painting project. Without proper preparation, paint may not adhere well, leading to peeling, chipping, or uneven coverage. Metal surfaces are prone to rust, grease, and dirt, all of which must be removed to ensure a smooth, long-lasting finish. Spending time on preparation saves you from potential frustrations later in the process.

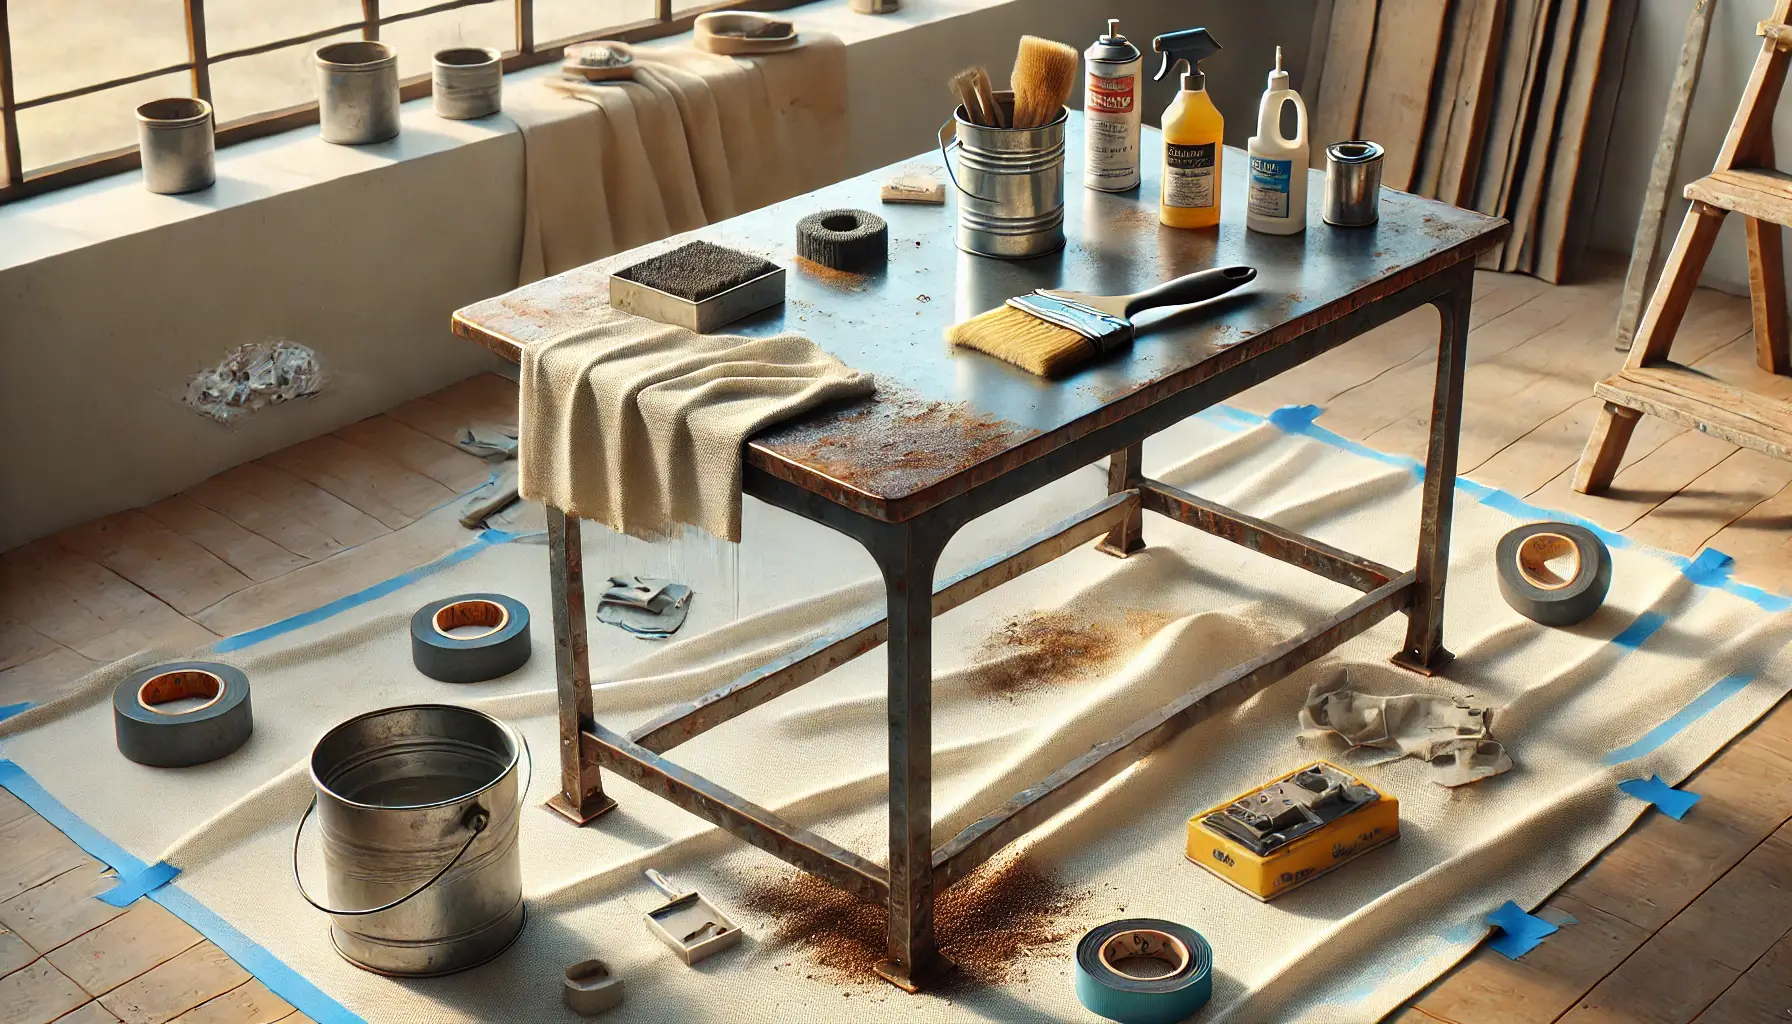
metal table in the preparation process

Rust and Dirt Removal Essentials

Rust and dirt are common culprits that can ruin a paint job. Here’s how to tackle them effectively:

  1. Remove Dirt and Grease: Clean the surface with a damp cloth and mild detergent to eliminate dirt, grease, and grime.
  2. Address Rust: Use a wire brush or sandpaper to scrape away rust. For stubborn rust, apply a rust remover and follow the manufacturer’s instructions.
  3. Smooth the Surface: Sand the entire piece with medium-grit sandpaper (120–150) to create a slightly rough texture that helps the paint adhere.
  4. Wipe Clean: Remove dust and residue with a clean, damp cloth and allow the furniture to dry completely.

Choosing the Right Paint for Metal Surfaces

Selecting the right type of paint is crucial for achieving a professional finish.

Spray Paint vs. Brush-On Paint

  • Spray Paint: Ideal for intricate designs and curved surfaces, spray paint provides even coverage and a smooth finish with minimal effort.
  • Brush-On Paint: Best for flat surfaces or areas requiring detailed work, brush-on paint offers greater control. It’s an excellent option for achieving a thicker, more durable coat.

Regardless of the method, opt for paints specifically formulated for metal surfaces to ensure durability and resistance to wear.

application of primer to a metal chair

Step-by-Step Guide to Painting Metal Furniture

1. Cleaning and Sanding
Thoroughly clean the furniture to remove dirt, grease, and grime. Sand the surface with medium-grit sandpaper to remove rust and create a texture that promotes paint adhesion.

2. Applying Primer for Metal
Use a metal-specific primer to create a smooth, rust-resistant base. Apply an even coat using a brush or spray, ensuring full coverage. Allow the primer to dry completely before moving to the next step.

3. Painting Techniques for Smooth Finishes
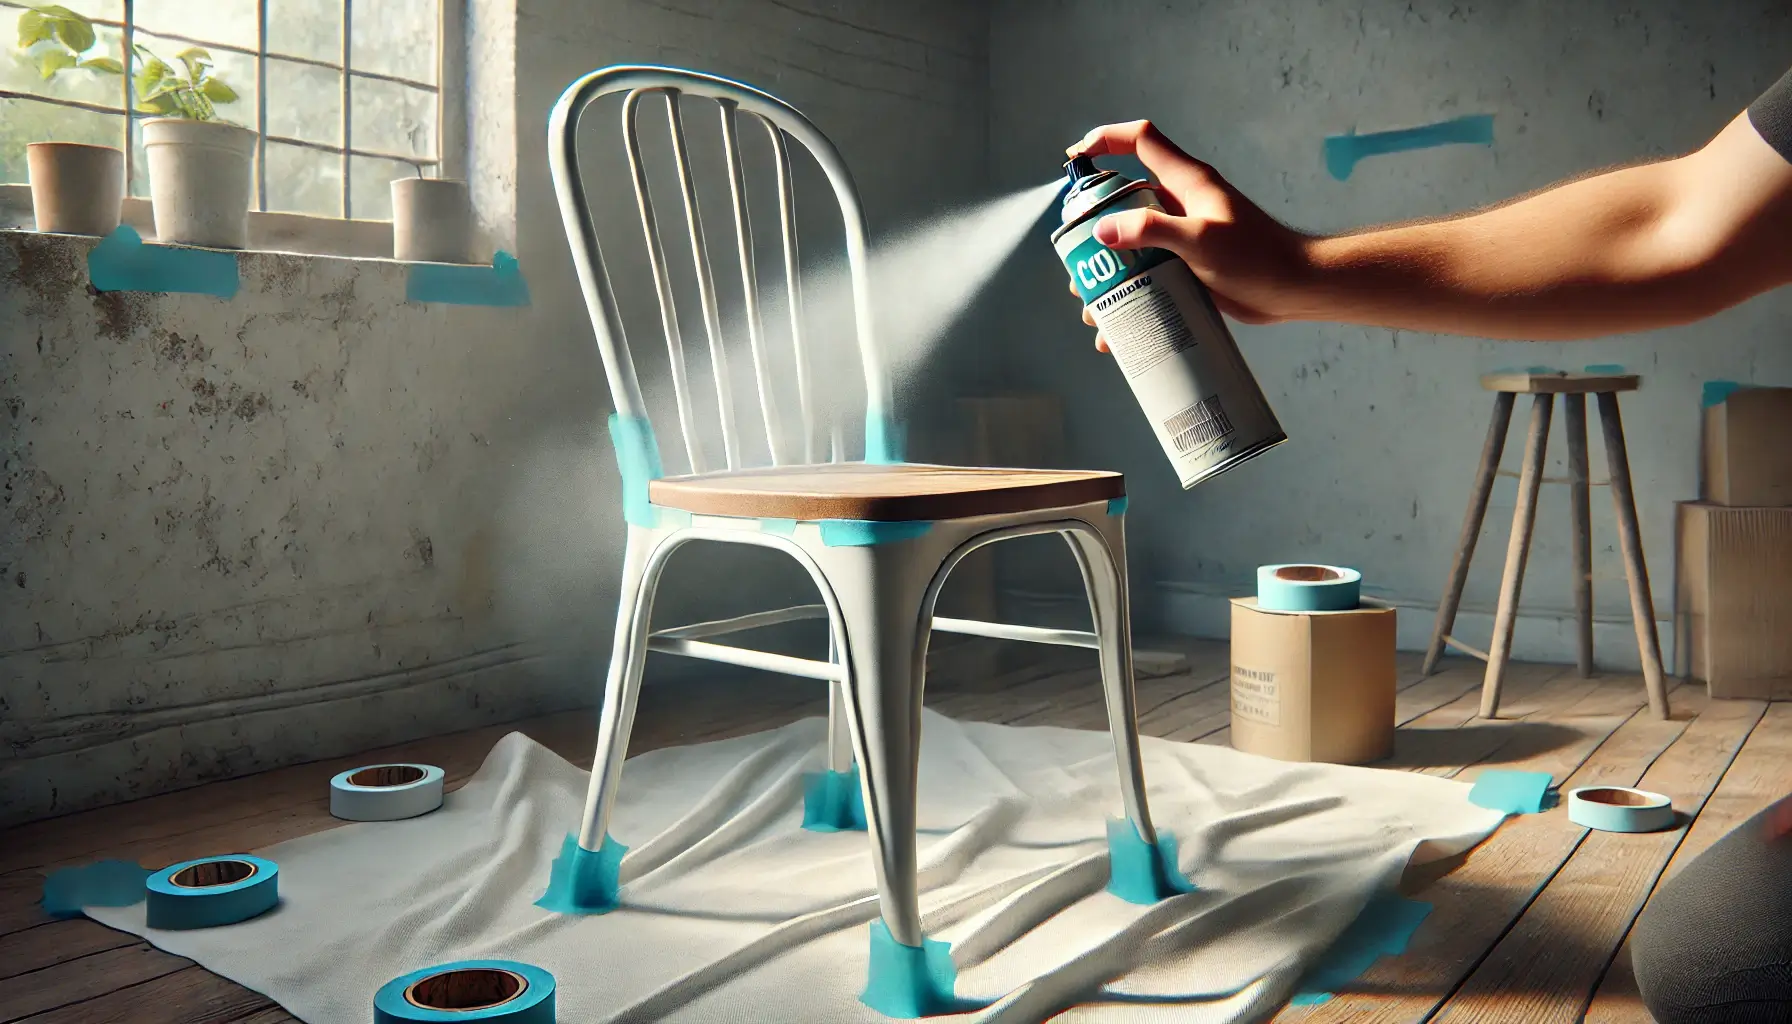
  • For Spray Paint: Hold the can 8–12 inches away from the surface and apply thin, even coats. Avoid overspraying to prevent drips.
  • For Brush-On Paint: Use a high-quality brush and apply long, smooth strokes. Allow each coat to dry fully before applying the next.
Two to three coats are typically sufficient for a solid, even finish.
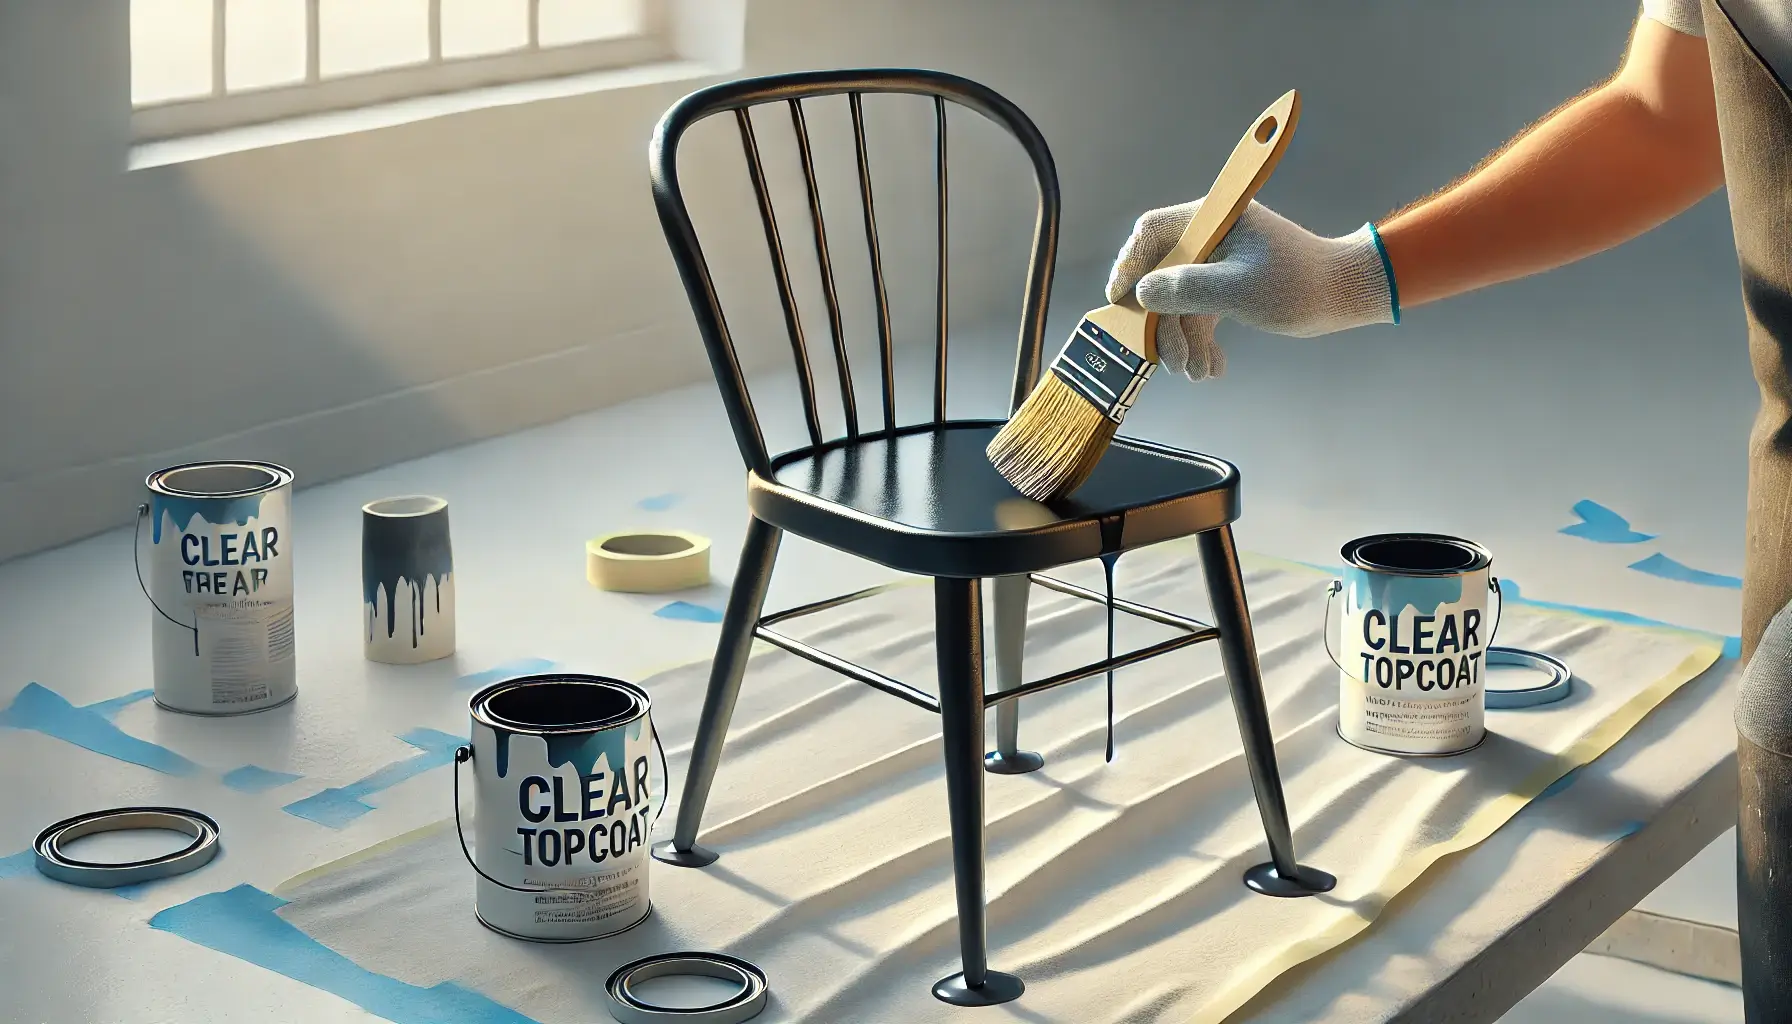
finishing step for a painted metal chair

Tips for Long-Lasting Painted Metal Furniture

  1. Avoid Abrasive Cleaners: Use a soft cloth and mild detergent for cleaning to prevent damage to the painted surface.
  2. Store Properly: For outdoor furniture, consider covering or storing pieces during extreme weather to maintain their appearance.

Common Mistakes to Avoid

  1. Skipping Primer: Primer is essential for creating a smooth, rust-resistant base. Skipping this step leads to uneven application and reduced durability.
  2. Uneven Paint Application: Applying thick coats can result in drips and an uneven finish. Always use thin, even layers for the best results.
  3. Neglecting Surface Prep: Failing to clean and sand the surface can cause paint to peel or chip prematurely.
  4. Rushing the Process: Allow sufficient drying time between coats to achieve a smooth, professional finish.
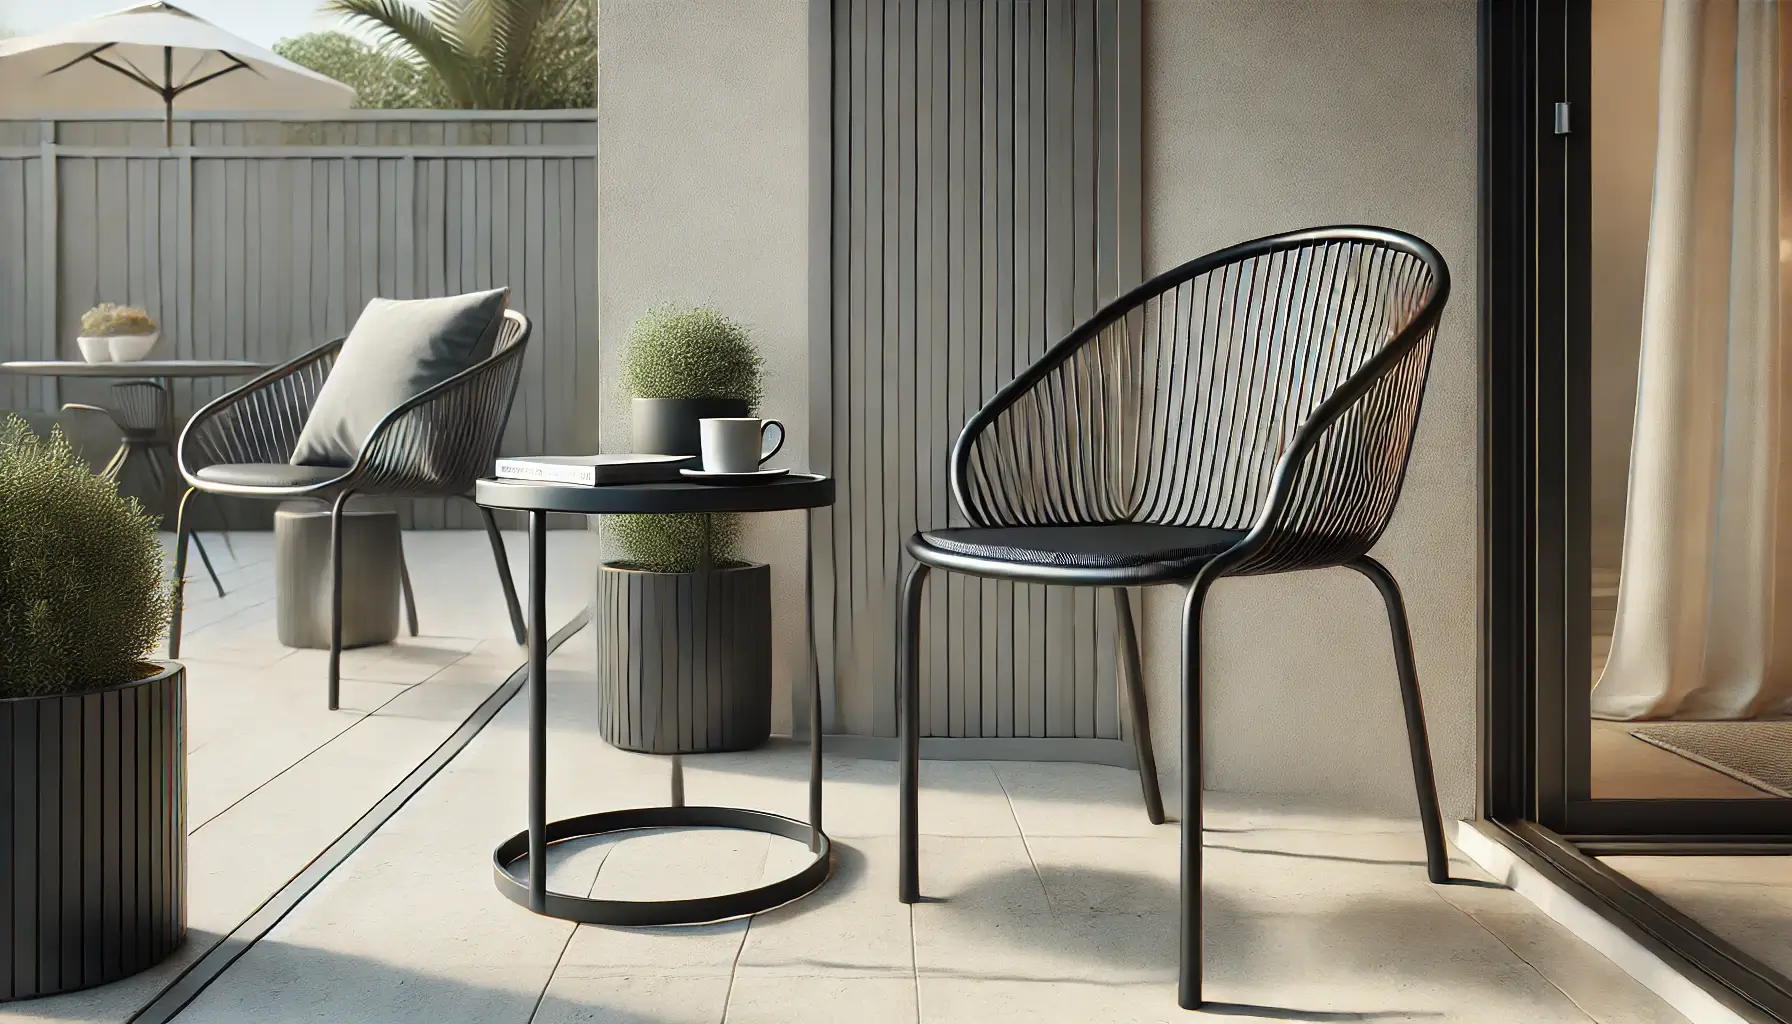
styled patio setting

Conclusion

Painting your metal furniture is an excellent way to refresh your home’s aesthetic without breaking the bank. With proper preparation, the right tools, and effective techniques, you can achieve a durable, flawless finish that revitalises your furniture. Whether you choose spray paint for quick coverage or brush-on paint for precision, the result is a stunning, modernised piece that complements your décor.

Take your time, follow the steps, and enjoy the transformation as you give your metal furniture a new lease on life. Happy painting!

How to Pick the Perfect Pastel Palette for Your Kitchen Cabinets and Walls

How to Pick the Perfect Pastel Palette for Your Kitchen Cabinets and Walls

Are you dreaming of a kitchen filled with soft, soothing colours that exude charm and personality? Pastel tones are the perfect solution for creating a serene, inviting space that transforms your kitchen into a delightful culinary haven. Whether you’re drawn to the tranquillity of Dewdrop Lavender, the freshness of Celery Bisque, or the warmth of Peach Whisper, pastels from Indicus Paints offer endless possibilities.

But how do you choose the perfect pastel palette that compliments your cabinets and walls while harmonising with your overall kitchen design? This guide will help you explore pastel colours from Indicus Paints, expert combinations, and tips for creating a cohesive, stylish look. Let’s dive into the art of picking the perfect pastel palette for your kitchen.

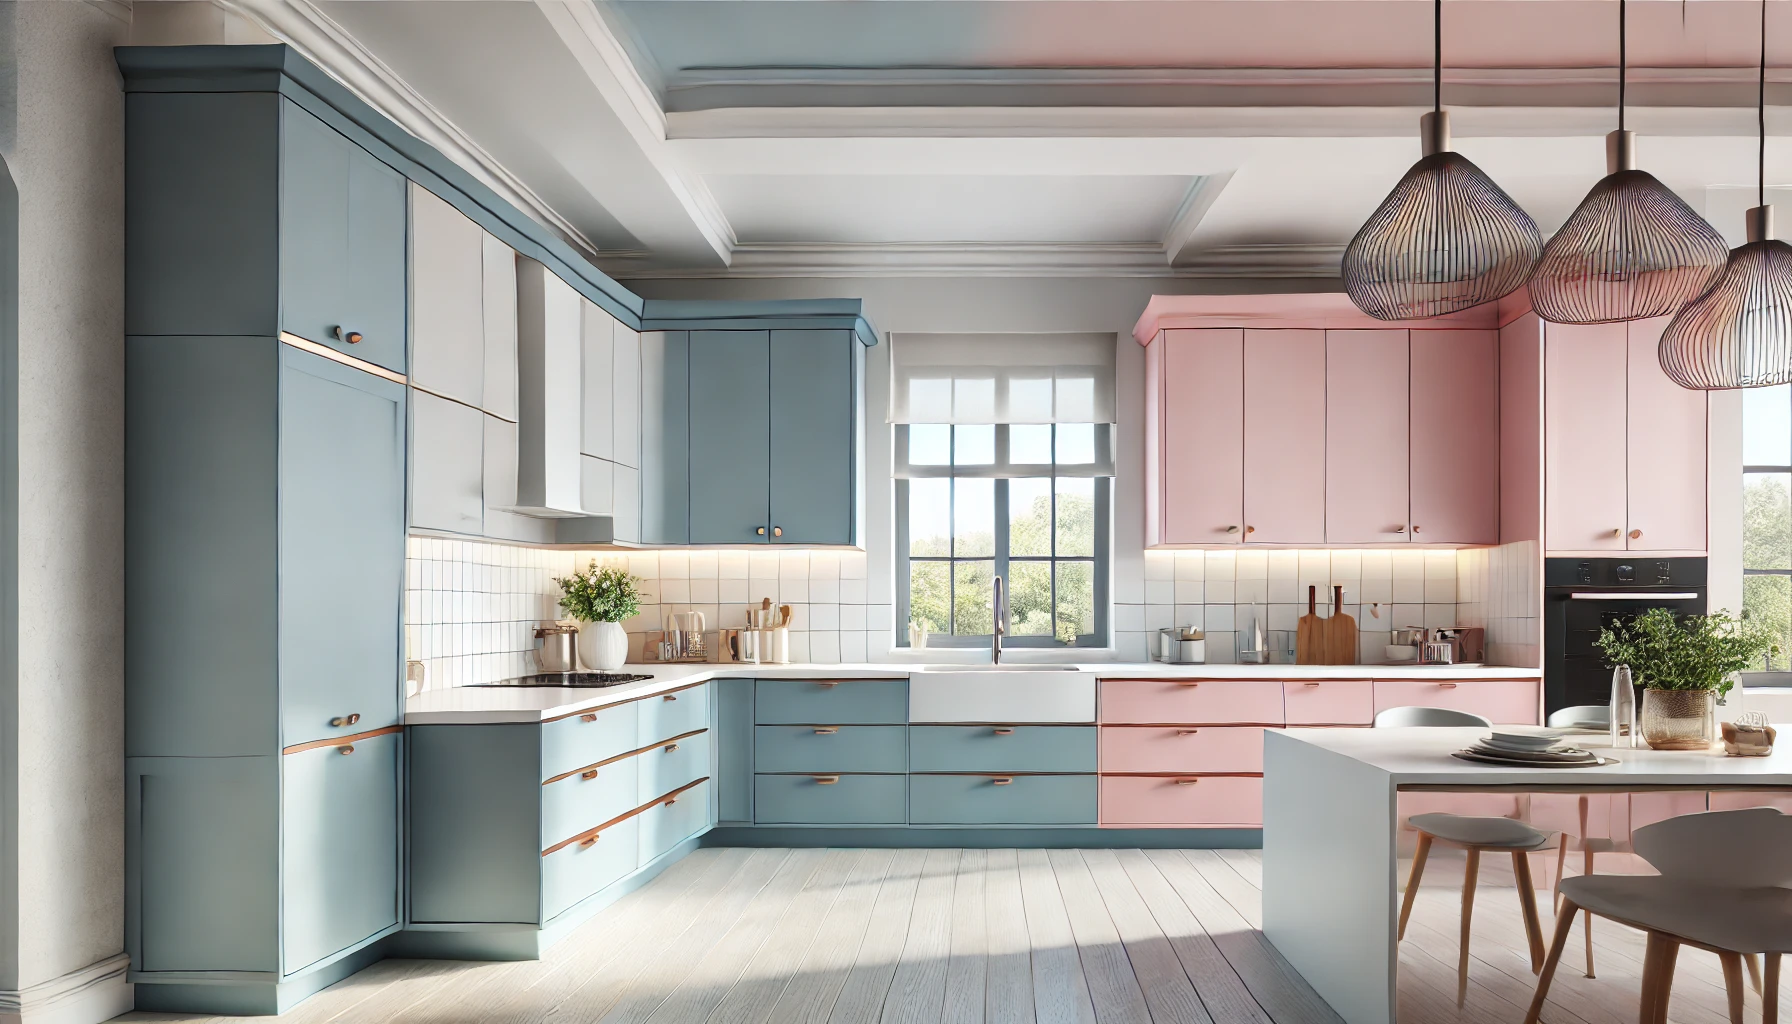
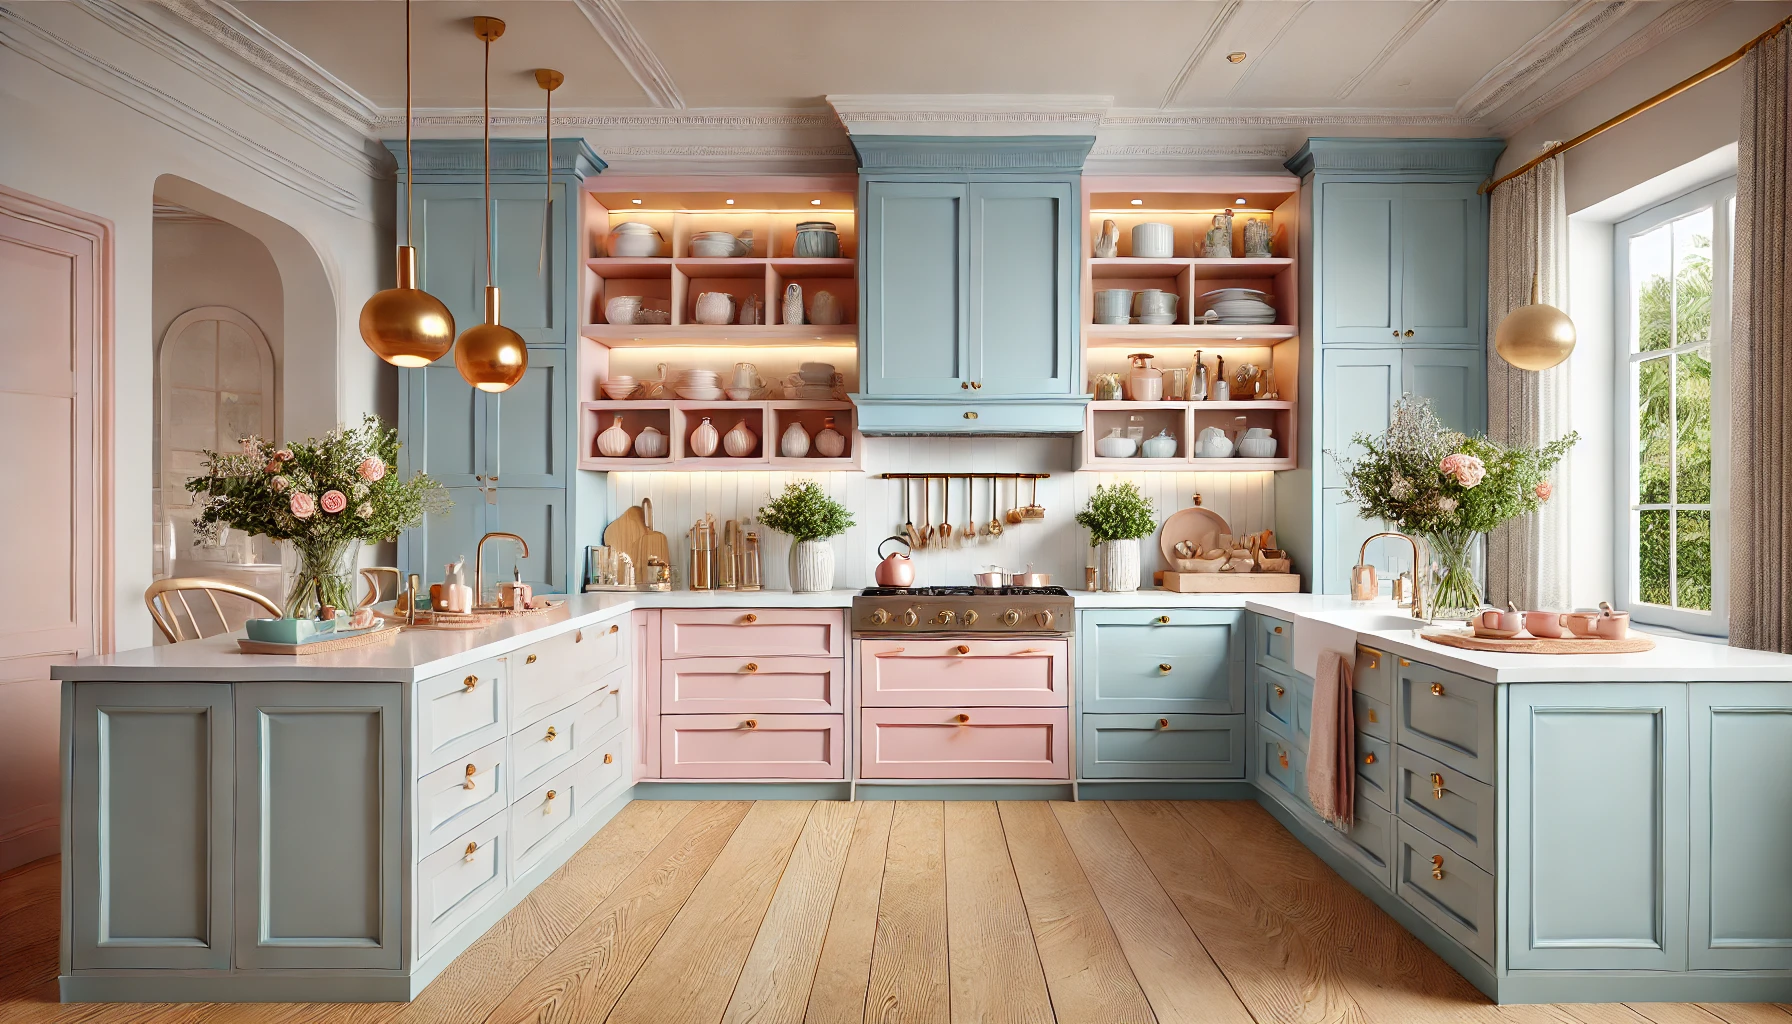
Contemporary Two-Tone Kitchen

Why Choose Pastel Tones for Your Kitchen?

Pastel tones have a unique ability to create a light, airy atmosphere that’s both soothing and stylish. These soft hues are versatile and timeless, making them an ideal choice for kitchen cabinets and walls. Pastels can:

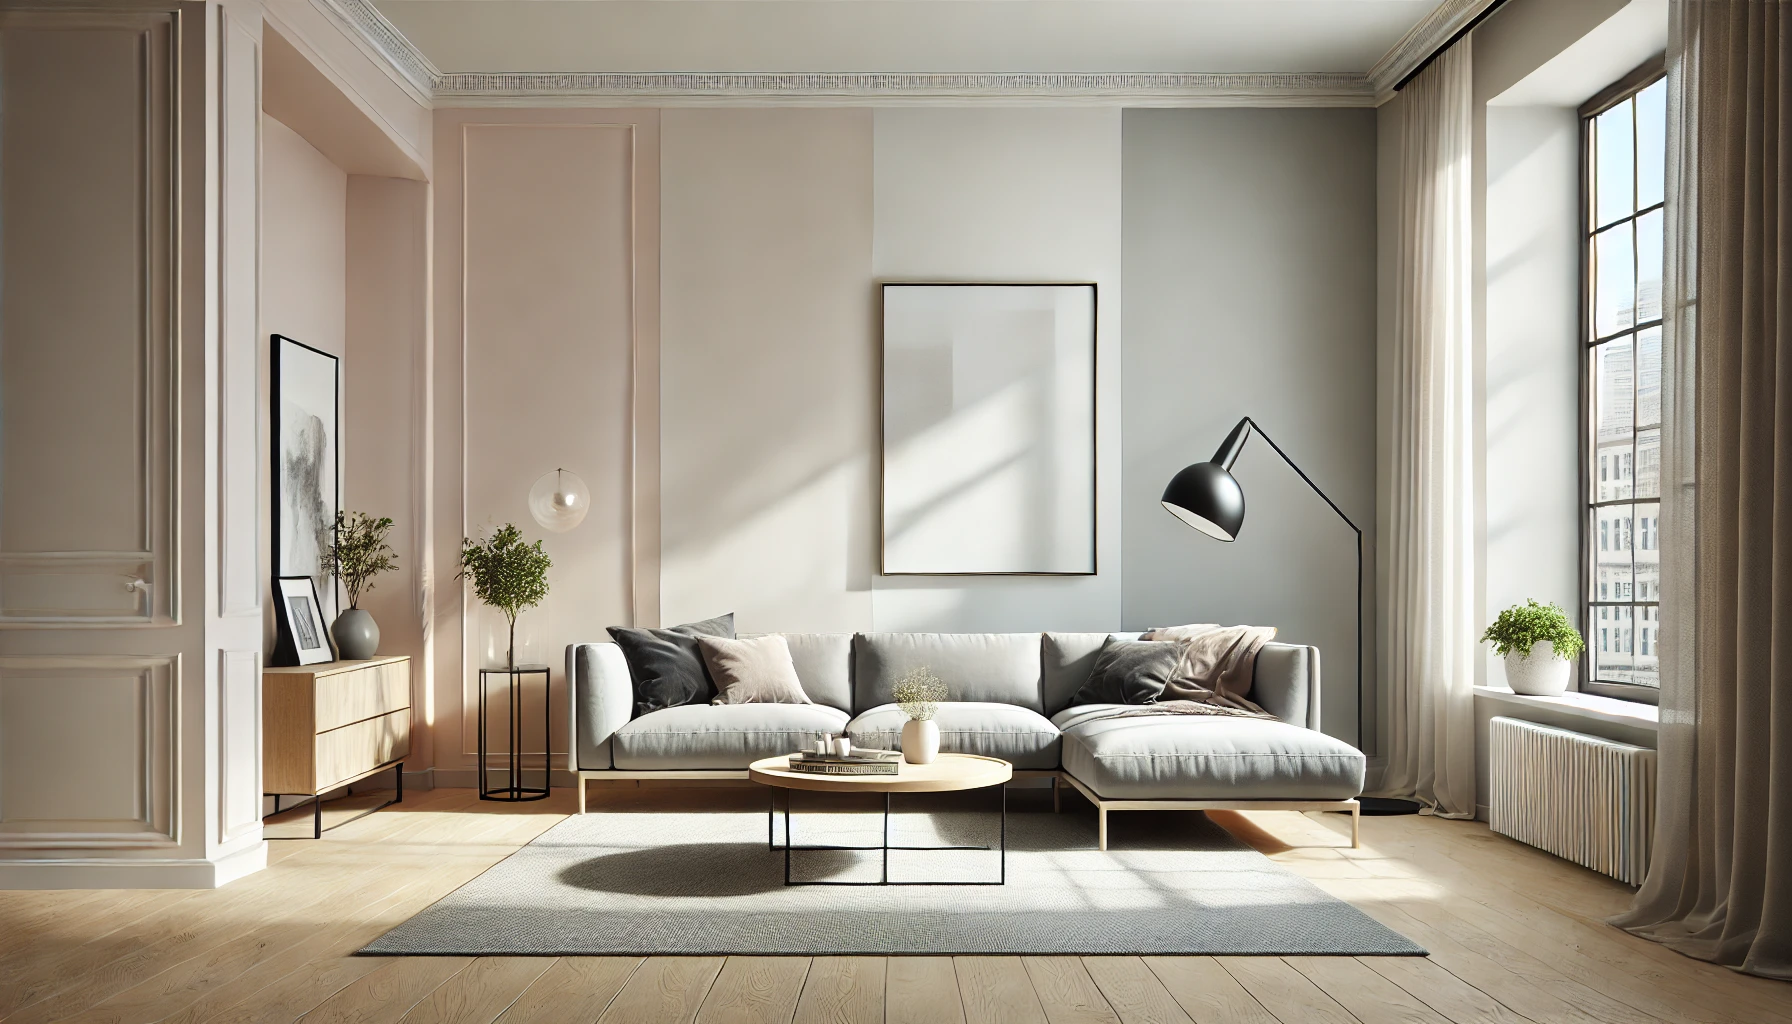
  • Enhance Natural Light: Colours like Sky Frost and Powder Pink reflect natural light, brightening your kitchen and making it feel more spacious.
  • Create a Calming Ambience: Pastels such as Celery Bisque and Dewdrop Lavender evoke tranquillity, helping you create a stress-free cooking environment.
  • Offer Design Versatility: Indicus pastels pair beautifully with a variety of styles, from rustic farmhouse to sleek contemporary.
  • Add Personality: These delicate shades infuse your space with charm and individuality, setting your kitchen apart.
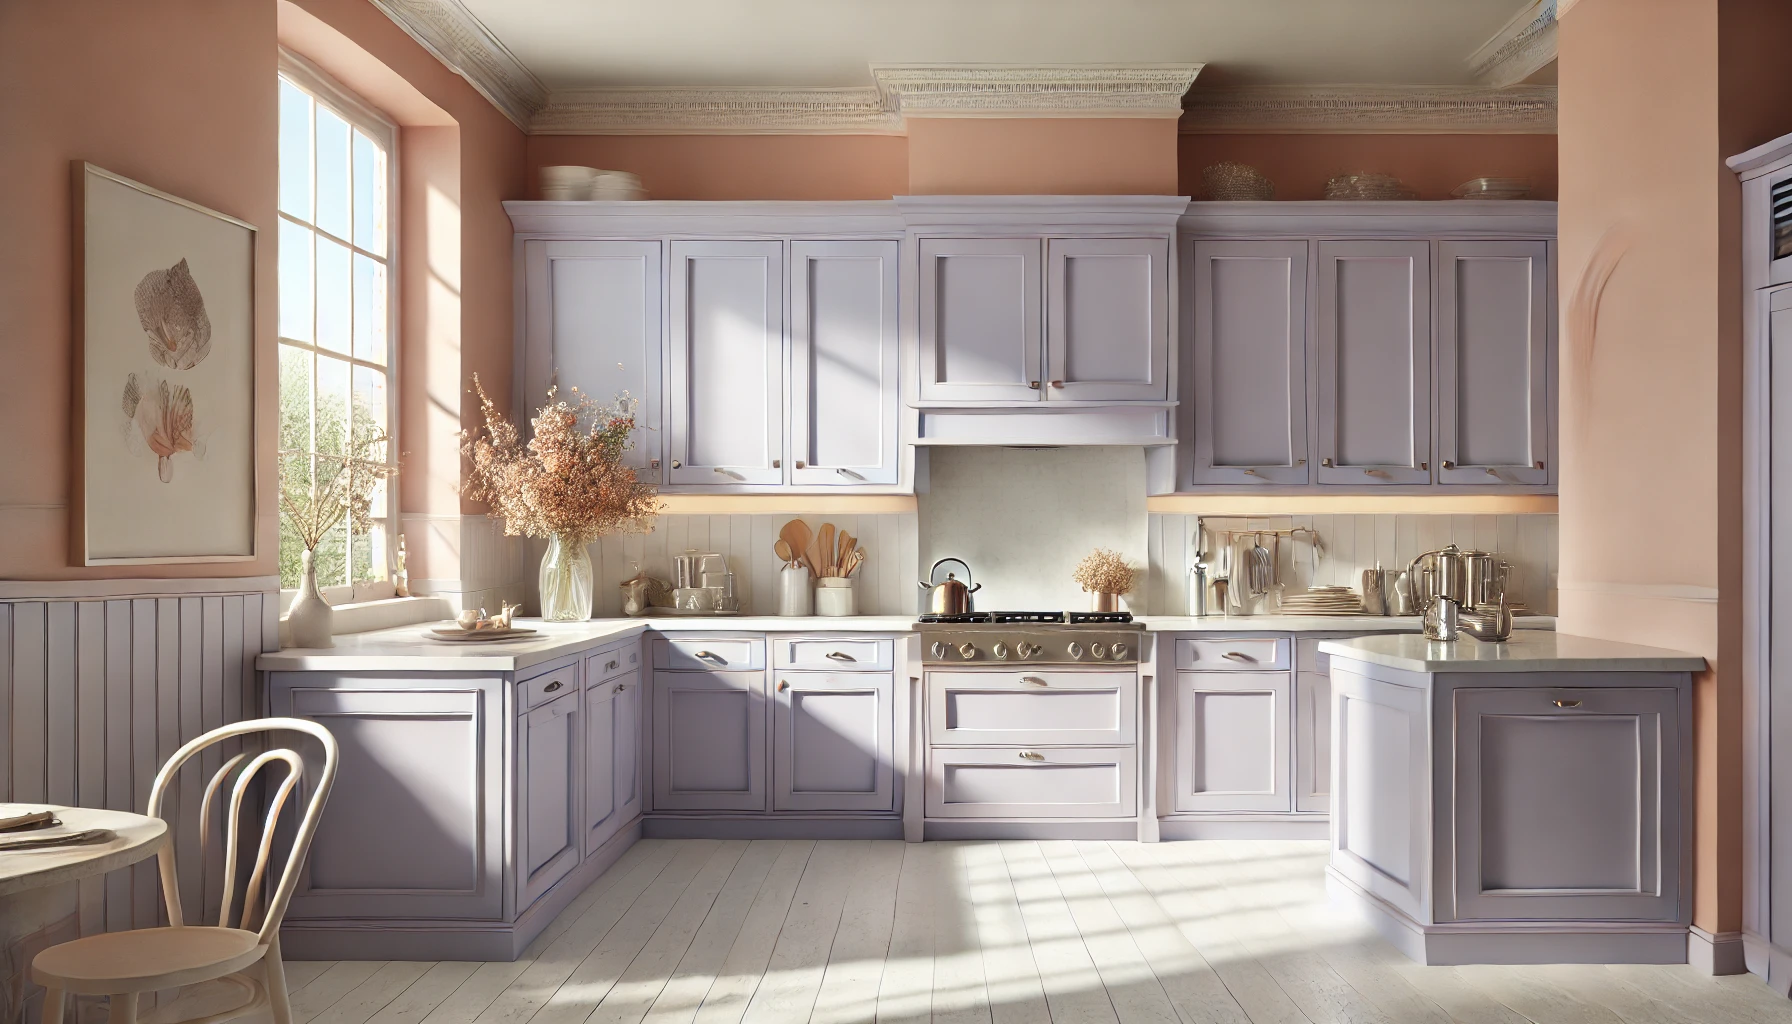
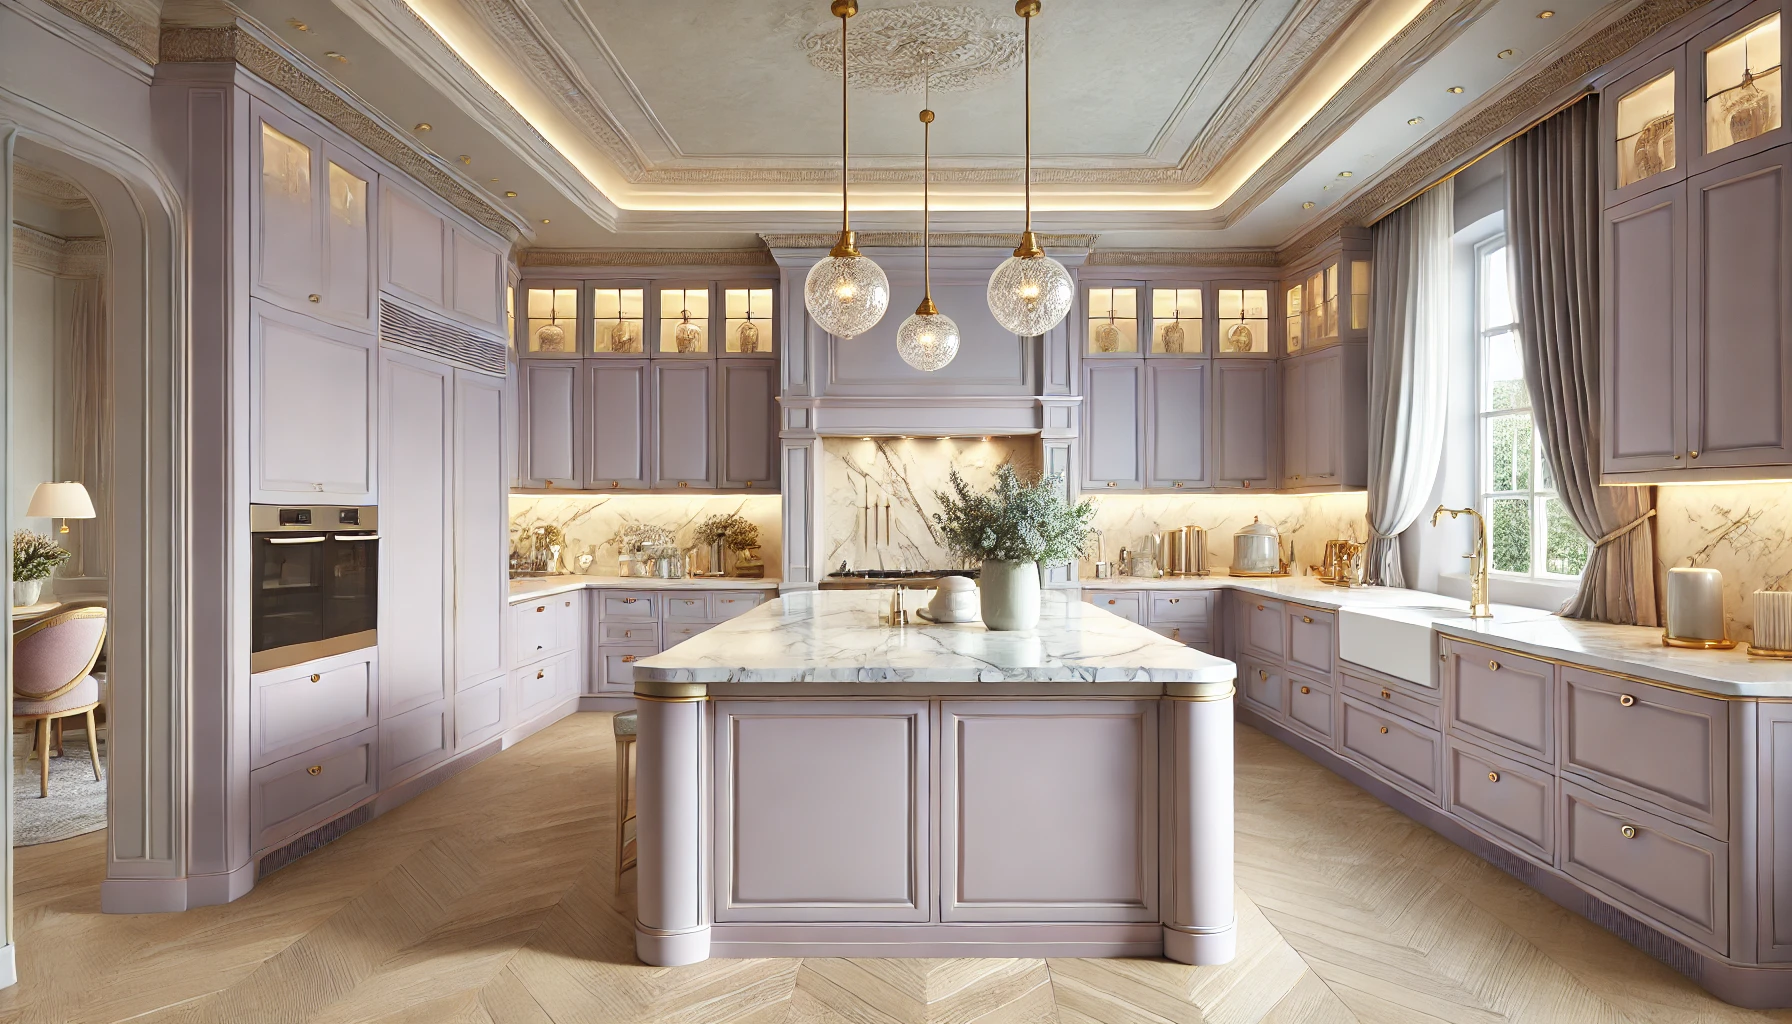
Dewdrop Lavender cabinets and Peach Whisper walls

Finding the Right Pastel Shades for Your Kitchen

a) Tranquil Blues
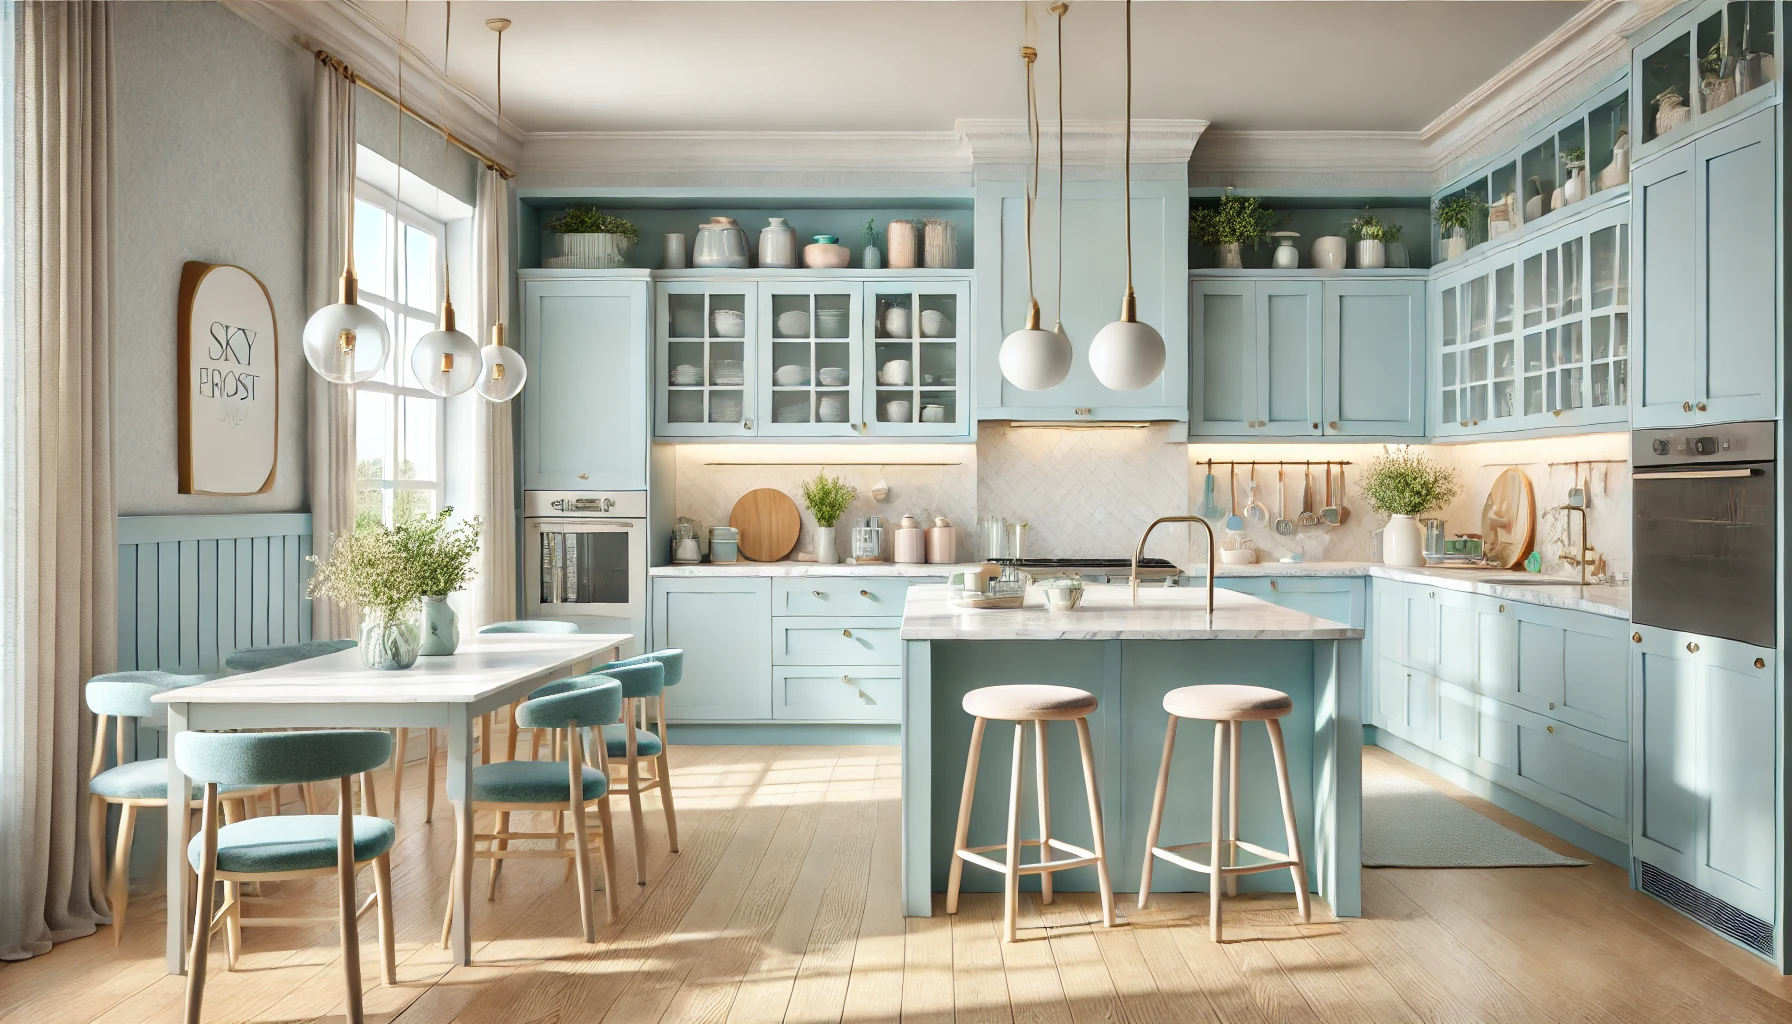
Pastels like Sky Frost create a calm, refreshing atmosphere. Pair this shade with white countertops or light wood finishes to give your kitchen a Scandinavian-inspired look.

b) Fresh Greens
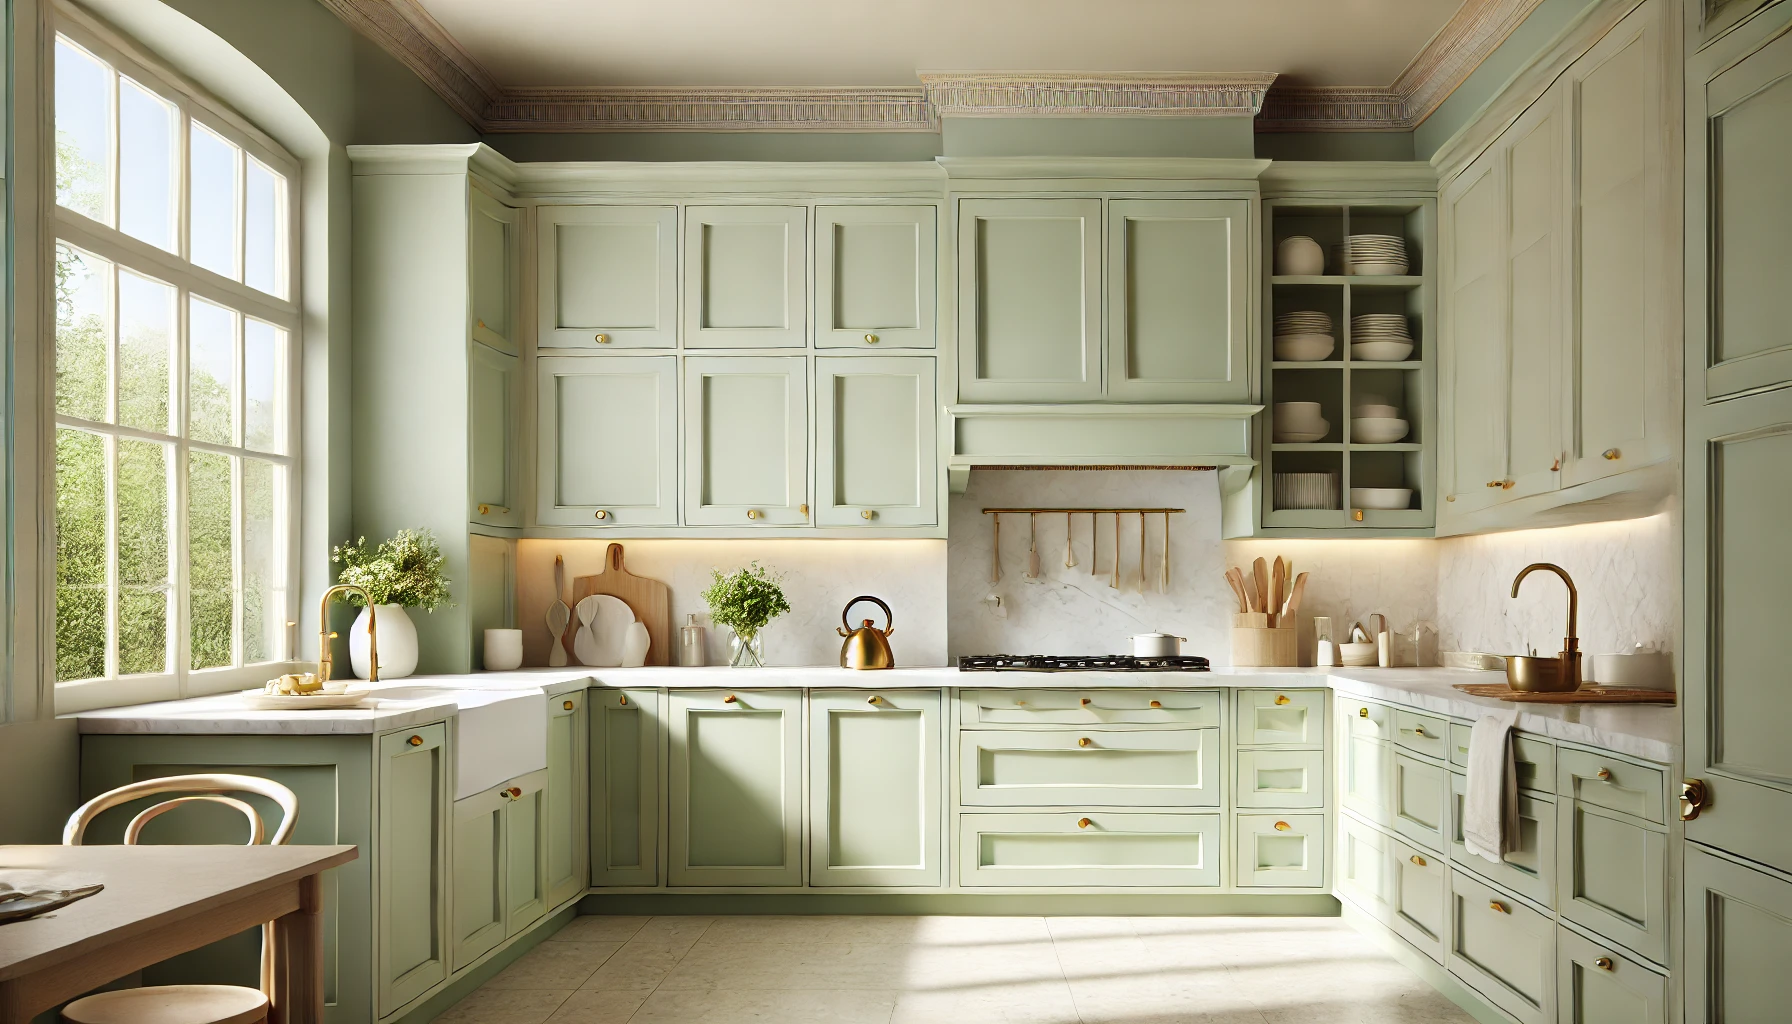
Colours like Celery Bisque add vibrancy and a connection to nature. This shade pairs beautifully with gold or brass hardware for a modern touch.

c) Soft Pinks
Powder Pink is perfect for creating a warm, chic kitchen. Pair it with metallic or white accents for a contemporary, elegant feel.
shaker-style cabinets or sleek flat-panel designs
d) Cheerful Yellows
Golden Dawn adds a sunny, welcoming vibe to your kitchen. This pastel is ideal for cabinets or walls and can be balanced with neutral tones like beige or cream.

e) Elegant Purples
Dewdrop Lavender is a subtle yet sophisticated choice. This shade works wonderfully with silver hardware or marble countertops for a refined finish.
Fresh Greens and Modern Elegance

Expert Colour Combinations for Kitchens

a) Celery Bisque and Powder Pink
Combine the freshness of Celery Bisque cabinets with the warmth of Powder Pink walls for a balanced, harmonious look.

b) Sky Frost and White Blossom
This crisp combination creates a serene, minimalist aesthetic. Use Sky Frost for cabinets and White Blossom for walls to brighten up smaller kitchens.

c) Golden Dawn and Driftwood Beige
The cheerful warmth of Golden Dawn cabinets paired with the subtle neutrality of Driftwood Beige walls is ideal for a farmhouse-inspired kitchen.

d) Dewdrop Lavender and Peach Whisper
Blend Dewdrop Lavender walls with Peach Whisper cabinets to create a soft, feminine look. Add silver or rose-gold accents to elevate the palette.
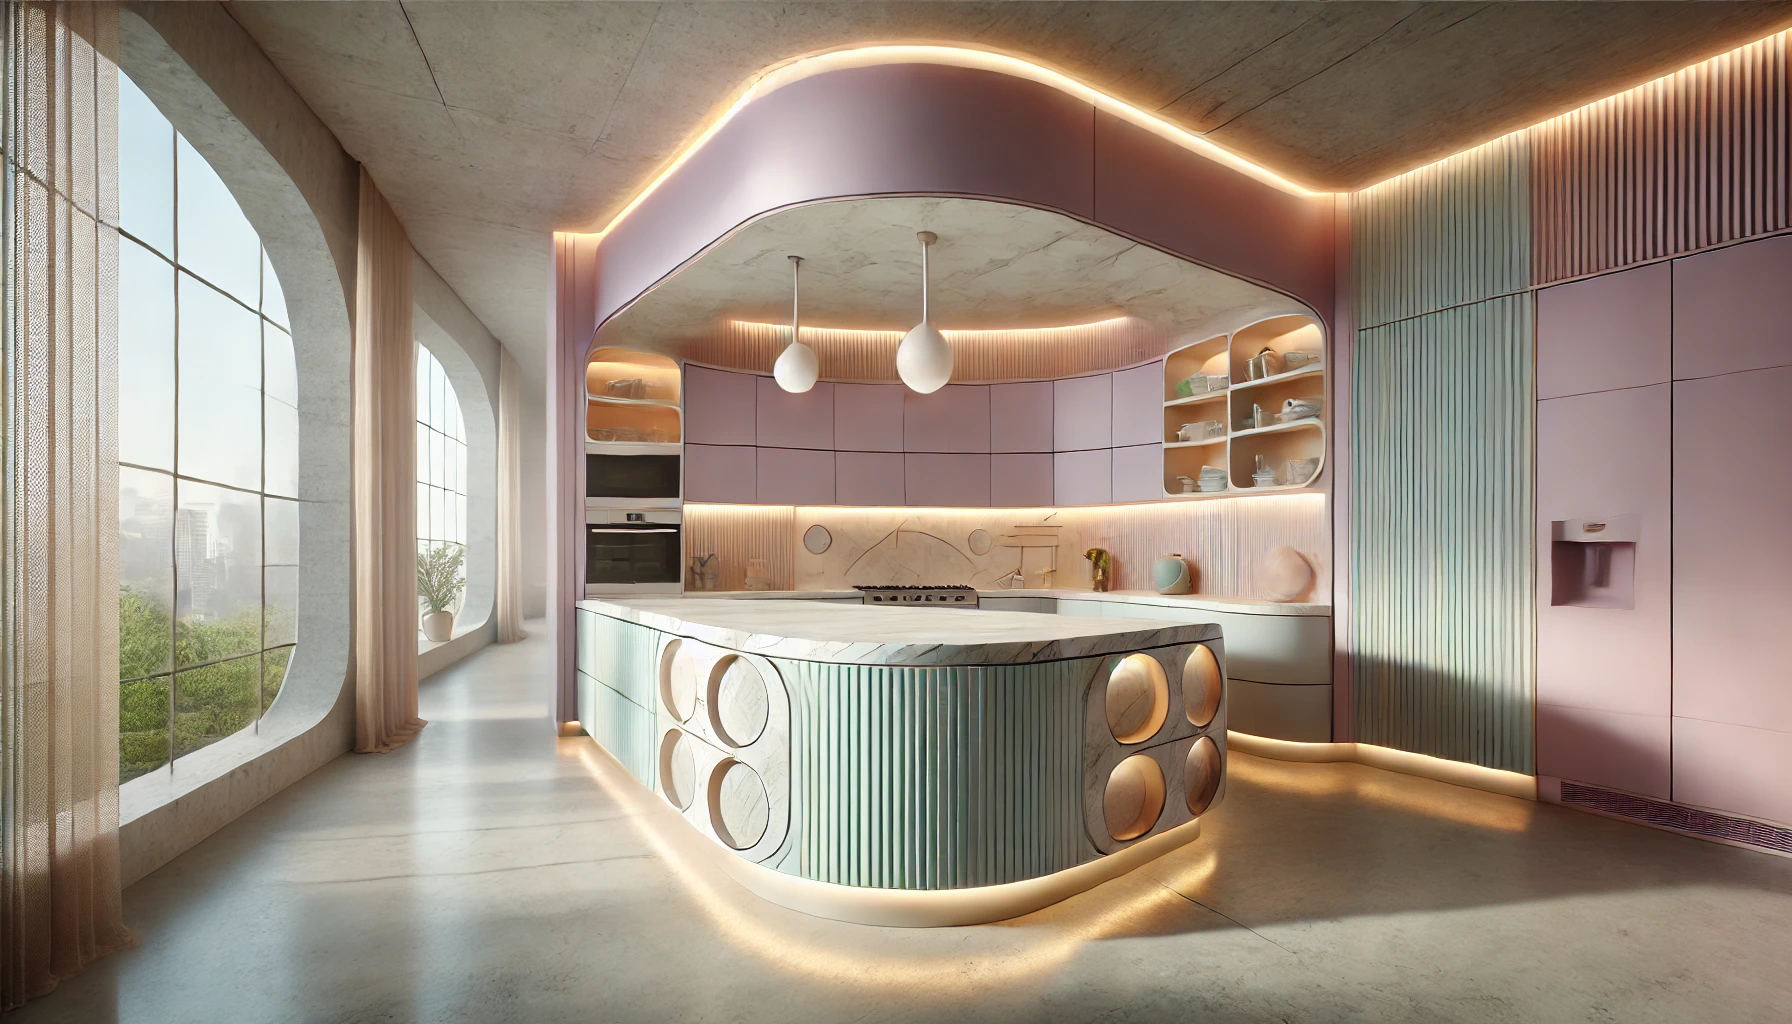
Futuristic and pastel elegance V01
e) Mint Leaf and Soft Cream
Pairing Mint Leaf cabinets with Mint LeafSoft Cream walls adds a retro-inspired charm to your kitchen, perfect for vintage enthusiasts.

Tips for Harmonising Pastels with Your Kitchen Design

  • Consider the Size of Your Kitchen: Use lighter pastels like Sky Frost or Powder Pink in smaller kitchens to make the space feel larger and brighter.
  • Focus on Balance: Pair pastels with neutral tones such as Driftwood Beige to prevent the space from feeling too sweet or overwhelming.
  • Incorporate Textures: Add texture through wood, tiles, or metal to enhance depth and interest in your pastel palette.
  • Add Contrasts: Use darker accents or metallic finishes to ground pastel tones and create contrast.
  • Coordinate Hardware and Accessories: Choose cabinet handles, light fixtures, and décor items that complement your pastel colour scheme.
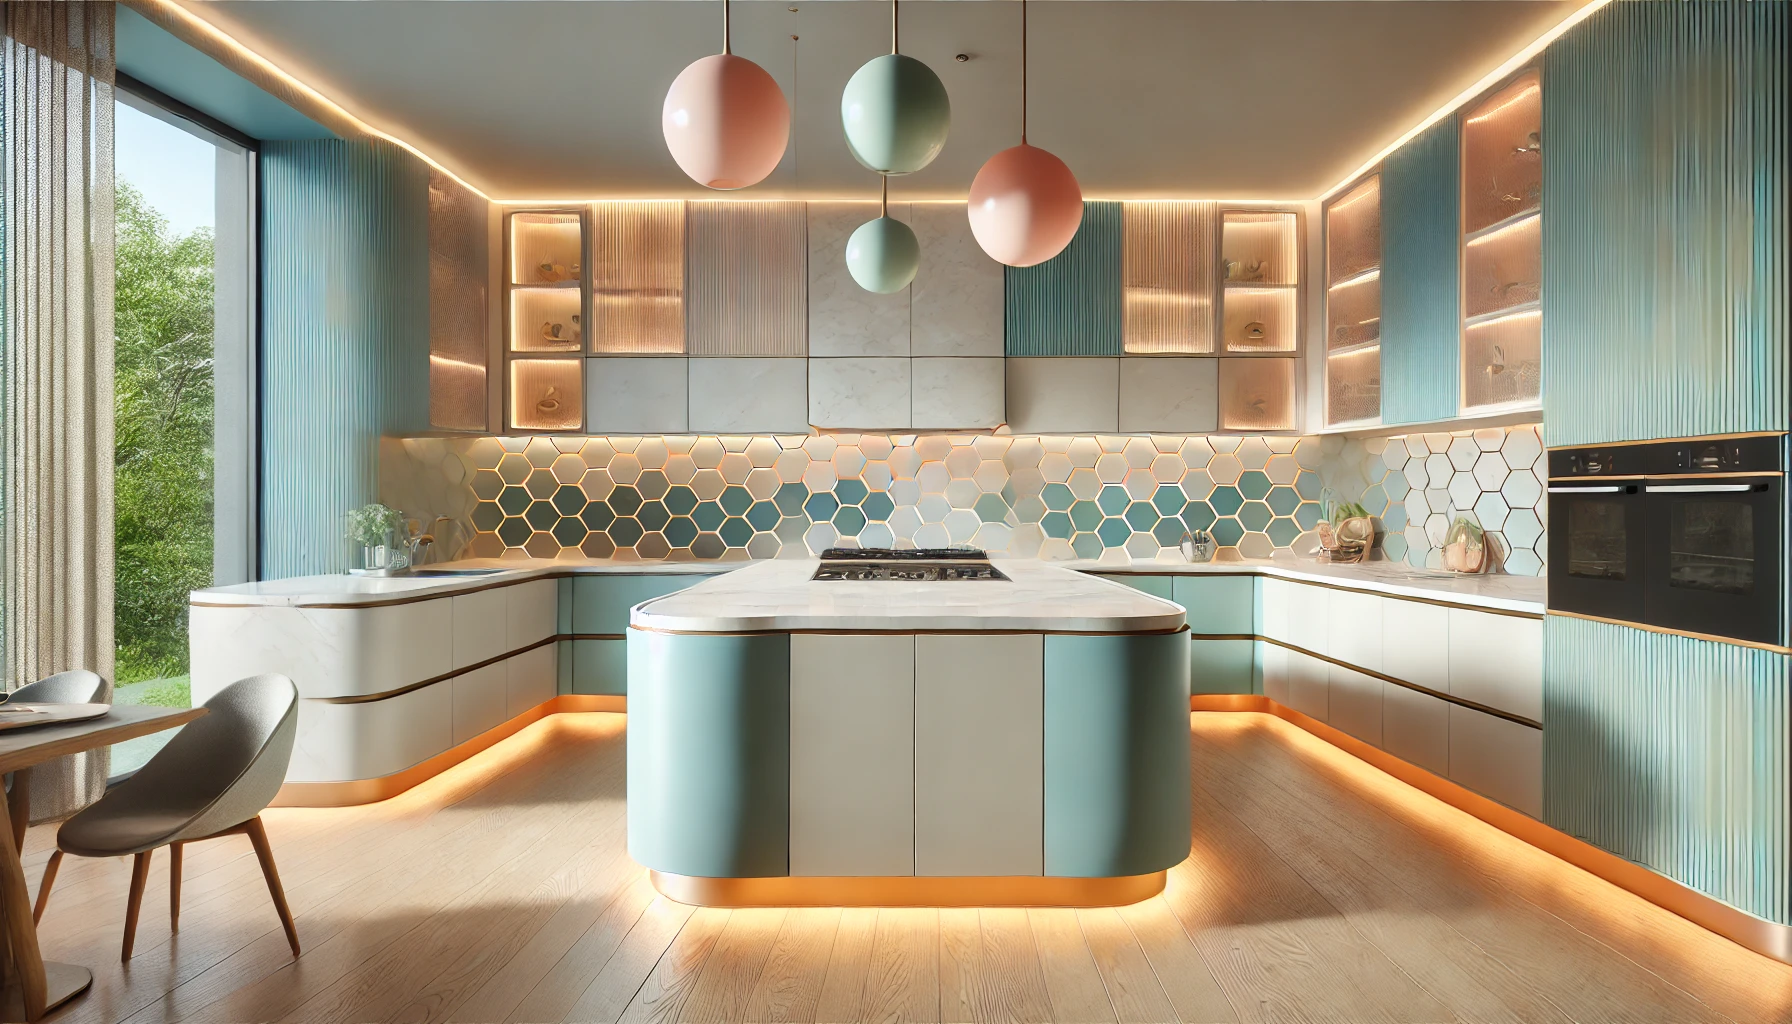
Futuristic and pastel elegance

DIY Pastel Painting Projects for a Personalised Touch

For a creative, hands-on experience, try these DIY painting ideas:

  • Paint Your Cabinets: Use Indicus shades like Celery Bisque or Peach Whisper to give your cabinets a fresh new look.
  • Create an Accent Wall: Highlight a single wall with a pastel shade like Dewdrop Lavender or Golden Dawn for added character.
  • Customise Shelves: Paint open shelves in a contrasting pastel colour such as Mint Leaf to highlight your kitchenware.
  • Stencil Patterns: Add playful patterns using a combination of pastels like Powder Pink and Sky Frost for a unique touch.
Luxury Pastel Kitchen with Metallic Accents

Hiring Professional Painters for a Flawless Finish

For a seamless, polished result, consider hiring professional painters. Indicus Painting Services offers expert solutions to bring your pastel kitchen vision to life. From selecting the perfect pastel shades to achieving a flawless application, the skilled team at Indicus ensures every detail is handled with care.

With premium paints and precise techniques, Indicus Painting Services transforms your kitchen into a pastel paradise that’s both beautiful and functional. Trust the experts to deliver the dream kitchen you deserve.

Open-plan kitchen or galley-style

Conclusion

A pastel palette is the perfect way to transform your kitchen into a serene, stylish space that reflects your personality. By choosing colours from the Indicus Paints Colour Palette, experimenting with combinations, and ensuring harmony with your kitchen’s design, you can create a culinary haven that’s as inviting as it is functional.

Whether you’re tackling a DIY project or working with Indicus Painting Services, pastel tones can infuse your kitchen with charm and elegance. Let your imagination soar and turn your kitchen into the heart of your home with the timeless beauty of pastels.

Top Mistakes to Avoid When Painting Your Interior Walls

Top Mistakes to Avoid When Painting Your Interior Walls

Painting your interior walls is one of the most effective ways to refresh your home and add a personal touch to your space. However, what may seem like a straightforward task can quickly become frustrating if certain mistakes are made. From improper preparation to rushing the process, common errors can result in uneven finishes, wasted time, and additional costs.

This guide takes you through the top mistakes to avoid when painting your interior walls. By understanding these pitfalls and implementing best practices, you can ensure a polished, professional result that enhances your home’s aesthetic appeal.

Importance of Proper Preparation Before Painting

Preparation is the cornerstone of any successful painting project, yet it is often overlooked. Skipping preparation can result in a variety of issues, including paint peeling, uneven coverage, or stains bleeding through the final coat. Before painting, it’s essential to thoroughly clean your walls to remove dust, grease, or grime, which can prevent paint from adhering properly. Any cracks or holes should be filled and sanded down for a smooth surface. If you’re painting over a glossy surface, lightly sanding it will help the new paint adhere better. Neglecting these steps compromises the durability and appearance of your paintwork, turning what could have been a beautiful finish into a frustrating experience.

Choosing the Wrong Paint Colour

One of the most common yet easily avoidable mistakes is choosing the wrong paint colour. A colour that looks perfect on a sample card may appear completely different once applied to your walls due to lighting conditions, room size, or surrounding décour. Natural and artificial light can significantly alter how a colour looks at different times of the day. To avoid disappointment, test paint samples directly on your wall and observe them in varying lighting conditions. Consider how the chosen colour compliments your furniture, flooring, and accessories to ensure a cohesive look. Ignoring these factors can result in a colour that clashes with your space or creates an unintended atmosphere.

Top Mistakes to Avoid When Painting Your Interior Walls

Not Using the Right Tools and Materials

Using the wrong tools or low-quality materials can ruin even the best painting effort. A good paint brush or roller is essential for achieving smooth, even coverage, while painter’s tape ensures clean edges and sharp lines. Inadequate tools can lead to streaks, uneven application, or messy edges, wasting time and effort. Drop cloths or plastic sheets are crucial for protecting floors and furniture from drips and splatters. Skimping on these essentials often results in frustration and a finish that falls short of expectations.

Top Mistakes to Avoid When Painting Your Interior Walls

Skipping Primer

Primer is often skipped in an attempt to save time or money, but this step is critical for a high-quality finish. Primer creates a uniform base for the paint to adhere to, enhancing colour vibrancy and durability. It’s particularly important when painting over dark colours, freshly repaired walls, or porous surfaces. Without primer, you may find that the final coat appears patchy or uneven. It also helps seal stains, ensuring they don’t bleed through the paint. Skipping this step often leads to more coats of paint being required, negating any initial time or cost savings.

Skipping the Necessary Steps in the Painting Process

Painting isn’t as simple as opening a can and rolling it onto the walls. Each step, from surface preparation to applying the final coat, plays a crucial role in achieving a flawless finish. Skipping steps such as cleaning the walls, sanding rough patches, or applying a second coat can result in visible imperfections and uneven textures. For instance, failing to clean the walls may trap dust or grease beneath the paint, leading to peeling or bubbling over time. Rushing through or skipping these steps compromises the quality of your work, often requiring a redo that could have been avoided with careful attention.

Lack of Proper Surface Preparation

Proper surface preparation goes beyond cleaning. Walls with uneven textures, old peeling paint, or cracks can cause new paint to highlight rather than hide these flaws. Scraping off peeling paint, sanding rough patches, and ensuring the surface is smooth are essential for a professional-quality finish. Skipping these steps results in bumps, uneven layers, or areas where the paint fails to adhere properly. Taking the time to prepare the surface thoroughly ensures a flawless application and long-lasting results.

Neglecting to Protect Furniture and Flooring

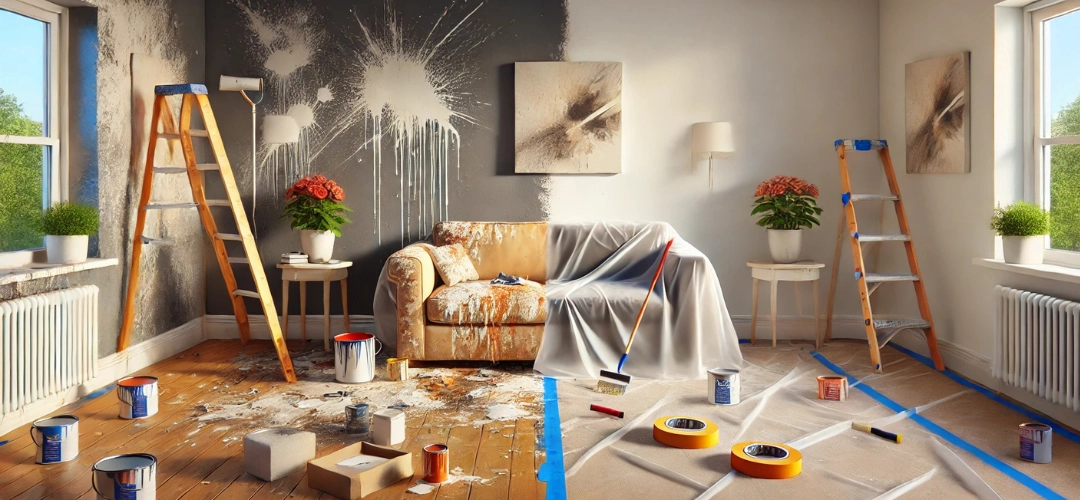
Painting is inherently messy, and failing to protect your furniture, flooring, and other surfaces can lead to unintended damage. Paint drips and splatters are difficult to clean once they dry, particularly on carpets or upholstered furniture. Always use drop cloths, plastic sheeting, or painter’s tape to safeguard these areas. It’s also a good idea to move smaller items out of the room and cover larger furniture. Neglecting these precautions can lead to unnecessary cleanup and potential permanent stains.

Rushing the Painting Process

Patience is essential when painting your interior walls. Rushing through the process, whether due to time constraints or excitement, can lead to mistakes such as uneven coverage, streaks, or drips. Each coat of paint requires careful application to ensure a smooth and polished finish. Rushing also increases the likelihood of skipping steps, such as proper drying times, which can compromise the overall quality. Planning your painting project and allocating sufficient time for each step ensures a professional result.

Not Allowing Sufficient Drying Time Between Coats

Allowing each coat of paint to dry fully before applying the next is critical for achieving an even and long-lasting finish. Applying a new coat before the previous one is completely dry can result in peeling, streaking, or clumping. The recommended drying time varies depending on the type of paint, humidity, and room temperature. Water-based paints typically dry faster than oil-based paints, but it’s always best to follow the manufacturer’s instructions. Patience during this step ensures a flawless final result.

Ignoring the Need for Proper Ventilation

Proper ventilation is often overlooked but is essential for both safety and efficiency. Paint fumes, especially from oil-based paints, can be harmful if inhaled for prolonged periods. Poor ventilation also slows drying times, increasing the risk of smudging or uneven layers. Open windows and doors, use fans to circulate air, and take breaks to minimise exposure to fumes. For poorly ventilated spaces, consider using low-VOC or odourless paints to reduce health risks.

Conclusion and Final Tips for Successful Interior Wall Painting

Painting your interior walls can be a rewarding experience, but it requires careful planning, patience, and attention to detail. Avoiding these common mistakes – such as skipping preparation, rushing the process, or choosing the wrong tools – ensures a professional-quality finish that enhances the beauty of your space. Take the time to clean and prepare surfaces, use primer where necessary, and allow sufficient drying time between coats. Choose the right colours by testing them in your space and ensure proper ventilation throughout the process. By following these guidelines, you can transform your walls and create a space that reflects your style and personality with confidence.

Increase Longevity of Buildings with Waterproofing

Increase Longevity of Buildings with Waterproofing

When it comes to protecting your building, waterproofing should be at the top of the list. While many people focus on cosmetic improvements or interior design, the true durability of your home depends on how well it’s protected from the elements, especially water penetration. Seepages can cause hidden, slow damage to your building, leading to cracked walls, weakening foundations, and the growth of mould-all of which can dramatically reduce the lifespan of your home.

Proper waterproofing ensures that your building can withstand the test of time. In this blog, we’ll walk through the importance of waterproofing, identify areas that need special attention, and recommend the right products to use to ensure your building remains strong and resilient. Whether you’re building a new home or protecting an existing one, understanding waterproofing solutions is essential for preserving your investment.
Increase Longevity of Buildings with Waterproofing

Why Waterproofing Matters?

Water damage is one of the leading causes of building deterioration, affecting everything from the foundation to the roof. Seepages can weaken concrete, erode structural materials, and cause long-term issues like mould growth and rust. Over time, water damage can lead to costly repairs, decreased property value, and health risks.

Waterproofing prevents these problems by creating a protective barrier that keeps water out. Investing in quality waterproofing solutions not only protects your property from water damage but also increases its durability, safety, and overall lifespan.

Areas to Waterproof

Certain areas of your building are more vulnerable to water damage than others, making it crucial to prioritise waterproofing in high-risk spots. To ensure your building’s longevity and protect it from water infiltration, here are the key areas to focus on, along with Indicus Paints’ reliable waterproofing solutions for each.

1. Concrete Roofs, Columns & Beams: Indicus Godry Uniproof
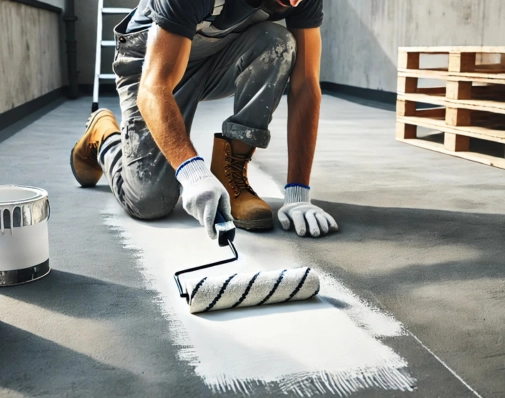
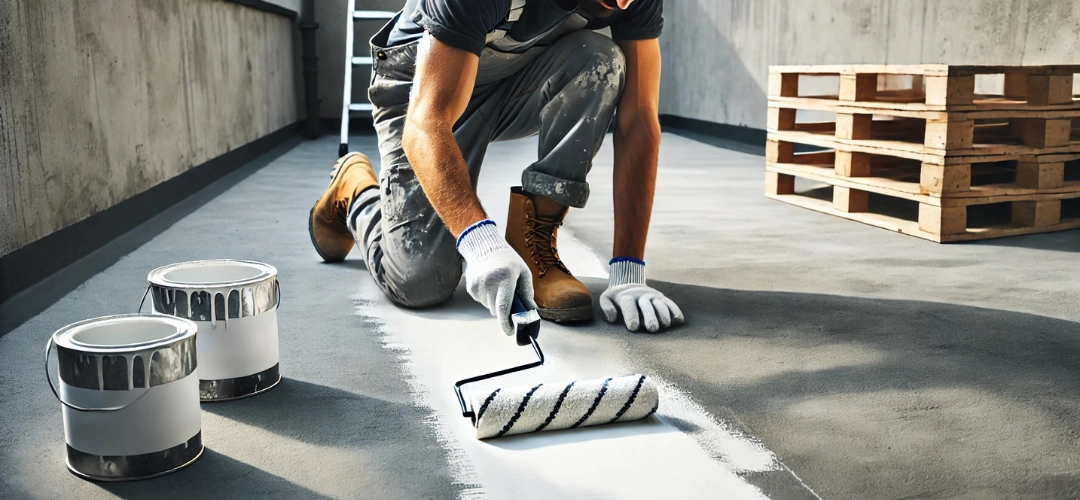
Concrete is a durable material, but it’s naturally porous, which means water can seep through over time. Concrete foundations, basement walls, and floors are especially susceptible to moisture damage. That’s where Godry Uniproof comes in—a waterproofing solution specifically designed for concrete surfaces. This product fills the pores in concrete and prevents water from penetrating, ensuring your foundation remains strong and intact.

Why Uniproof Works: It’s a highly effective barrier that prevents water infiltration, ensuring that your concrete surfaces are protected from the damaging effects of moisture.


2. Bathrooms & Terraces: Indicus Godry Maxcoat 2X

Bathrooms and terraces are wet areas, and they often face the brunt of water exposure. Without proper waterproofing, you risk leaks, mould growth, and even structural damage. Godry Maxcoat 2X is ideal for these areas as it offers superior protection against water. This product is designed for surfaces that are constantly exposed to water, such as bathroom floors and terrace decks.
Increase Longevity of Buildings with Waterproofing
Why Maxcoat 2X Works: Its superior adhesion and flexibility makes it perfect for wet areas. It not only waterproofs but also ensures the longevity of the surfaces, preventing water-related issues over time.


3. Utility Rooms & Balconies: Indicus Maxcoat 1X
While larger areas like foundations and roofs need heavy-duty protection, smaller spaces like utility rooms, balconies, or small bathroom corners still need waterproofing. Godry Maxcoat 1X is a more affordable solution that provides reliable waterproofing for these smaller, less exposed areas.

Why Maxcoat 1X Works: It’s a versatile, cost-effective solution that offers adequate protection without the need for heavier products, making it perfect for small-scale applications.


4. Wall & Floor Cracks: Indicus Easyseal
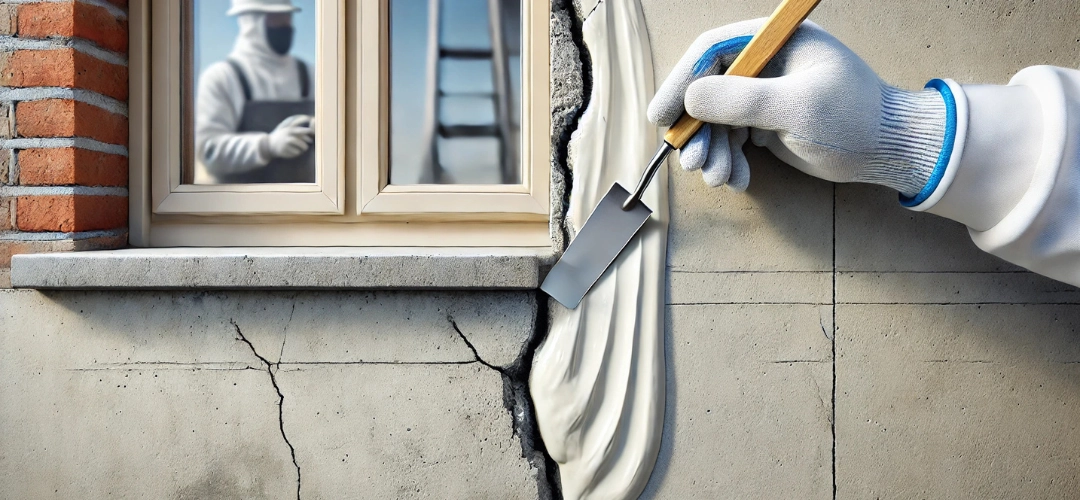
Cracks in your walls and floors are common entry points for water, but fortunately, they can be easily sealed with Easyseal. This product is designed to fill cracks in concrete, plaster, and brickwork, preventing water from penetrating through.
Increase Longevity of Buildings with Waterproofing
Why Easyseal Works: It creates a flexible seal that expands and contracts with the material, ensuring that the cracks remain sealed even with changes in temperature or humidity.


5. Paint Undercoat: Indicus Aquaseal
Before applying paint it’s important to use an undercoat like Aquaseal. This product acts as a primer for waterproofing surfaces, creating a strong base layer that improves adhesion for the final coat and prevents moisture from seeping through.

Why Aquaseal Works: It provides an added layer of protection by sealing porous surfaces, ensuring that your topcoat adheres properly and that water stays out.


6. Paint Topcoat: Indicus Forto
The final step in completing your house is applying a topcoat, and Forto is the ideal product for this. It provides long-term protection against algae and fungi growth on walls and keeps your house looking fresh and clean.

Why Forto Works: Provides superior anti-algal and UV resistant properties, helping to maintain your building’s appearance for years to come.


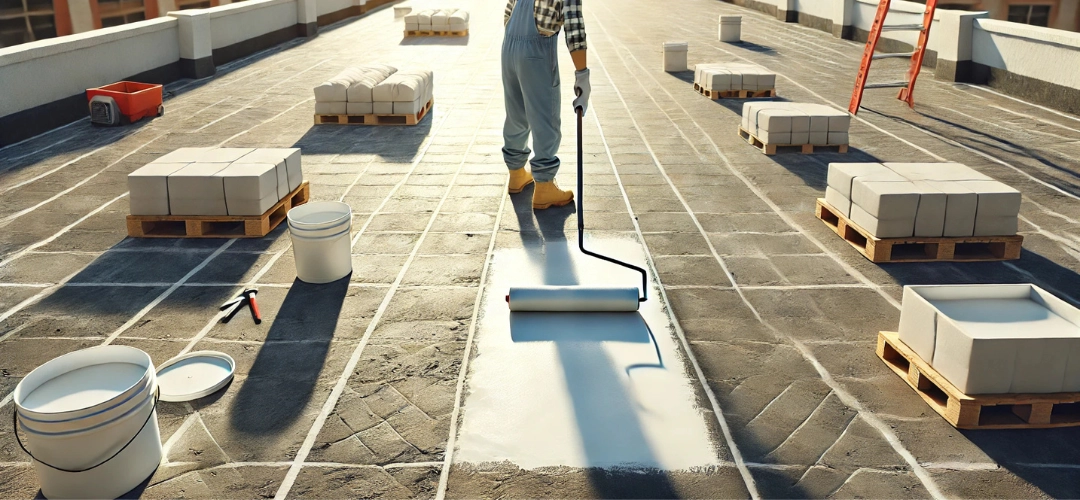
7. Roof Terraces: Indicus Heatseal Advanced
For terraces, which are constantly exposed to the elements, Heatseal Advanced offers an exceptional waterproofing solution. It not only prevents water penetration but also reflects heat, which helps maintain a cooler temperature inside your building.

Why Heatseal Advanced Works: It combines waterproofing with thermal insulation, making it a perfect solution for terraces exposed to both rains and high temperatures.
Increase Longevity of Buildings with Waterproofing

Conclusion: Waterproofing as a Vital Investment in Building Longevity

Waterproofing is much more than just an aesthetic choice—it’s a vital investment in the longevity of your building. By focusing on key areas like concrete foundations, bathrooms, terraces, and cracks, and by using the right products like Uniproof, Maxcoat 2X, Aquaseal, and Easyseal, you can ensure that your property is protected from the damaging effects of moisture.

Waterproofing helps prevent costly repairs, protects your building’s structural integrity, and improves the overall safety of your living environment. Whether you’re building a new home or maintaining an existing one, the benefits of waterproofing are clear: it’s the best way to protect your investment and ensure your building stands the test of time.

FAQs

1. Why is waterproofing essential for buildings?
Waterproofing helps protect buildings from water damage, which can weaken the structure, cause mould, and lead to costly repairs. It’s an investment that improves durability and reduces maintenance costs.

2. How long does waterproofing last?
With the right products, waterproofing can last anywhere from 5 to 15 years. Regular maintenance can extend the lifespan of your waterproofing system.

3. Can I waterproof my home after construction?
Yes, you can waterproof your home after construction. But it is always easier & more effective to waterproof during construction.

4. What are the best products for waterproofing?
Top products like Uniproof, Maxcoat 2X, Easyseal,and Aquaseal are excellent for ensuring long-lasting protection against water damage.

5. What areas should be prioritised for waterproofing?
Focus on high-risk areas like foundations, bathrooms, terraces, and roofs—these are the most vulnerable to water damage and should be waterproofed first.

How to Paint a Wooden Gate for Long-Lasting Beauty and Protection

How To Paint A Wooden Gate For Long-Lasting Beauty and Protection

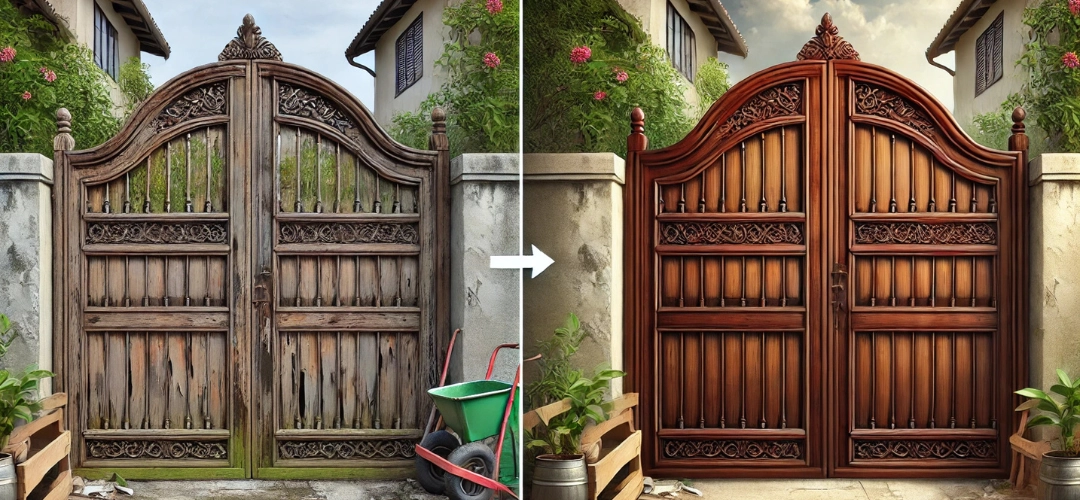
Painting a wooden gate is more than just a cosmetic update—it’s an essential step for long-term protection against the elements. Outdoor wood is constantly exposed to changing weather conditions, which can lead to warping, cracking, and rot if not adequately safeguarded. By investing in high-quality, long-lasting outdoor wood coating, you can enhance your gate’s appearance while ensuring its durability. This comprehensive guide will walk you through the best practices, from selecting the right coat to maintaining the finish for years to come.

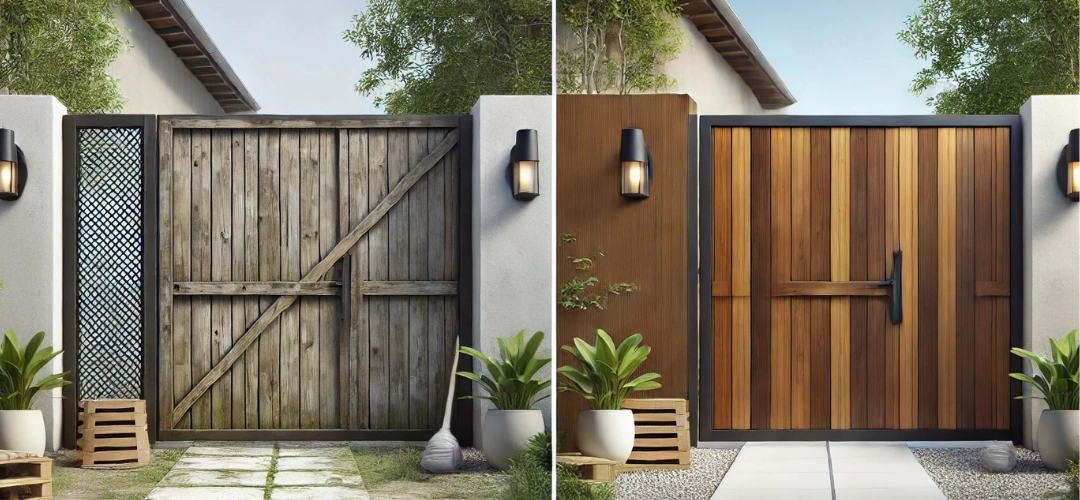
Paint a Wooden Gate for Long-Lasting Beauty and Protection

Importance of Painting a Wooden Gate for Protection

Painting a wooden gate provides a crucial barrier against moisture, which can seep into unprotected wood and cause rotting and warping. Additionally, a proper coating shields the wood from harmful UV rays, preventing discolouration and decay over time that might occur under prolonged sun exposure. This protective layer not only keeps the wood structurally sound but also elevates the overall look of your property, enhancing its curb appeal and market value.

Paint a Wooden Gate for Long-Lasting Beauty and Protection

Preparing the Wooden Gate for Repainting

Proper preparation is key to a flawless and long-lasting finish. Start by inspecting the gate for any signs of damage, such as cracks or splintering, and repair these areas as needed. Clean the surface thoroughly with a mixture of mild soap and water to remove dirt, mould, or any peeling paint. Sanding the gate is essential to smooth out rough spots and help the new paint adhere better.

Painting the Gate

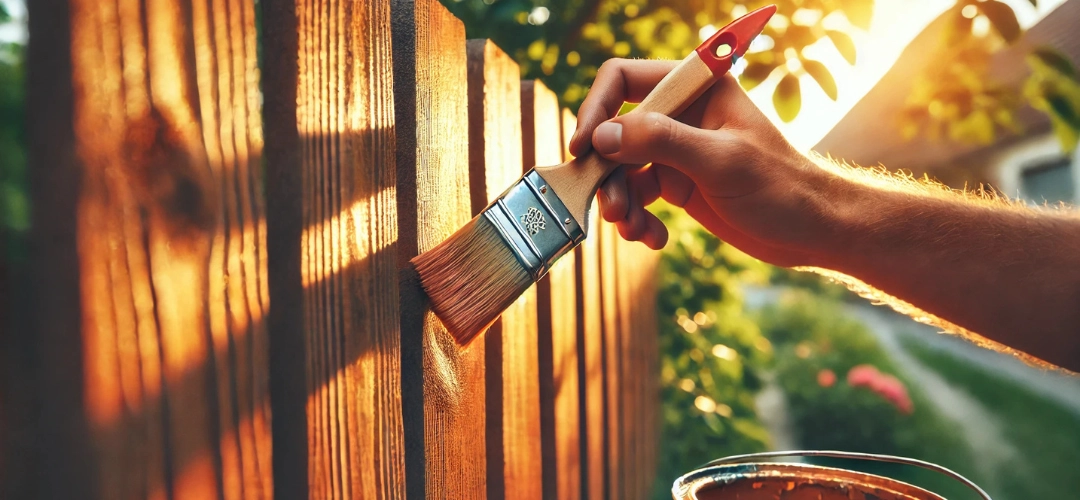
The process involves the application of multiple layers, including sealers, stains, and topcoats, to create a polished, durable surface. Choosing the right quality materials like Indicus Woodfina, Indicus NC Sanding Sealer etc. would give you a premium high quality finish.

Paint a Wooden Gate for Long-Lasting Beauty and Protection

Steps for Coating a Wooden Gate

  1. Preparation
    • Ensure the wood is well-seasoned and fully dried.
    • For tannin-rich woods, clean the surface with NC thinner to remove inherent oiliness.
    • If the gate has a previous coating, scrape or sand it off entirely before starting.
  2. Sanding
    • o Sand the wooden surface along the grain using abrasive paper no. 180. Follow up with finer grit paper no. 320 or no. 400 to remove loose particles and create a smooth surface.
  3. Repairing Dents
    • Fill any dents or cracks with a wood filler using a putty knife. Allow it to dry for 3-4 hours, then sand the surface again for uniformity.
  4. Sealing
    • Apply 1 to 2 coats of a sanding sealer to fill pores and smooth out the wood. Allow each coat to dry for 2 hours before sanding lightly with abrasive paper no. 320.
  5. Staining
    • Apply 1 to 2 coats of wood stain to enhance the wood’s natural grain and achieve the desired colour. Allow 2 hours of drying time between coats, sanding lightly after each application.
  6. Topcoat Application
    • Apply 2 to 3 coats of a clear protective topcoat to seal and protect the wood. Allow each coat to dry for 8-12 hours. This step ensures a durable, polished finish that can withstand weather and wear.

Tips for a Professional Finish

  • Work in Optimal Weather: Coating should be done in mild temperatures to ensure proper drying and curing.
  • Use Good Quality Tools: Invest in high-quality brushes, rollers, and applicators to avoid streaks, fibres, and uneven layers.
  • Protect Surroundings: Use drop cloths or tarps to prevent spills and splatters on nearby surfaces.
Paint a Wooden Gate for Long-Lasting Beauty and Protection

Maintaining a Wooden Gate

Whether you choose painting or coating, regular maintenance ensures long-lasting protection. Here’s how:

  1. Inspect Regularly: Check for peeling, cracks, or damage every few months and address issues promptly
  2. Clean Periodically: Wash the gate with mild detergent and a soft cloth or brush to remove dirt and pollutants.
  3. Reapply as Needed: Refresh the topcoat every few years to maintain protection and appearance.
Paint a Wooden Gate for Long-Lasting Beauty and Protection

Conclusion

Painting a wooden gate not only preserves its beauty but also protects it from the elements. Proper preparation with NC Sanding Sealer and finishing with weather resistant Indicus Woodfina can ensure a stunning, durable result. With regular maintenance and care, your gate will remain a standout feature of your property for years. Both Woodfina and NC Sanding Sealer work hand in hand to create a professional-grade finish, ensuring lasting beauty and protection.