
You are using an outdated browser. Please upgrade your browser to improve your experience.

Choosing the Perfect Colour Palette for Your Home with Indicus ColourCast Visualizer

Choosing the Perfect Colour Palette for Your Home with Indicus ColourCast Visualizer

Selecting the ideal colour palette for your home’s interior can dramatically impact its ambiance and style. From energising living rooms with vibrant hues to creating a serene atmosphere in bedrooms, the right colour choice can make all the difference. The Indicus ColourCast Visualizer app makes this process easy by allowing users to explore and apply over 1,000 colours directly to their walls. Whether you’re redecorating a single room or revamping your entire home, this innovative tool is the ultimate companion for interior design.

The Role of Colour in Interior Design

The choice of colours can transform the look and feel of a space. Warm tones like yellows and oranges are perfect for creating welcoming and energetic environments, while cool tones like blues and greens bring calmness and balance. Neutrals such as greys, whites, and beiges remain timeless, offering a clean backdrop for any design style. By selecting the perfect colour palette, you can align your interiors with your personality and functional needs, ensuring your home feels cohesive and inviting.

Introducing the ColourCast Visualizer Mobile App

The Indicus ColourCast Visualizer is an innovative app designed specifically for interior design. This powerful tool lets users click a photo of their walls and apply various colours from the extensive Colour Symphony palette. With this real-time colour application feature, the app eliminates the guesswork of choosing paint colours, helping you make confident decisions tailored to your unique space.

Indicus ColourCast Visualizer

Who Can Use the ColourCast Visualizer and How It’s Helpful

The ColourCast Visualizer is ideal for:
  • Homeowners: Simplifies the process of choosing the perfect interior colour palette for home makeovers or renovations.
  • Interior Designers: Provides a fast and efficient way to showcase colour options to clients in real-time.
  • DIY Enthusiasts: Enables experimentation with colours without needing paint samples, making it easier to visualise ideas before committing.
How It’s Helpful: The app allows users to click a photo of their walls and instantly apply colours from the palette. This real-time visualisation feature saves time, reduces the cost of buying paint samples, and ensures the chosen colours align with your vision. With the ability to experiment freely, you can explore bold ideas or settle on timeless classics with confidence.

Key Features of the ColourCast Visualizer App

  1. Click, Apply, and Visualise Colours in Real TimeThe app lets users click photos of their walls and test how various colours look instantly. This intuitive feature allows you to visualise your chosen palette in your actual space, considering factors like lighting and room size.
  2. Explore Over 1,000 ColoursThe exclusive Colour Symphony palette offers a wide range of shades, from subtle neutrals to vibrant hues, ensuring there’s something for every taste and design style.
  3. Save and Share Your Favourite PalettesSave your chosen colour combinations directly within the app and share them with friends, family, or designers for feedback. This feature simplifies decision-making and ensures your top picks are easy to revisit.
  4. User-Friendly and Memory-EfficientDesigned to work smoothly on Android devices, the app is lightweight yet powerful, making it accessible to all users without occupying significant device storage.

Step-by-Step Guide to Using the ColourCast Visualizer

  1. Download and Set Up the App
    Download the ColourCast Visualizer from the Google Play Store here. It’s available exclusively for Android devices.
  2. Click a Photo of Your Wall
    Use the app’s built-in camera functionality to capture an image of the wall you want to redesign. This feature ensures accurate visualisation, as it applies colours directly to the photo in real-time.
  3. Explore and Apply Colours
    Browse through the extensive Colour Symphony palette and experiment with various shades. Apply colours to see how they look on your walls, helping you narrow down the perfect options.
  4. Save and Share Your Choices
    Save your favourite colour combinations and share them with family or friends for feedback. This collaborative approach ensures your final decision is well-informed.

Tips for Choosing the Right Colour Palette for Your Interiors

When selecting a colour palette for your interiors, consider the following:
  • Room Function: Choose colours that suit the room’s purpose. For example, soothing tones like light blues are ideal for bedrooms, while vibrant colours such as yellows and reds work well in dining rooms or play areas.
  • Lighting: Natural and artificial lighting can dramatically change how colours appear. Use the ColourCast Visualizer to test shades under different lighting conditions.
  • Balance and Contrast: Pair bold colours with neutral tones to create a balanced look that is visually appealing without overwhelming the space.

Indicus ColourCast Visualizer

Discovering New Trends and Designs with ColourCast

The ColourCast Visualizer keeps you updated with trending interior colours. For 2024, earthy tones like terracottas, sage greens, and soft blues are gaining popularity, reflecting a shift toward calm and nature-inspired interiors. The app’s extensive palette allows you to explore these trends and see how they fit into your home design.

The Advantages of Using the ColourCast Visualizer for Interior Design

The ColourCast Visualizer takes the stress out of interior design by allowing users to experiment freely with colours. By clicking a photo of your wall and applying shades in real-time, the app provides a clear visualisation of how your chosen palette will look. This feature reduces the need for physical paint samples, saving both time and money, and encourages creativity by enabling you to explore unconventional ideas without risk.

Indicus ColourCast Visualizer

Real User Experiences with the ColourCast Visualizer

Homeowners and interior designers alike have praised the ColourCast Visualizer for its ease of use and accuracy. Many users appreciate the ability to see colours directly on their walls, providing clarity and confidence during the decision-making process. By eliminating guesswork, the app ensures a more streamlined and enjoyable approach to redesigning interiors.

How to Access and Maximise the ColourCast Visualizer Experience

The ColourCast Visualizer is available exclusively for Android devices. Download it from the Google Play Store here. To make the most of your experience, ensure you use the app’s built-in camera to capture high-quality photos of your walls for accurate visualisation. Experiment with various colours and combinations to find the perfect palette for your interiors.

Expert Tips for Interior Colour Selection

  • Start with Neutrals: A neutral base provides flexibility, allowing you to layer bold accents for a dynamic look.
  • Focus on Lighting: Test colours under different lighting conditions to see how they appear throughout the day.
  • Limit Bold Colours: Use bold hues sparingly as accents to create a balanced, timeless design.
Complementary Apps and Resources

In addition to the ColourCast Visualizer, consider using apps for furniture arrangement or décor inspiration to see how your chosen colour palette fits with the rest of your design. Platforms like Pinterest can help you discover creative ways to integrate colours into your overall home aesthetic.

Conclusion

The Indicus ColourCast Visualizer is a must-have tool for anyone redesigning their home’s interiors. With the ability to click photos of your walls and apply over 1,000 colours, the app simplifies the decision-making process, saving time and reducing stress. Whether you’re exploring bold new trends or sticking to timeless classics, the ColourCast Visualizer ensures you make confident choices tailored to your style. Download the app today on Android and transform your interiors with ease.

Brush vs Roller? Find the Perfect Painting Tool for Your DIY Project

Brush vs Roller? Find the Perfect Painting Tool for Your DIY Project

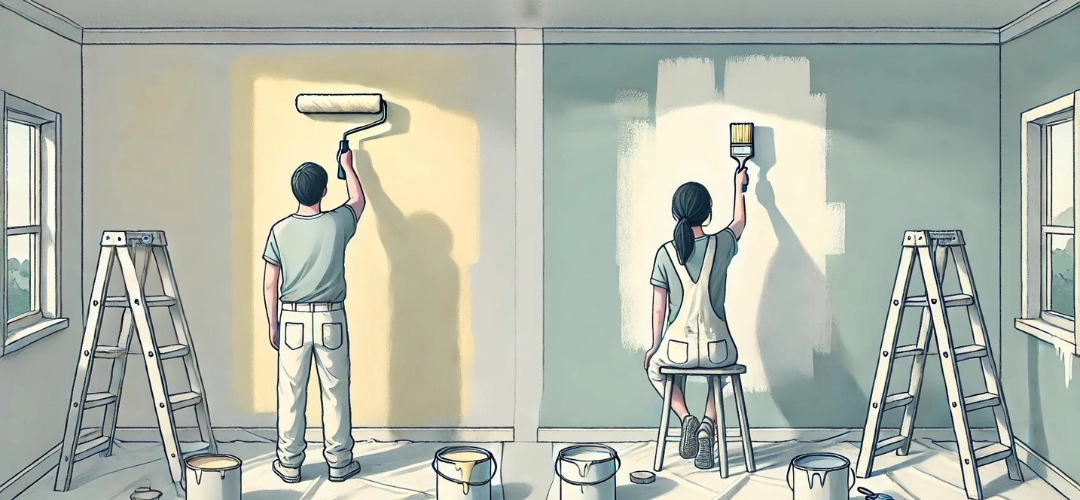
When embarking on a DIY painting project, choosing the right tool is crucial to achieving the best results. Two of the most common tools for painting are the paintbrush and the roller, each with its own advantages and limitations. To help you make an informed decision, this guide will break down the pros and cons of each, factors to consider when selecting a tool, and how to use them effectively.
Perfect Painting Tool

Pros and Cons of Using a Brush

Using a paintbrush offers a number of benefits, particularly when precision is required. A brush provides superior control, making it ideal for painting edges, corners, and detailed areas like trim or moulding. Additionally, brushes allow for a smooth finish when used properly, and they can be utilised on various surfaces, including wood, metal, and intricate textures. However, brushes do have their drawbacks. Painting large areas with a brush can be time-consuming, and without careful technique, visible brush strokes may appear. Achieving an even, smooth finish with a brush requires skill and patience, making it less efficient for larger projects.

Pros and Cons of Using a Roller

On the other hand, rollers are the go-to tool for large, flat surfaces. They can cover a lot of ground quickly and provide consistent, even coverage, reducing the likelihood of streaks or missed spots. This makes rollers perfect for painting walls and ceilings. However, rollers are not as precise as brushes, which limits their use in corners or detailed areas. They are best suited for broad strokes, and while they can speed up large projects, they can also cause splattering if not used correctly or if the roller is overloaded with paint. Additionally, rollers are less effective on rough or textured surfaces compared to brushes.

Factors to Consider When Choosing a Painting Tool

Several factors will influence whether a brush or roller is the right tool for your DIY painting project. First, consider the size of the surface you’re painting. Rollers are ideal for large areas like walls, while brushes are better suited for smaller, more intricate surfaces. Surface texture is another key factor; brushes are better for textured or uneven surfaces, while rollers work best on smooth surfaces. The type of paint also matters; thicker paints are often easier to apply with a roller, while thinner paints might require the precision of a brush. Lastly, think about your skill level and the time you have available. Brushes require more finesse but offer greater control, while rollers are quicker and easier to use for beginners.

Different Types of Brushes and Rollers

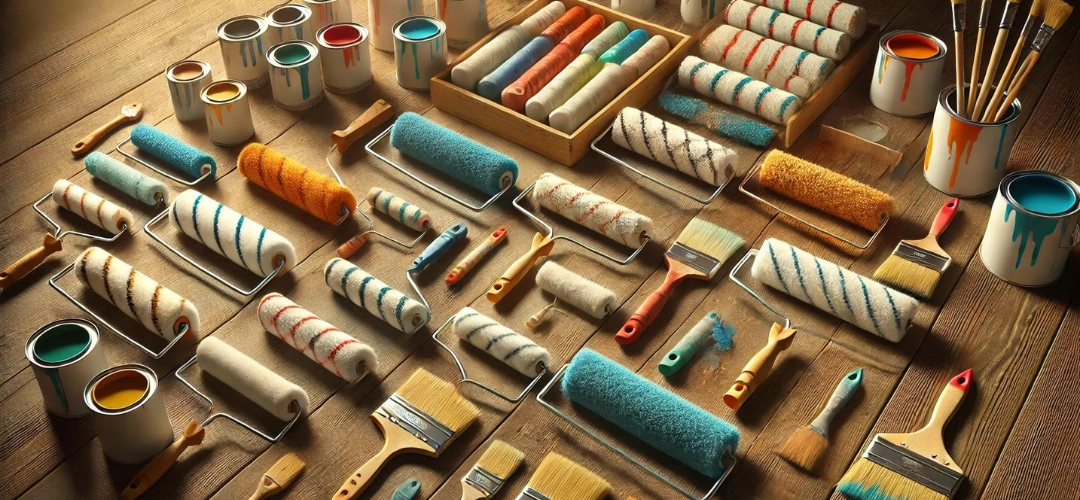
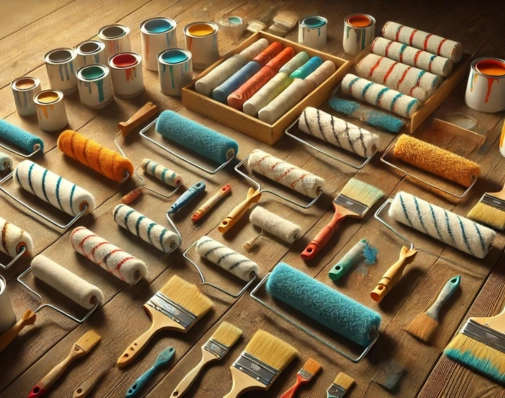
Both brushes and rollers come in a variety of styles designed for specific tasks. Brushes, for example, range from flat to angled to sash brushes. Flat brushes are great for covering wide, smooth surfaces, while angled brushes are designed for painting edges and corners with ease. Sash brushes, with their tapered bristles, are perfect for fine detailing on window frames and intricate areas. Rollers also come in different types, with foam rollers providing a smooth finish on flat surfaces and nap rollers available in various thicknesses for both smooth and textured surfaces. Thicker nap rollers are better for rougher textures, while thinner nap rollers are ideal for smooth walls.
Different Types of Brushes and Rollers

Best Uses for Brushes in Painting Projects

Brushes excel in projects where detail and precision are important. They are perfect for painting trim, baseboards, window frames, and other small areas that require careful attention. Brushes are also effective when working with oil-based paints or when painting surfaces that have texture or intricate designs. If you’re doing decorative painting or need to apply paint to hard-to-reach corners and tight spaces, a brush is the tool of choice.

Best Uses for Rollers in Painting Projects

When it comes to large, flat areas, such as walls, ceilings, or floors, rollers are the best tool. Their ability to cover vast areas quickly with consistent coverage makes them invaluable for big projects. Rollers are also excellent for applying multiple coats of paint evenly, ensuring a smooth, professional finish with minimal effort. If you’re painting a large room or exterior wall, a roller will save you both time and energy.

How to Properly Use a Brush for Painting

To get the best results from a paintbrush, proper technique is essential. Start by selecting the right brush size and bristle type for your project. Synthetic bristles are best for latex paints, while natural bristles work well with oil-based paints. Dip the brush about a third of the way into the paint, avoiding overloading it, and tap off any excess paint to prevent drips. Apply the paint with long, smooth strokes, then lightly go over the area to eliminate any visible brush marks. Cleaning the brush immediately after use will help maintain its shape and extend its life for future projects.
Brush for Painting

How to Properly Use a Roller for Painting

Using a roller correctly is also important for achieving a smooth, even finish. First, select the appropriate roller cover based on the surface you’re painting. For smooth walls, a shorter nap roller is best, while rough surfaces require a longer nap roller. When loading the roller with paint, roll it back and forth in the tray to ensure even coverage. Begin painting by using a “W” or zigzag pattern on the wall, then fill in the gaps by rolling without lifting the roller to avoid lap marks. Apply steady, even pressure as you work to prevent splattering or uneven patches.

Conclusion: Choosing the Right Tool for Your DIY Project

In the end, the decision between using a paintbrush or a roller depends on the specific requirements of your painting project. For detailed work, trim, and small areas, a paintbrush offers the precision and control you need. For large, flat surfaces, a roller will provide faster, more consistent coverage. By understanding the strengths and weaknesses of each tool and considering factors like surface type, paint choice, and project size, you can ensure that you choose the right tool to achieve professional-looking results in your DIY painting project.

Why Hiring A Professional Painting Service Saves You Time And Cost?

Why Hiring a Professional Painting Service saves you time and cost?

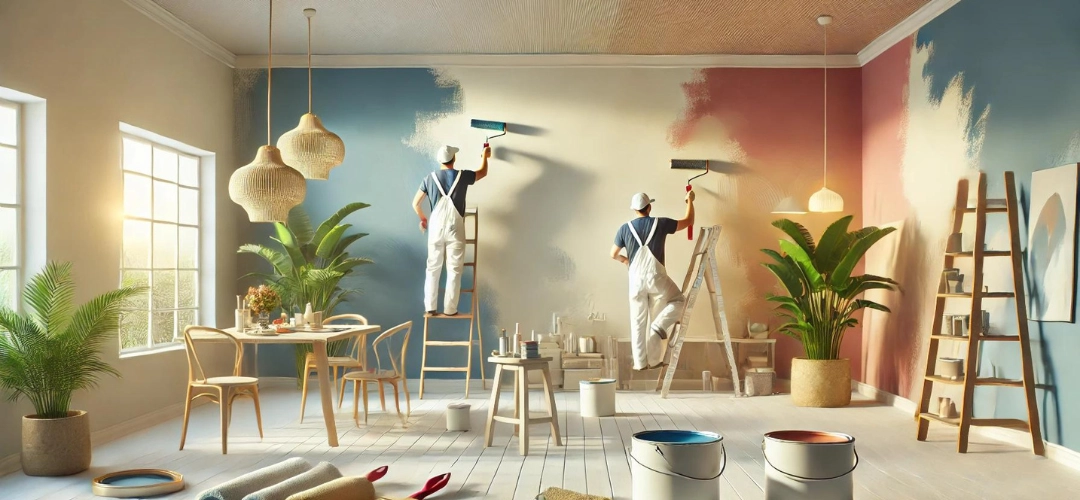
Painting is one of the most impactful ways to transform a space, whether it’s for a residential home or a commercial property. However, the quality of the work, materials used, and overall finish are what make the real difference. Hiring a professional painting service comes with many advantages that go beyond just finding your favourite colours and painting your walls. In this article, we’ll delve into the benefits of hiring professionals for your painting project, covering everything from quality and expertise to cost-effectiveness.

Quality and Expertise of Professional Painters

One of the primary reasons to hire a professional painting service is the level of quality and expertise they bring to the table. Professional painters are trained to handle various painting tasks, from surface preparation to choosing the right type of paint for different surfaces. Their experience ensures that the paint is applied evenly and smoothly, resulting in a professional-looking finish that enhances the aesthetics of your space. Moreover, professionals understand how different environments—whether indoor or outdoor—affect paint durability and can provide expert advice on the best solutions. This level of detail and expertise is hard to achieve without formal training and experience, which is why a DIY job often pales in comparison to professional work.
Quality and Expertise of Professional Painters

Time-Saving and Convenience

Hiring a professional painting service can save you a significant amount of time. A large-scale painting project, whether for a single room or an entire property, is a time-consuming process that requires careful planning and execution. When you hire professionals, they take care of the entire project, from preparation to the final coat. This allows you to focus on other tasks or relax while they handle the details. Additionally, professional painters work efficiently due to their experience and access to the right tools and equipment, ensuring the job is completed in a timely manner. This convenience is invaluable, especially for those with busy schedules who may not have the time or patience to manage a painting project themselves.

Proper Equipment and Materials

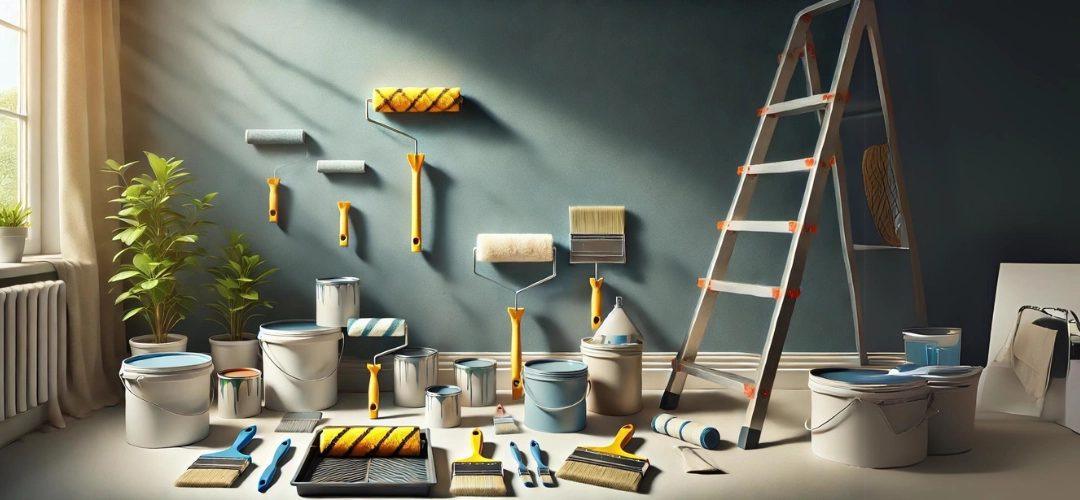
A major benefit of hiring professional painters is their access to the right equipment and materials for the job. From ladders and scaffolding to specialised brushes and rollers, professionals are equipped with everything needed to ensure a high-quality finish. These products are often more durable and provide better coverage, which leads to a longer-lasting result. Moreover, professional painters know how to use these tools effectively, which not only improves the quality of the work but also minimises waste and reduces the overall time required for the project. In contrast, attempting to source and use these tools on your own can be both costly and inefficient.
Professional Advice and Guidance

Surface Repairs Before Painting

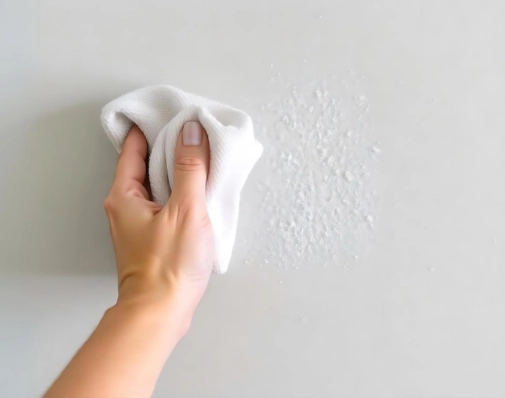
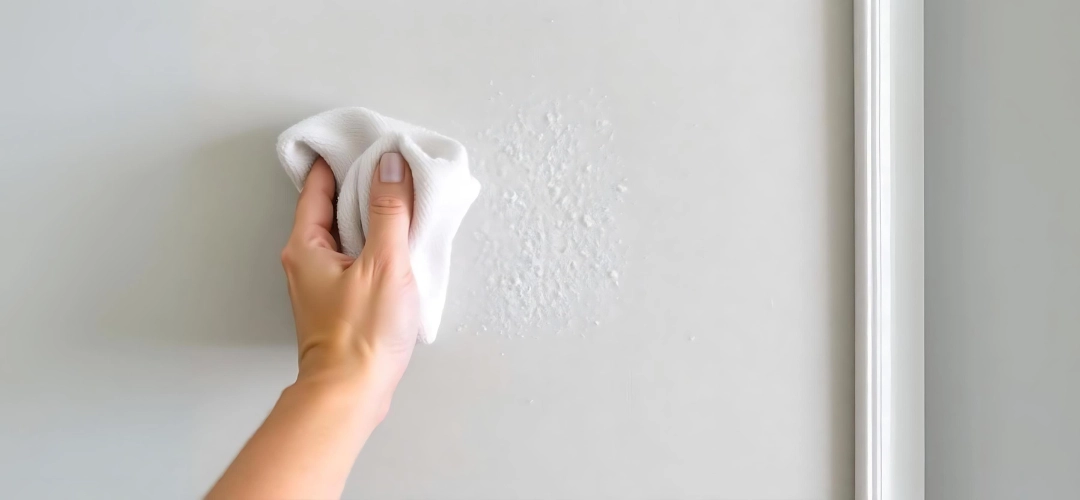
One of the often overlooked but crucial steps in achieving a flawless paint finish is addressing surface repairs before the painting process begins. Professional painters are trained to identify and correct underlying issues such as cracks, efflorescence, water damage, and poor plaster conditions that may not be immediately visible to an untrained eye. These surface imperfections can severely impact the quality of the final paint job, causing uneven finishes or even peeling and chipping over time.

Cracks in the walls, for instance, need to be filled and sanded properly before any paint can be applied. Efflorescence, which is the white powdery residue left by water seeping through masonry surfaces, must be treated to prevent moisture from affecting the durability of the paint. Similarly, water damage and mold need to be addressed to prevent future paint failure. Professional painters have the knowledge and tools to thoroughly repair these issues, ensuring that the surface is smooth, dry, and ready to hold the paint properly.

By taking the time to fix these problems before applying paint, professional painters not only improve the appearance of your property but also extend the life of the paint job. These repairs provide a stable base for the paint to adhere to, resulting in a durable, long-lasting finish that will withstand the test of time.
Proper Equipment and Materials

Safety Considerations

Painting can come with various safety risks, especially when it involves high ceilings, outdoor areas, or older homes that might contain lead-based paint. Professional painting services prioritise safety, not only for their workers but also for your property and its occupants. They are trained in safety protocols and have the necessary equipment, such as scaffolding, safety harnesses, and protective gear, to complete the job without accidents. Additionally, professionals know how to handle hazardous materials properly, ensuring that any health risks associated with old or toxic paints are mitigated. This aspect of safety is often overlooked in DIY projects but can be crucial in avoiding accidents and potential long-term health issues.

Cost-Effective in the Long Run

While hiring a professional painting service might seem more expensive upfront compared to a DIY approach, it often proves to be more cost-effective in the long run. Professional painters do the job right the first time, reducing the need for costly touch-ups or repairs down the line. Additionally, they use high-quality materials and apply techniques that ensure the paint job lasts for years, reducing the frequency of repainting. A poorly executed DIY paint job can deteriorate quickly, requiring you to spend more on materials and labour to fix it. By hiring professionals, you’re making an investment in the long-term durability and aesthetic appeal of your space, which ultimately saves you money.

Professional Advice and Guidance

Another significant advantage of hiring professional painters is their ability to offer expert advice and guidance throughout the project. From selecting the right colours to recommending the best type of paint for your environment, their knowledge can be invaluable. Professionals understand how lighting, room size, and other factors influence colour perception, helping you make the best choices for your space. They can also provide guidance on finishes, textures, and even help you stay within your budget by suggesting cost-effective solutions without compromising on quality. This level of insight ensures that your project not only looks great but also meets your specific needs and preferences.
Surface Repairs Before Painting

Enhancing the Value of Your Property

A professionally executed paint job can significantly enhance the value of your property, whether you’re preparing to sell or simply want to boost its curb appeal. Potential buyers are more likely to be impressed by a home or commercial space that looks well-maintained, and fresh paint is one of the easiest and most cost-effective ways to achieve that. Moreover, professional painters ensure that the job is done correctly, using the right techniques and materials to increase the longevity of the paint, which adds to the overall value of your property. A well-painted home or office not only looks more attractive but can also give you an edge in a competitive real estate market.
Enhancing the Value of Your Property

Customer Testimonials and Reviews

When considering a professional painting service, customer testimonials and reviews can offer valuable insights into the quality of work and customer satisfaction. Reputable painting companies often have a portfolio of completed projects and reviews from satisfied clients. These testimonials can provide peace of mind, knowing that you are hiring a trusted and reliable service. Furthermore, reviews can highlight specific strengths of a painting company, such as their attention to detail, punctuality, or customer service. Positive feedback from past clients is one of the best indicators that a professional painting service is worth the investment.

Conclusion: Making the Right Choice for Your Painting Needs

In conclusion, hiring a professional painting service offers a multitude of benefits that go beyond just a fresh coat of paint. From time-saving convenience to ensuring safety and performing necessary surface repairs, professionals provide a level of quality that guarantees a durable and aesthetically pleasing result. Professional painters are well-equipped to handle any challenges that arise, delivering not only an excellent finish but also peace of mind.

If you are looking for trusted experts, ColourCraft Painting Services by Indicus offers comprehensive residential and exterior painting solutions. Their services include weather-resistant exterior painting that not only beautifies but also protects your home, enhancing its value. With ColourCraft, you get exceptional service, backed by years of experience and a focus on quality. They take care of every detail, from surface preparation to the final finish, ensuring your property stands out and stays protected.

For your next project, consider ColourCraft Painting Services for a professional, hassle-free painting experience that will leave your home looking its best.You can explore more about their services here.

How to Clean and Maintain Painted Surfaces

How to Clean and Maintain Painted Surfaces

Maintaining the beauty of your painted surfaces requires more than just a fresh coat of paint every few years. Proper cleaning and maintenance are essential for keeping walls, trim, and other painted surfaces looking their best. Whether you’re dealing with scuffs, stains, or general wear and tear, this guide will walk you through the best practices for cleaning and maintaining painted surfaces in your home.
Maintain Painted Surfaces

1. Understand Your Paint Finish

Different paint finishes have different cleaning needs:
  • Matte/Flat: These finishes are less durable and can be prone to showing marks and stains. They require gentle cleaning methods.
  • Eggshell/Satin: These finishes are more resistant to stains and easier to clean, making them suitable for most interior walls.
  • Semi-Gloss/Glossy: These finishes are highly durable and resistant to stains, making them ideal for high-traffic areas and trim. They are easy to clean with regular methods.

2. Routine Dusting and Spot Cleaning

ARegular maintenance helps prevent buildup and keeps your walls looking fresh:
  • Dusting: Use a dry microfiber cloth or a duster to remove dust and cobwebs from painted surfaces. This prevents particles from scratching the paint.
  • Spot Cleaning: For minor stains or marks, use a soft cloth or sponge with a mild soap solution. Gently rub the affected area without using excessive moisture.
Routine Dusting and Spot Cleaning

3. Cleaning Painted Walls

For a more thorough cleaning, follow these steps:
  1. Prepare the Area: Move furniture and cover the floor with a drop cloth. This prevents spills and protects your furnishings.
  2. Mix Cleaning Solution: In a bucket, combine warm water with a few drops of mild dish soap. Avoid harsh cleaners or bleach as they can damage the paint.
  3. Test in an Inconspicuous Area: Before cleaning the entire wall, test the solution on a small, hidden spot to ensure it doesn’t damage the paint.
  4. Clean the Wall: Dip a sponge or cloth into the soapy water, wring it out, and gently wipe the wall in a circular motion. Rinse the sponge frequently and avoid over-wetting the surface.
  5. Dry the Wall: Use a clean, dry cloth to blot the area and remove excess moisture. Allow the wall to air dry completely.

4. Removing Tough Stains and Marks

For stubborn stains or marks, you might need more specific methods:
  • Crayon and Marker Marks: Use a mixture of baking soda and water to gently scrub the area. An eraser can also be effective for crayon marks.
  • Grease Stains: Apply a mixture of white vinegar and water or use a commercial degreaser designed for painted surfaces.
  • Mold and Mildew: For mold or mildew, use a solution of equal parts water and white vinegar. Scrub the affected area with a soft brush and rinse thoroughly.
Removing Tough Stains and Marks

5. Maintaining Trim and Baseboards

Trim and baseboards often require more frequent cleaning due to their exposure to dust, dirt, and scuffs:
  1. Dust Regularly: Use a microfiber cloth or duster to keep trim and baseboards free of dust.
  2. Clean with Mild Soap: For grime or fingerprints, clean with a mild soap solution and a soft cloth. Avoid abrasive scrubbers that can damage the finish.
  3. Touch Up Paint: If you notice chips or scratches, touch up with leftover paint. Use a small brush and blend the new paint with the old.

6. Preventive Measures

Taking preventive steps can help maintain your painted surfaces:
  • Use Washable Paint: Consider using washable or stain-resistant paints, especially in high-traffic areas or homes with children and pets. Indicus Admyra creates a washable surface that gives the ability to remove stains without damaging the film. It can withstand repeated cleaning without showing signs of wear, fading or damage. Household stains can be cleaned easily using water and mild detergent without losing its original appearance or colour vibrancy.
  • Install Protective Covers: Use doorstoppers and furniture pads to prevent scuffs and scratches.
  • Address Issues Early: Fix any problems like water leaks or mold growth promptly to prevent damage to painted surfaces.

7. Refreshing Your Paint

Even with regular cleaning, painted surfaces may eventually need a refresh:
  • Assess the Condition: Check for signs of wear, such as fading, peeling, or discoloration.
  • Prepare for Repainting: Clean the surface thoroughly and repair any damage before applying a fresh coat of paint. Use high-quality paint for better durability and coverage.
Refreshing Your Paint

Conclusion

Proper cleaning and maintenance of painted surfaces are key to preserving their beauty and extending their lifespan. By understanding your paint finish, performing routine dusting, and using appropriate cleaning methods, you can keep your walls, trim, and other painted surfaces looking fresh and vibrant. Remember to address stains promptly, use preventive measures, and refresh your paint as needed to maintain a well-maintained and attractive home. Happy cleaning!

5 Steps To Consider Before Painting Your House

Painting the house is a great way to give it a fresh look and choose different colors that suit your taste. If you are thinking about painting your house, you should know that there are a few things to consider before getting started.

1. Prepare the surface for painting

It is very important to prepare your wall before painting. This will help the paint adhere to the surface and also make the job of painting much easier. The initial step is to take off any flaking or lifted paint. Sandpaper or a putty knife can be used for this. Once the wall is dry, clean and even, you can start your painting work.

2. Waterproofing your walls before
they leak

It doesn’t matter how good the paint is if your walls are not properly waterproofed; then they will start to peel, crumble and leak. Waterproofing helps to prevent any moisture from seeping through and damaging the paint job. This will save you from having to repaint in a few months/years, providing a good base for the paint color and extend the paint’s lifespan. Create a healthy and seepage free homes with Indicus Aquaseal.

3. Applying primer before painting

A good quality primer is essential for efficient paint work. The primer ensures that the paint will adhere to the wall accurately, providing additional protection to deeply penetrate, seal porous surfaces and help cover stains. Higher opacity makes paint colours stand out with a bright appearance. If the existing colour is very dark, apply two layers of primer to the surface.

primer before painting

4. Use the appropriate type of paint foryour surface

When painting the house, there are a variety of paints on the market, and each has its own advantages and disadvantages. Always choose the appropriate paint for the job. For example, Indicus Ceiling Bright for exceptionally bright ceilings that give the illusion of space, Indicus Resilio for outstanding weather protection, and Indicus Heatseal is a heat-reflective waterproof roof coating that can reduce the temperature by up to 10°C.
appropriate type of paint

5. Professional painters or DIY home painting

The first thing to consider when deciding whether or not to hire a professional painter. If you have a high ceiling, poor conditions walls and special finish it is advisable to hire a pro. Professional painters have the skills and expertise needed to paint the house. Additionally, they can assist with colour selection, paint preparation, and post-cleaning work. Indicus ColourCraft Painting Services will help you choose the perfect colours and provide professional painting services to elevate the beauty of your space. From interior walls to exterior facades. Go ahead and DIY yourself If the condition of your walls is good and all you want to do is change the colour.


Get the best paint results by keeping this list close by for your upcoming project!