Step-by-Step Guide to Preparing and Painting Your Metal Furniture
Metal furniture is a durable and versatile addition to any home, but over time, it can lose its charm due to rust, scratches, or outdated finishes. Instead of replacing your metal pieces, painting them can give them a fresh, modern look that complements your décor. Whether it’s a patio set, bed frame, or furniture, a fresh coat of paint can transform your space while saving money.
This guide will walk you through the benefits of painting metal furniture, the importance of preparation, and the techniques needed to achieve a professional-looking finish.
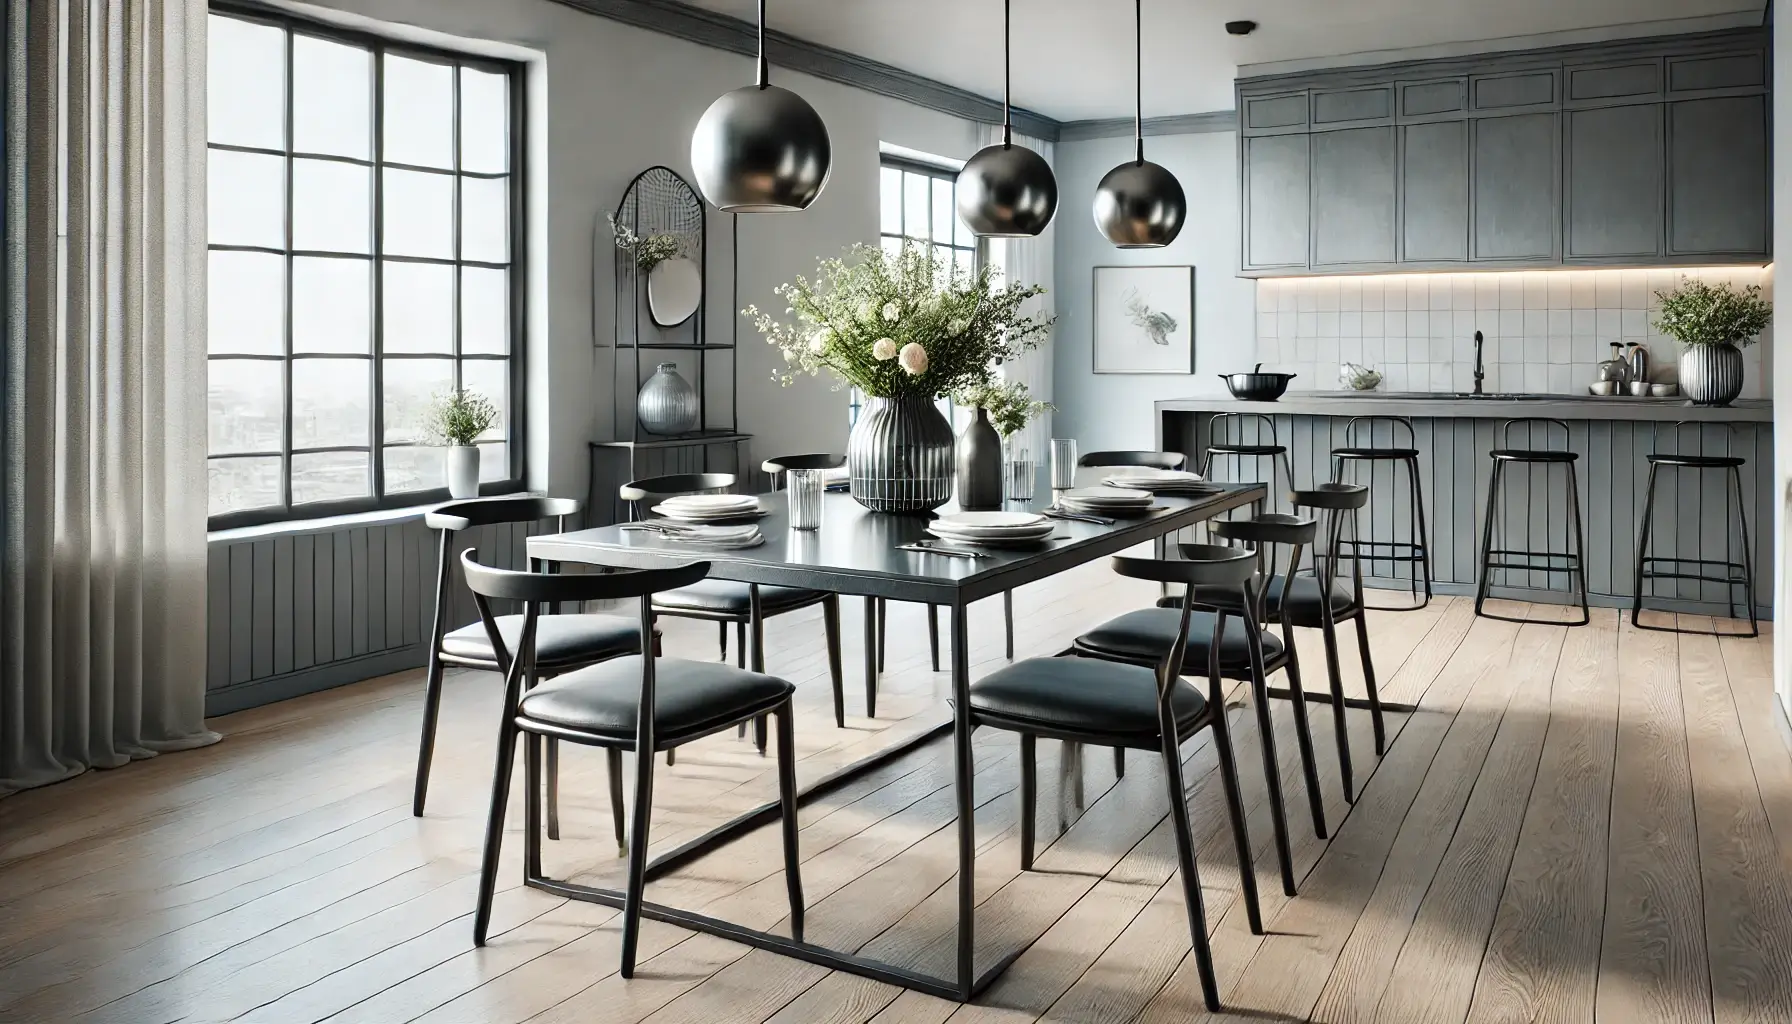
Why Painting Metal Furniture Can Transform Your Space
Painting metal furniture is a simple yet impactful way to refresh your home’s aesthetic. It allows you to:
- Customise Your Style: Change colours to match your evolving décour preferences or add bold tones for a statement piece.
- Extend Furniture Lifespan: Painting protects metal surfaces from rust and wear, prolonging their durability.
- Save Money: Revitalising your existing furniture is far more cost-effective than buying new pieces.
- Adapt to Trends: Switch to trendy hues like matte black, metallic gold, or pastel shades to modernise your space.
Benefits of Painting Metal Over Replacing It
Painting metal furniture is not only a budget-friendly option but also a sustainable choice. By repurposing and upgrading existing pieces, you reduce waste and minimise environmental impact. Whether you want to restore an heirloom or upgrade a thrift find, painting is a rewarding project that combines creativity with practicality.
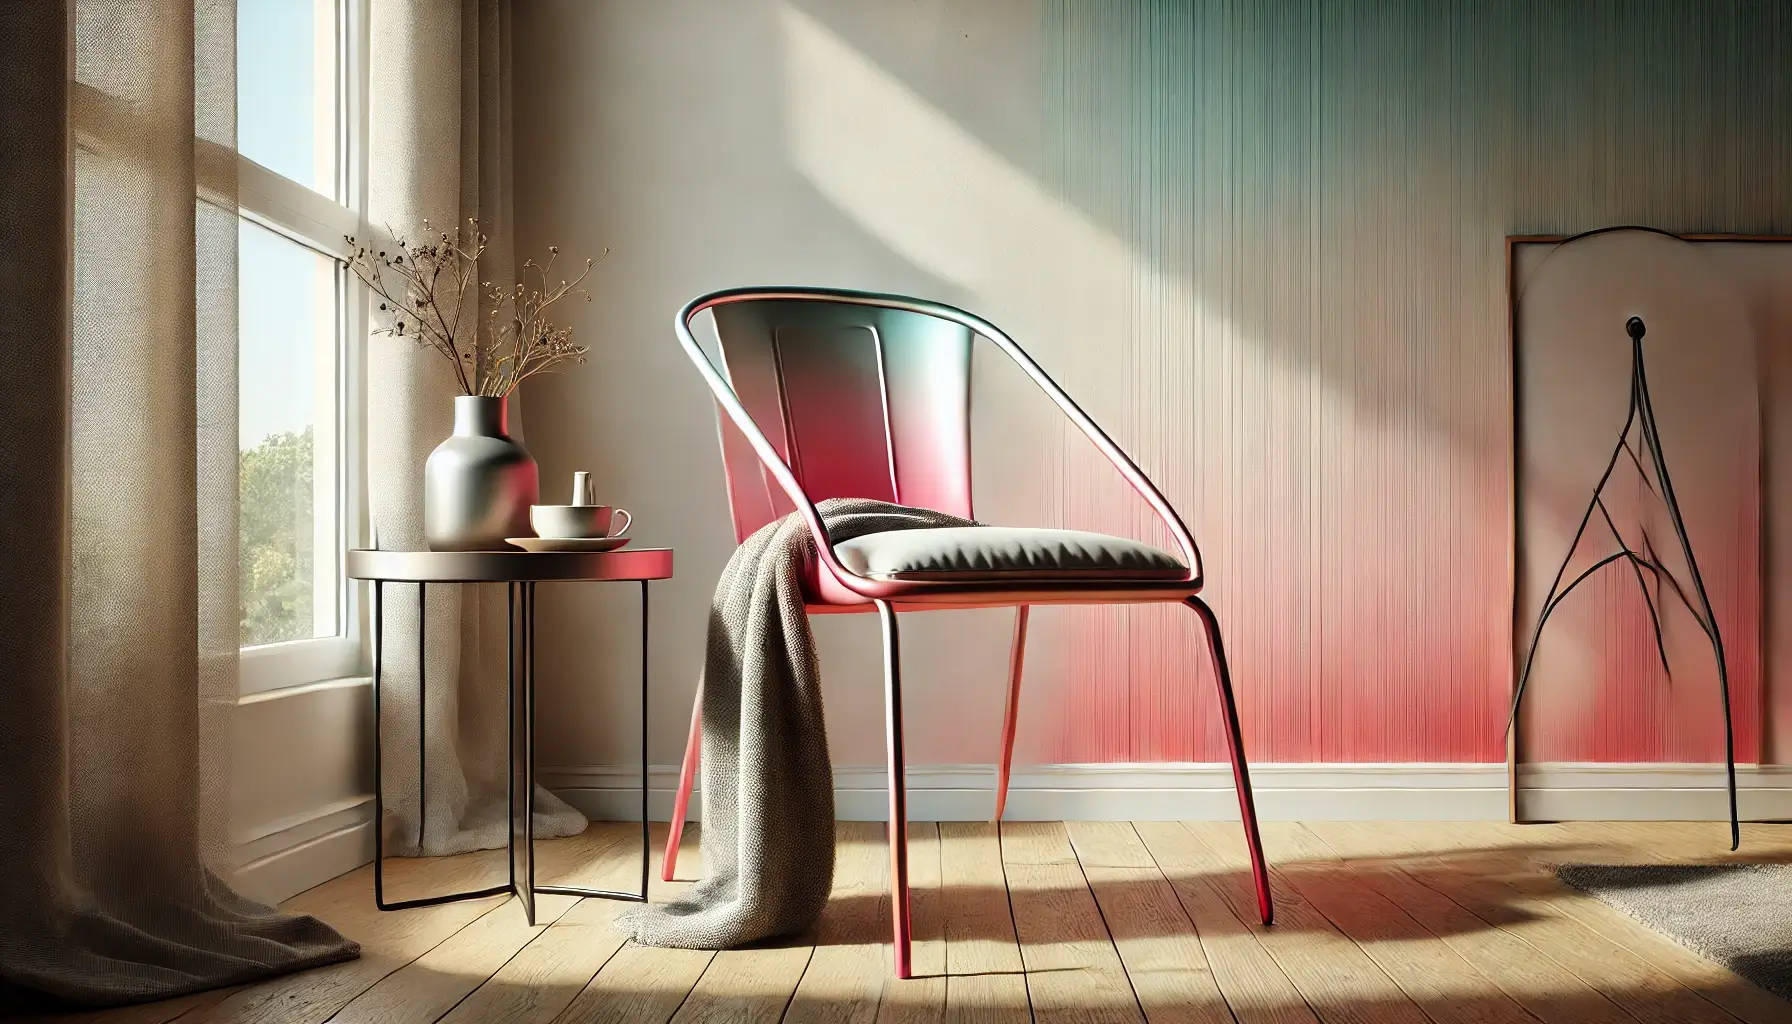
Why Preparation is Key for Metal Painting
Preparation is the foundation of a successful metal painting project. Without proper preparation, paint may not adhere well, leading to peeling, chipping, or uneven coverage. Metal surfaces are prone to rust, grease, and dirt, all of which must be removed to ensure a smooth, long-lasting finish. Spending time on preparation saves you from potential frustrations later in the process.
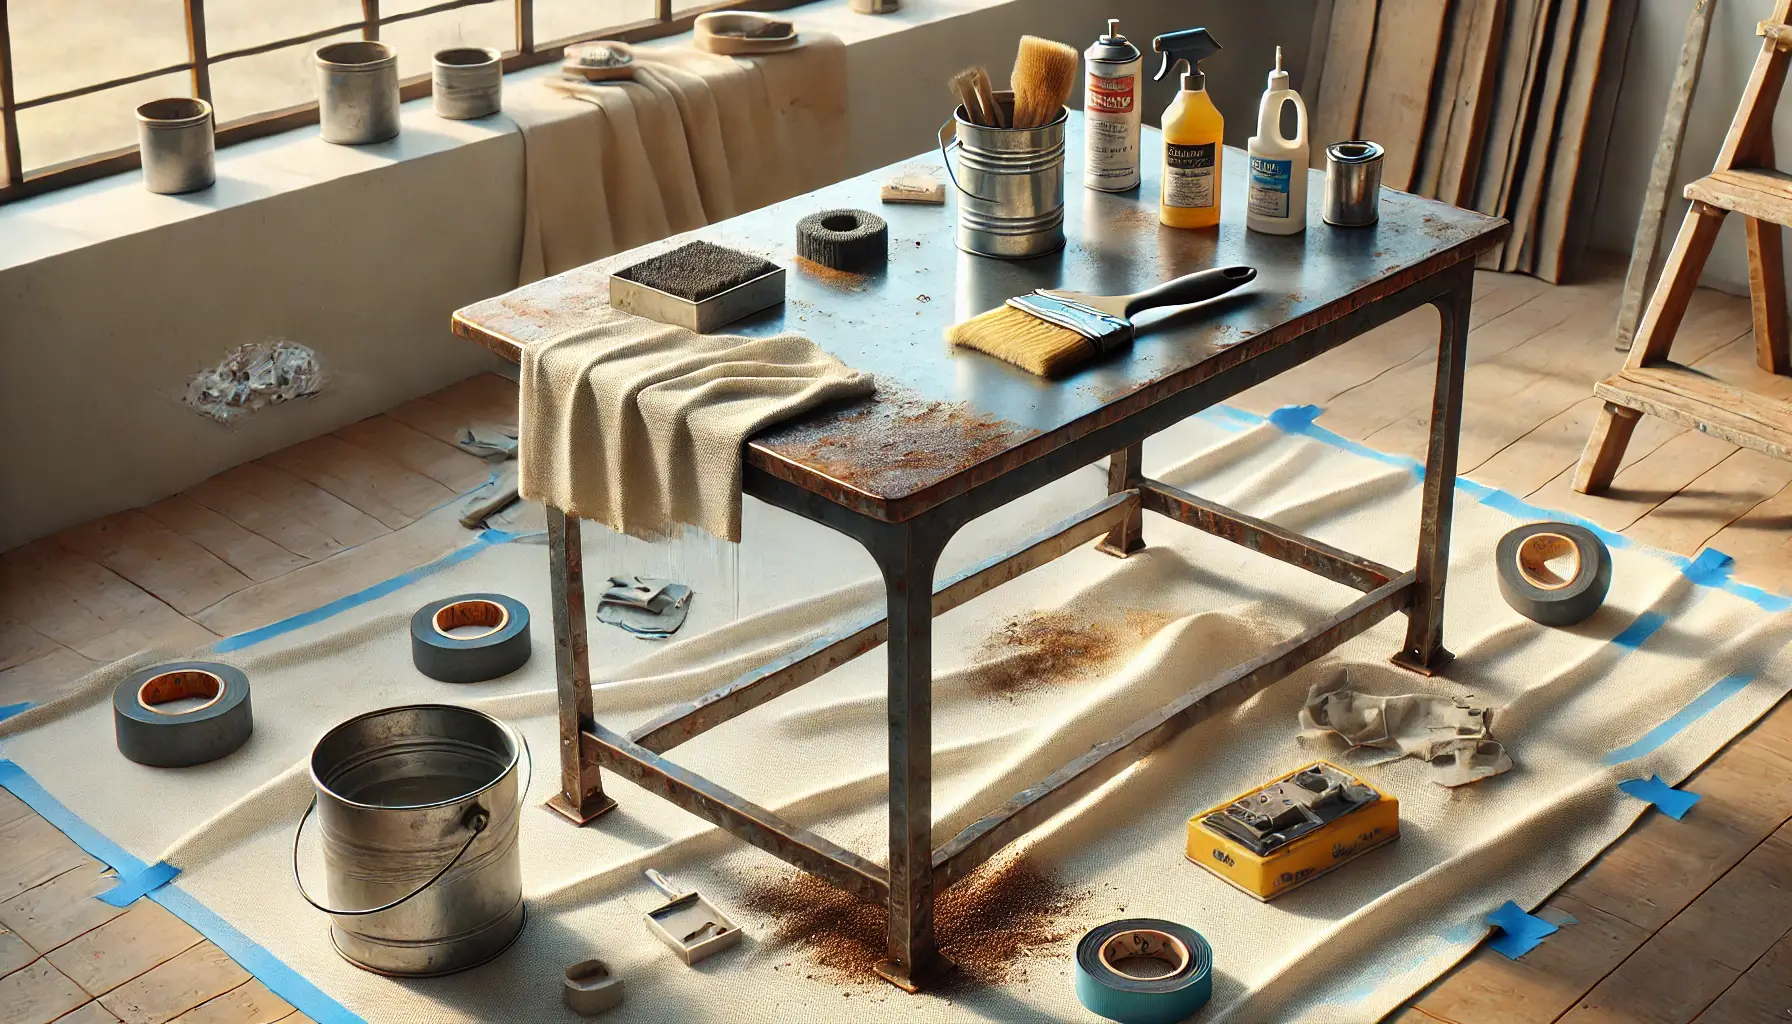
Rust and Dirt Removal Essentials
Rust and dirt are common culprits that can ruin a paint job. Here’s how to tackle them effectively:
- Remove Dirt and Grease: Clean the surface with a damp cloth and mild detergent to eliminate dirt, grease, and grime.
- Address Rust: Use a wire brush or sandpaper to scrape away rust. For stubborn rust, apply a rust remover and follow the manufacturer’s instructions.
- Smooth the Surface: Sand the entire piece with medium-grit sandpaper (120–150) to create a slightly rough texture that helps the paint adhere.
- Wipe Clean: Remove dust and residue with a clean, damp cloth and allow the furniture to dry completely.
Choosing the Right Paint for Metal Surfaces
Selecting the right type of paint is crucial for achieving a professional finish.
Spray Paint vs. Brush-On Paint
- Spray Paint: Ideal for intricate designs and curved surfaces, spray paint provides even coverage and a smooth finish with minimal effort.
- Brush-On Paint: Best for flat surfaces or areas requiring detailed work, brush-on paint offers greater control. It’s an excellent option for achieving a thicker, more durable coat.
Regardless of the method, opt for paints specifically formulated for metal surfaces to ensure durability and resistance to wear.
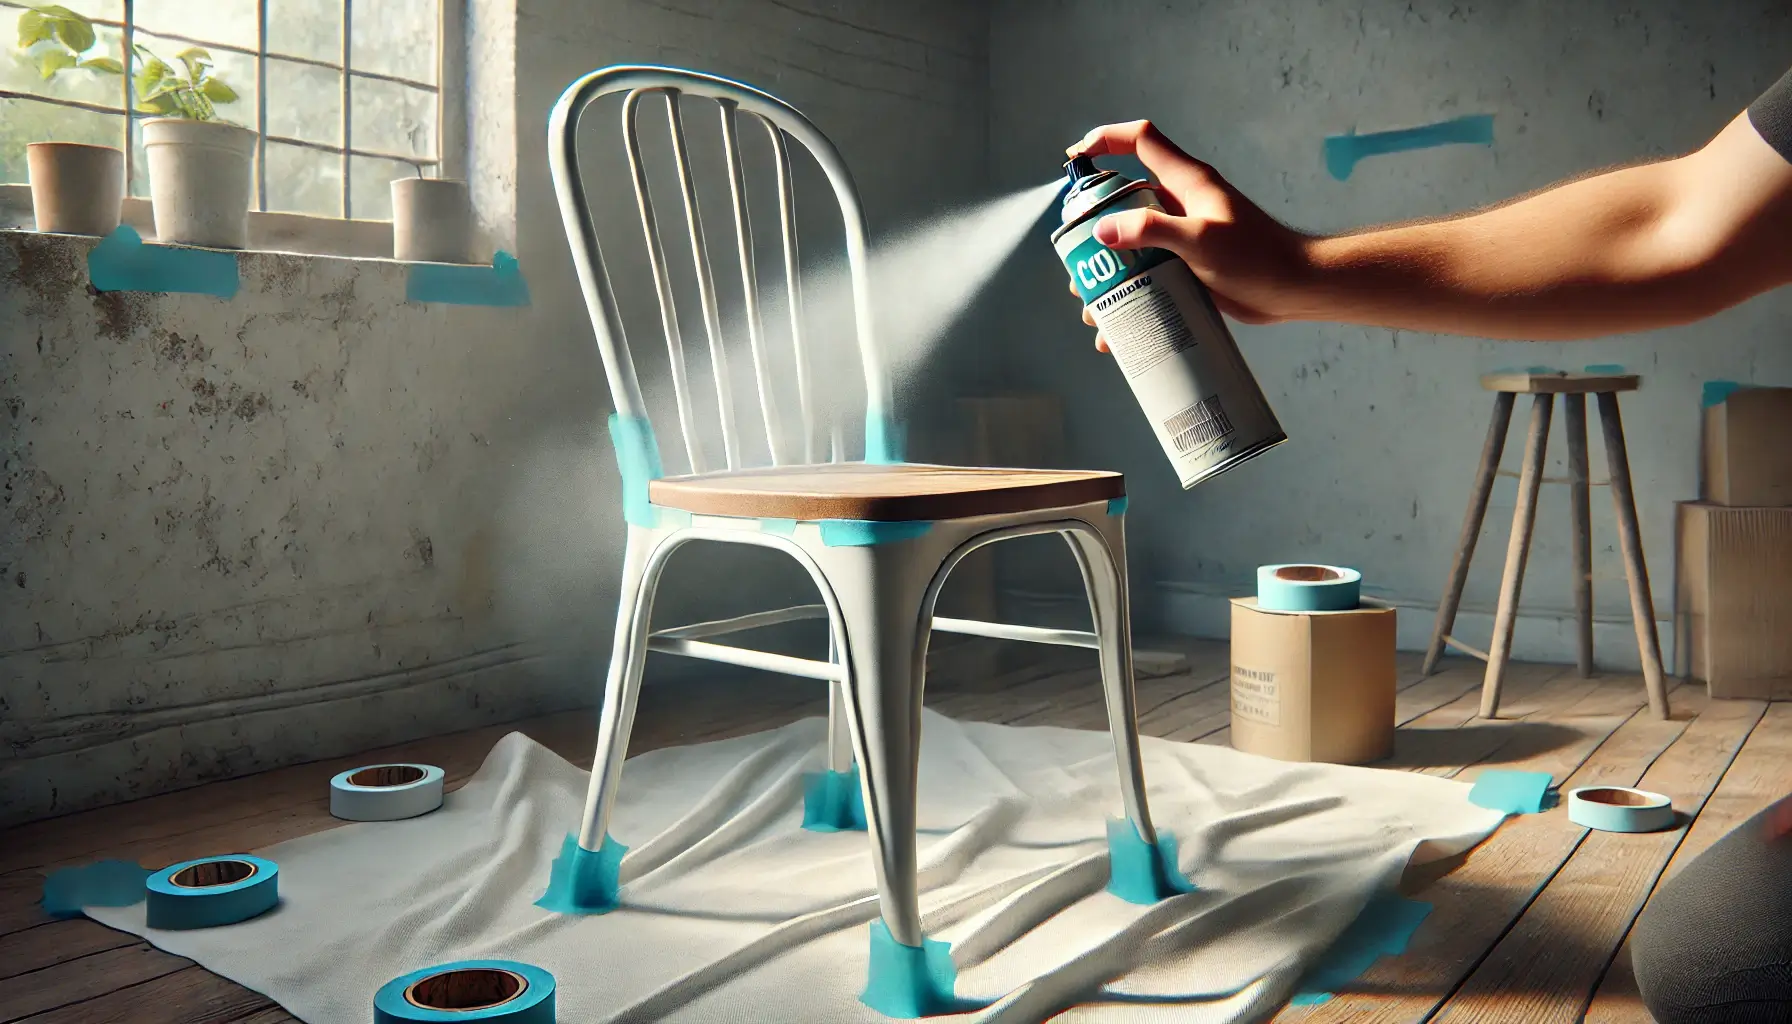
Step-by-Step Guide to Painting Metal Furniture
1. Cleaning and SandingThoroughly clean the furniture to remove dirt, grease, and grime. Sand the surface with medium-grit sandpaper to remove rust and create a texture that promotes paint adhesion.
2. Applying Primer for Metal
Use a metal-specific primer to create a smooth, rust-resistant base. Apply an even coat using a brush or spray, ensuring full coverage. Allow the primer to dry completely before moving to the next step.
3. Painting Techniques for Smooth Finishes
- For Spray Paint: Hold the can 8–12 inches away from the surface and apply thin, even coats. Avoid overspraying to prevent drips.
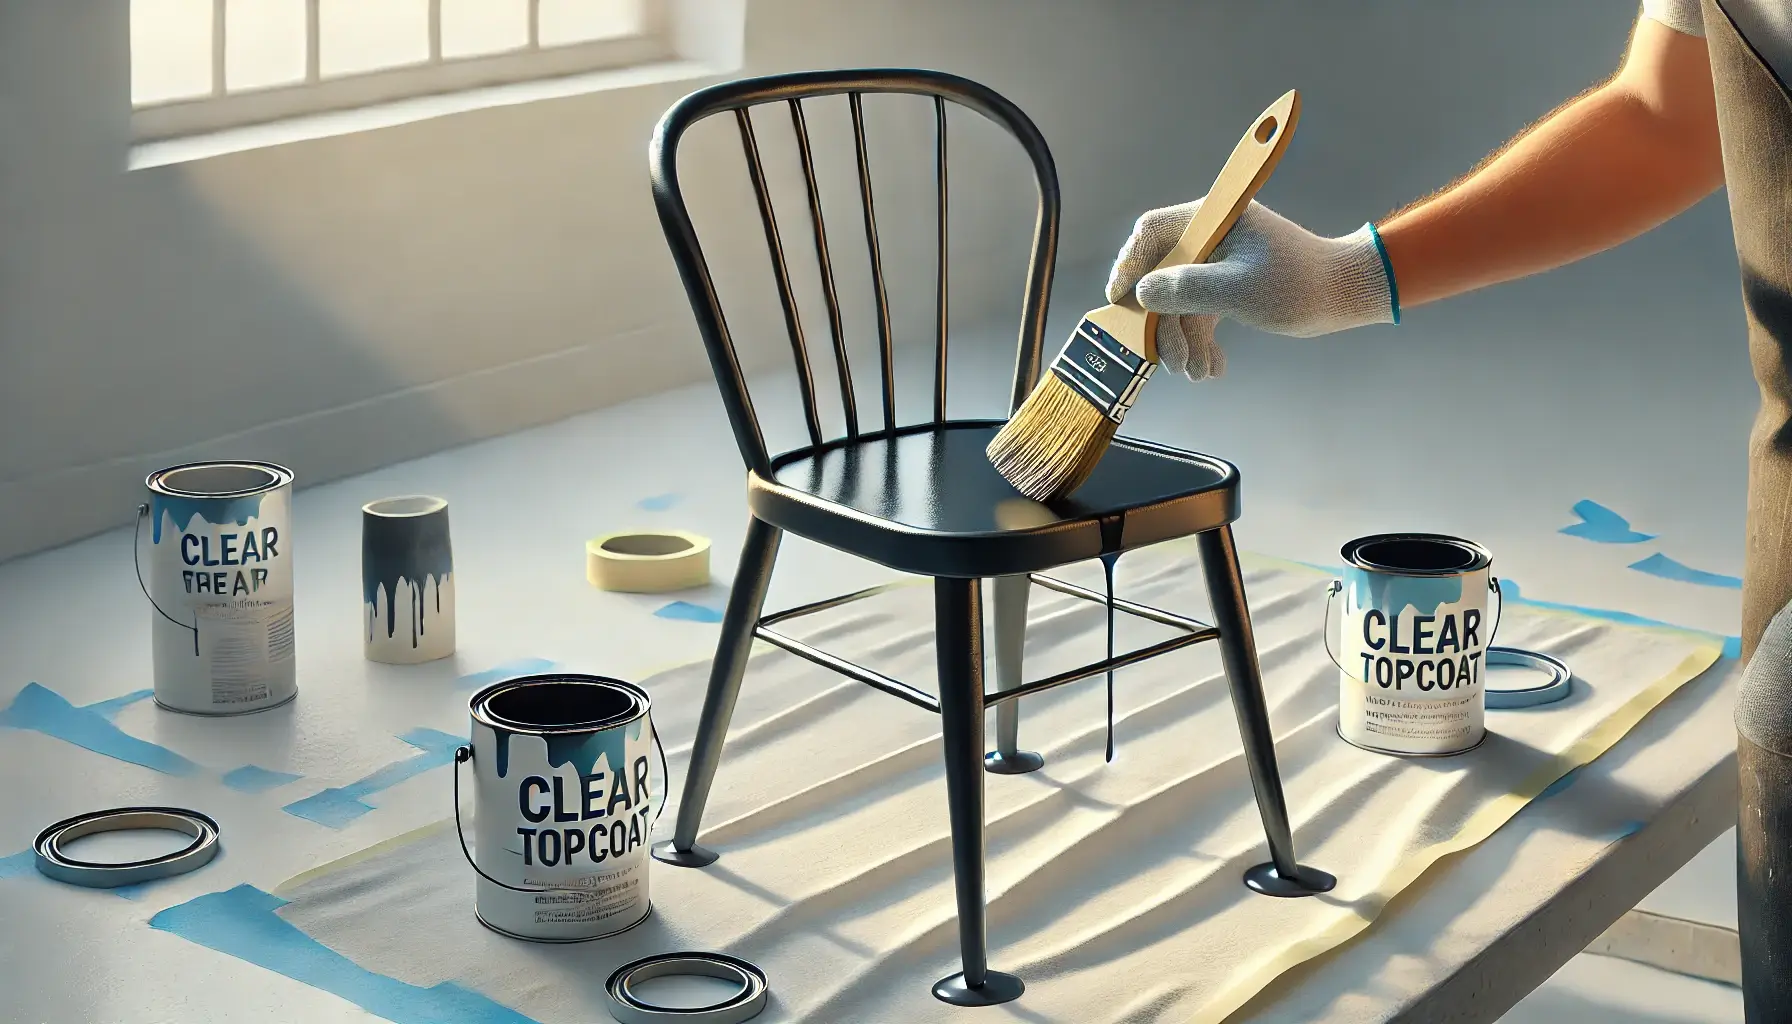
- For Brush-On Paint: Use a high-quality brush and apply long, smooth strokes. Allow each coat to dry fully before applying the next.
Tips for Long-Lasting Painted Metal Furniture
- Avoid Abrasive Cleaners: Use a soft cloth and mild detergent for cleaning to prevent damage to the painted surface.
- Store Properly: For outdoor furniture, consider covering or storing pieces during extreme weather to maintain their appearance.
Common Mistakes to Avoid
- Skipping Primer: Primer is essential for creating a smooth, rust-resistant base. Skipping this step leads to uneven application and reduced durability.
- Uneven Paint Application: Applying thick coats can result in drips and an uneven finish. Always use thin, even layers for the best results.
- Neglecting Surface Prep: Failing to clean and sand the surface can cause paint to peel or chip prematurely.
- Rushing the Process: Allow sufficient drying time between coats to achieve a smooth, professional finish.
Conclusion
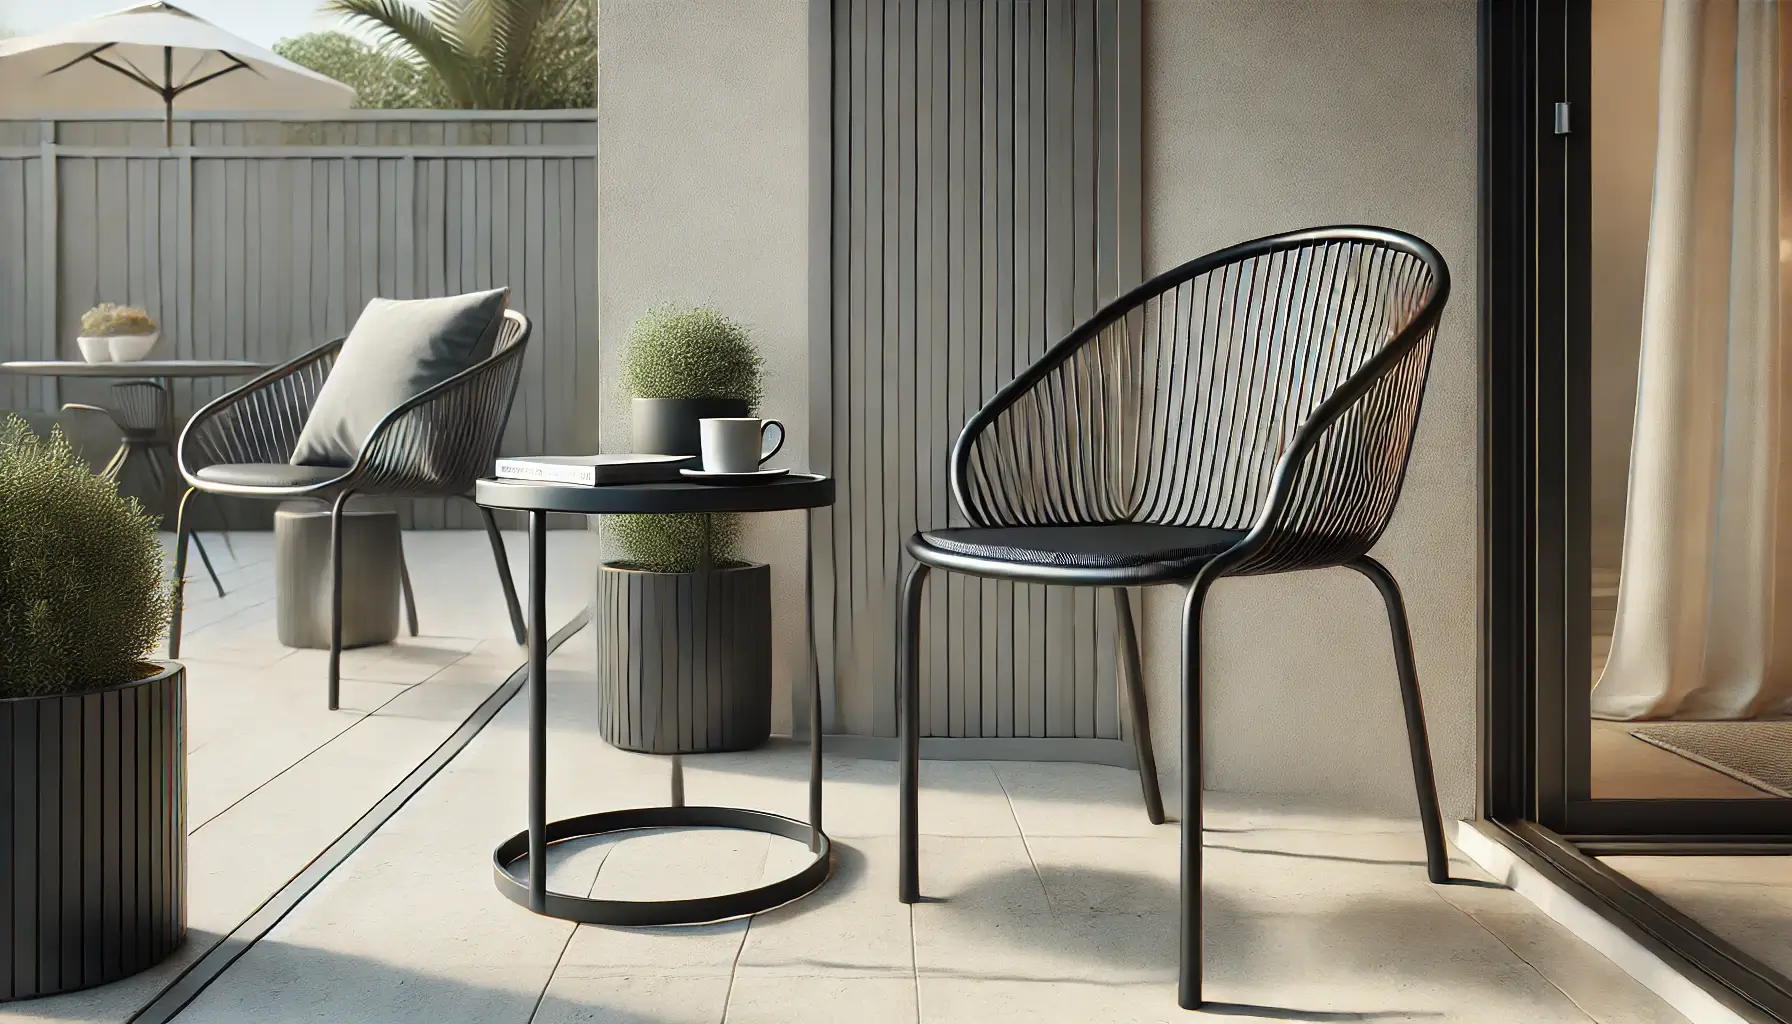
Painting your metal furniture is an excellent way to refresh your home’s aesthetic without breaking the bank. With proper preparation, the right tools, and effective techniques, you can achieve a durable, flawless finish that revitalises your furniture. Whether you choose spray paint for quick coverage or brush-on paint for precision, the result is a stunning, modernised piece that complements your décor.
Take your time, follow the steps, and enjoy the transformation as you give your metal furniture a new lease on life. Happy painting!
