Modernize Your Wooden Furniture with Easy DIY Painting Techniques
Wooden furniture has long been a cornerstone of home décor, cherished for its durability, timeless appeal, and versatility. But as design trends evolve, there’s a growing interest in giving wooden pieces a modern makeover through painting. Easy DIY techniques make it possible to transform outdated furniture into stylish, contemporary pieces without spending a fortune.
In this guide, we’ll explore why wooden furniture painting is trending, its benefits, and step-by-step techniques to achieve a professional-looking finish. Whether you’re modernising a vintage find or refreshing a family heirloom, these tips will help you create unique and stunning furniture for your home.
Why Wooden Furniture Painting is Trending
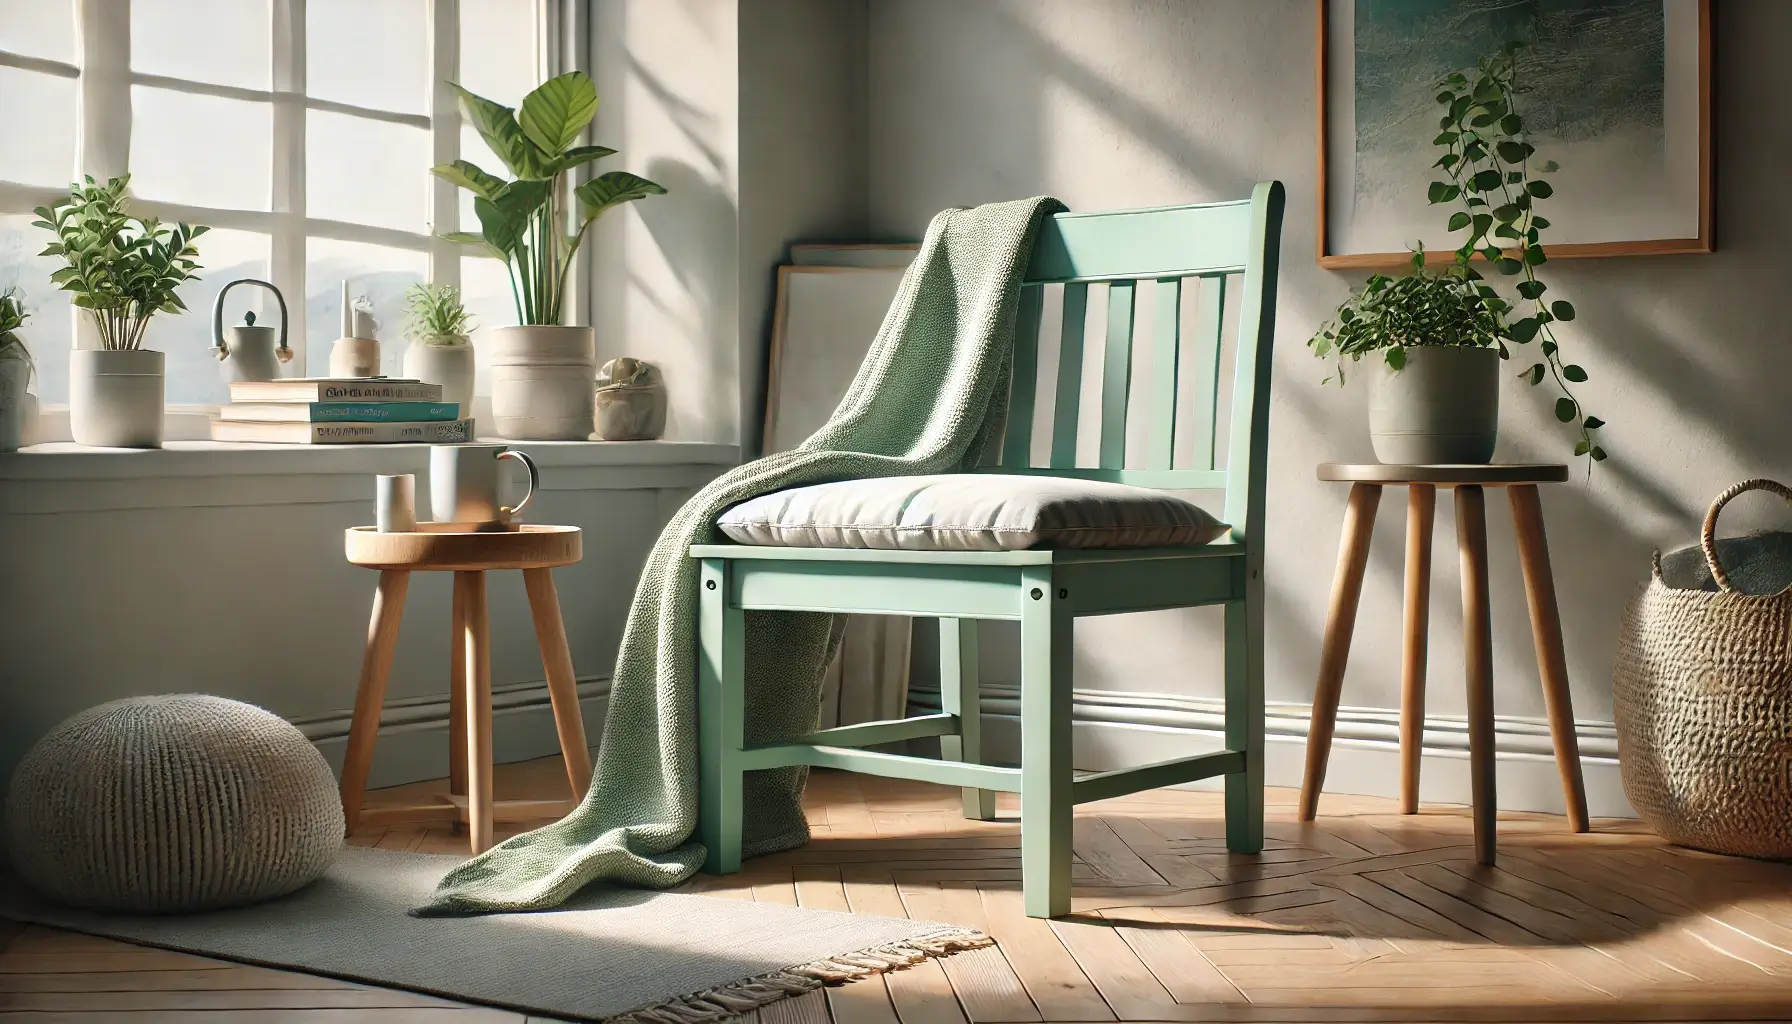
Painting wooden furniture has become increasingly popular due to its ability to blend tradition with modernity. As homeowners seek personalised and affordable ways to update their spaces, painting provides a creative outlet to experiment with colours, finishes, and designs. Social media platforms showcase countless DIY transformations, inspiring people to repurpose and refresh their existing furniture. Moreover, eco-conscious living encourages upcycling, and painting is a sustainable way to extend the life of wooden furniture while reducing waste.
Benefits of Updating Your Wooden Furniture
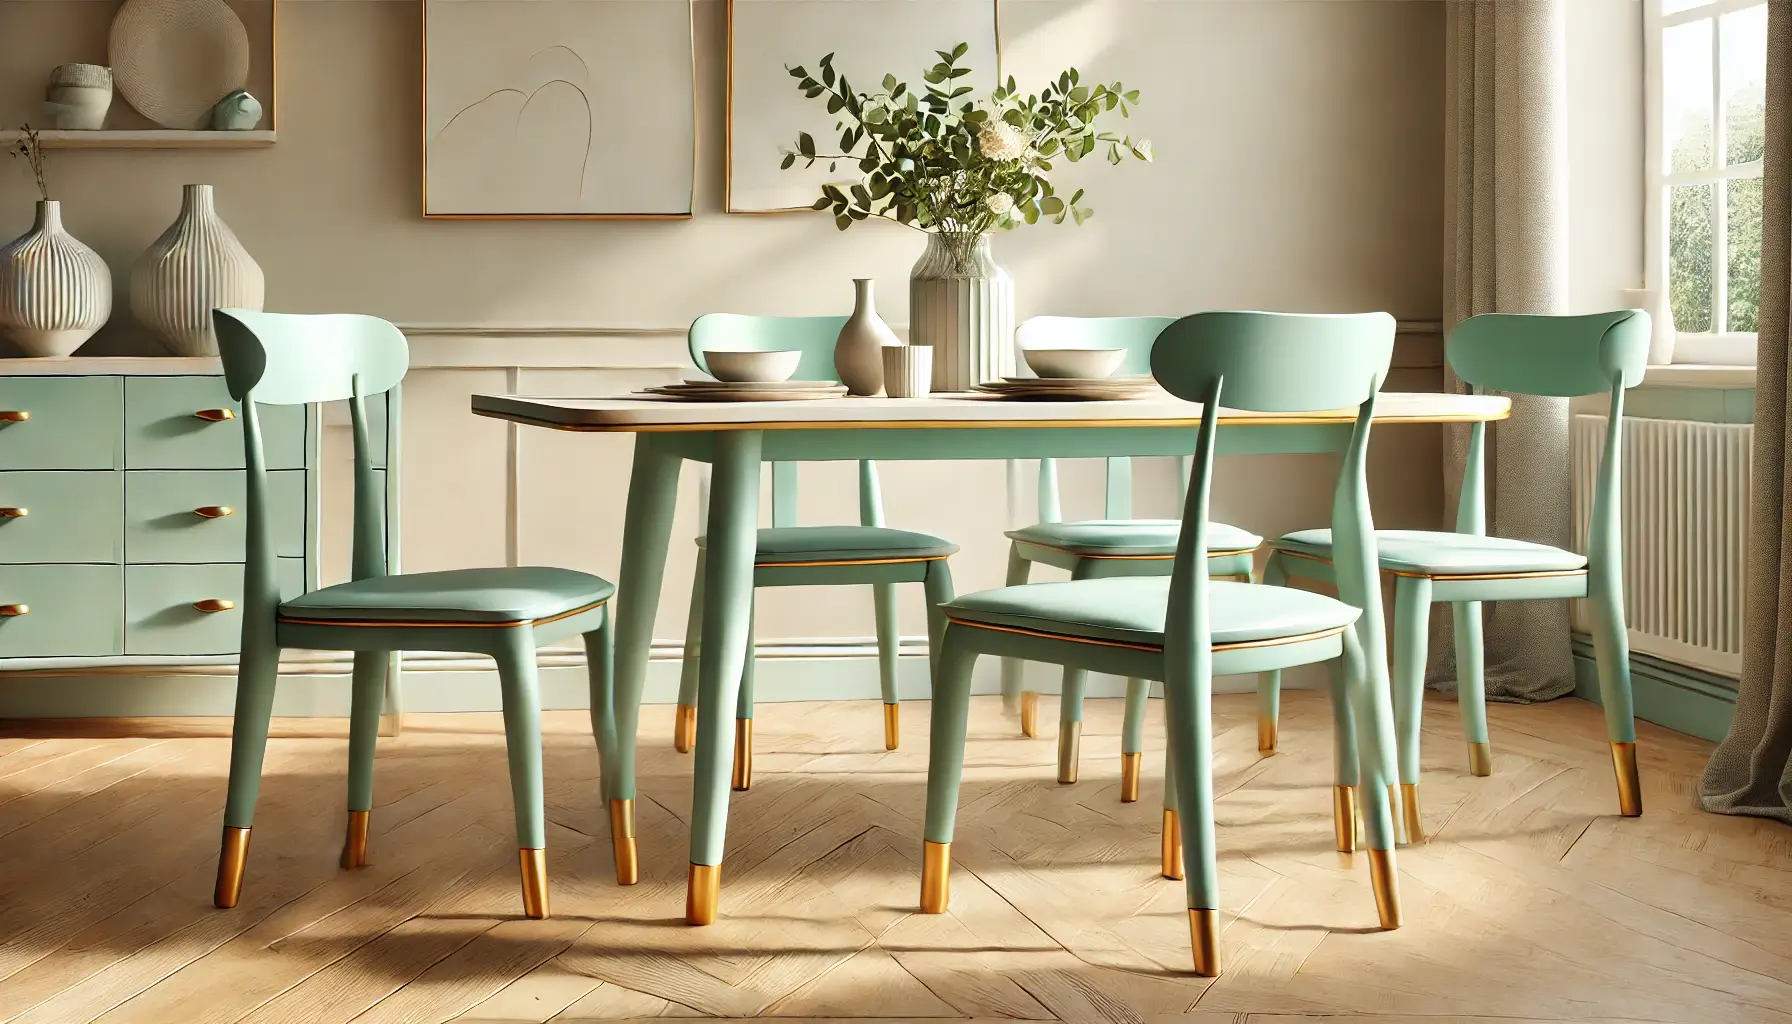
Transforming wooden furniture with paint offers several advantages:
- Cost-Effective: Instead of buying new furniture, painting allows you to refresh old pieces at a fraction of the cost.
- Customisation: Choose colours, patterns, and finishes that align with your unique style and home décor.
- Eco-Friendly: By repurposing furniture, you contribute to sustainability and reduce landfill waste.
- Enhanced Durability: A fresh coat of paint can protect wood from wear and tear, prolonging its lifespan.
- Adds Value: Updating furniture gives it a polished, modern look that can elevate the overall aesthetic of your home.
Understanding Wooden Furniture Types
Before you begin, it’s essential to understand the type of wood you’re working with, as this impacts preparation and painting techniques.
Solid Wood vs. Plywood: Preparation Differences
Solid wood is a natural material, making it durable and easy to sand and refinish. However, it may require more attention to detail, as it can have knots or grain patterns that need sealing.
Plywood, on the other hand, is a composite material with a smooth surface, making it easier to work with. However, it often requires a high-quality primer to ensure paint adheres properly to its surface.
Why Wood Type Matters for Painting
Different wood types absorb paint differently. Porous woods like pine may require multiple coats, while dense hardwoods like oak need thorough sanding to remove the original finish. Knowing your wood type ensures you choose the right products and achieve a flawless finish.
Essential Tools and Materials Needed
Before starting your DIY project, gather the following tools and materials:
- Paints: Choose furniture-specific paints such as chalk paint, acrylic paint, or enamel for durability.
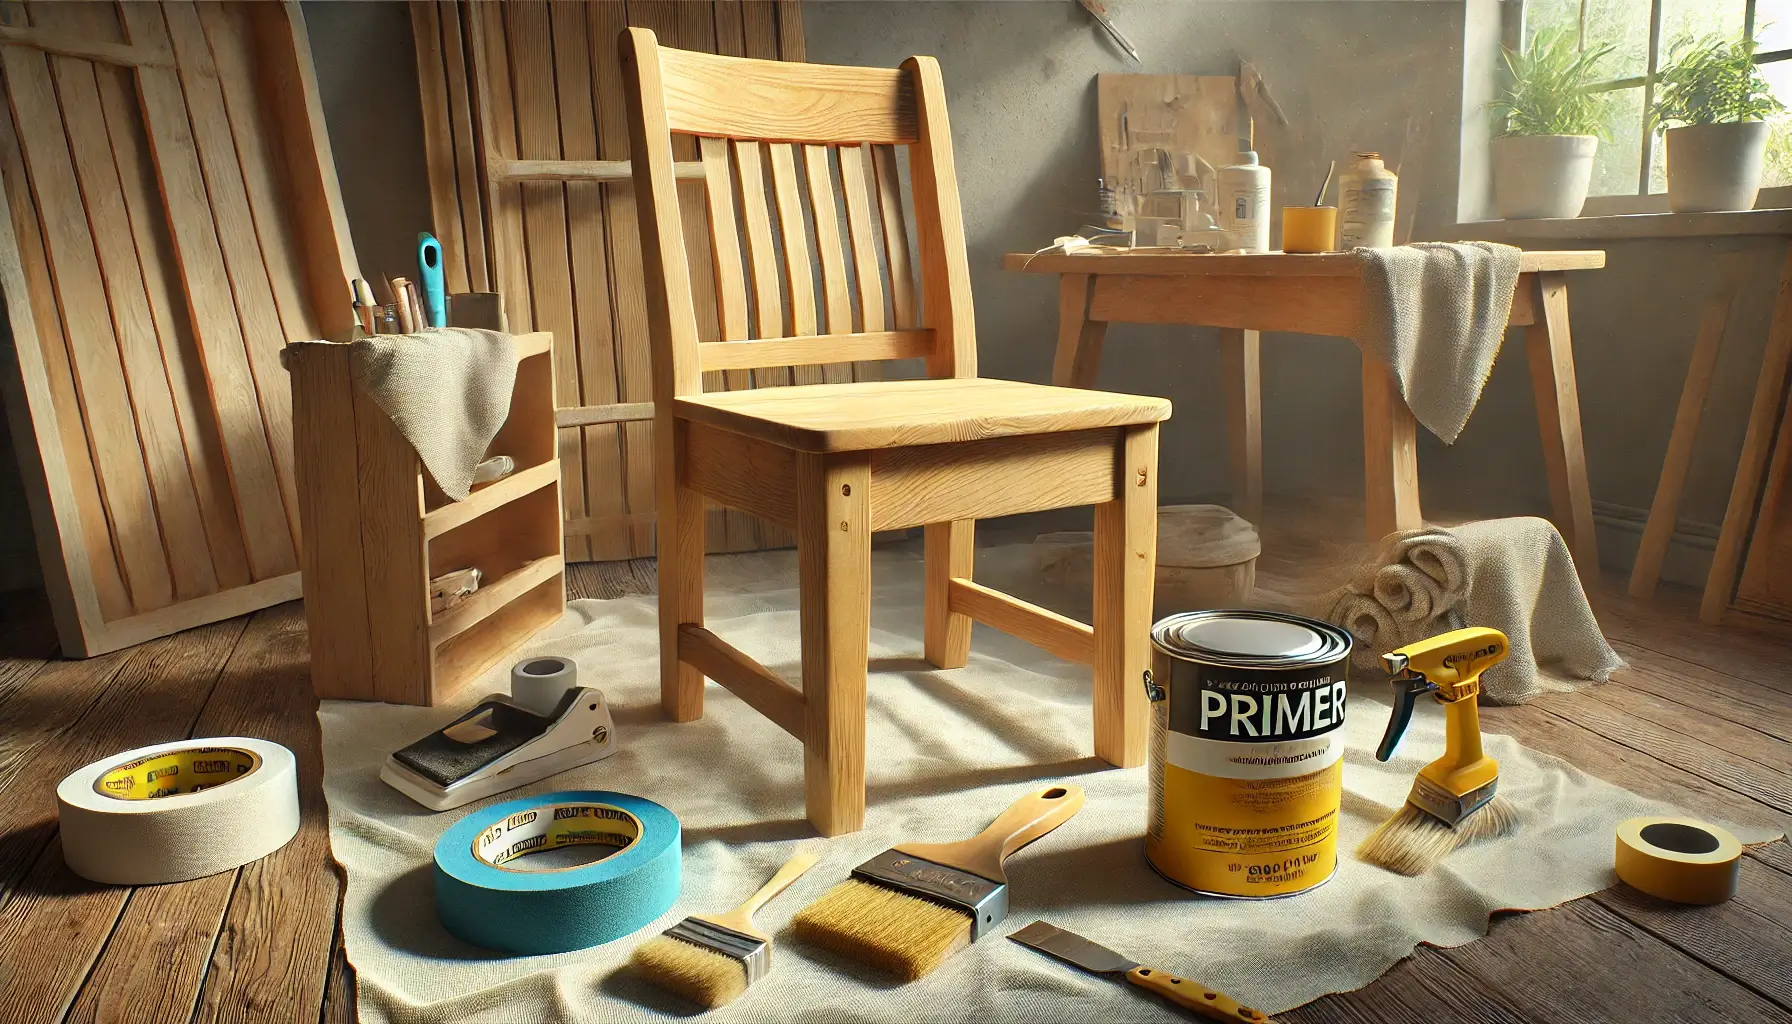
- Primer: A high-quality primer helps paint adhere and enhances colour vibrancy.
- Brushes and Rollers: Use fine-bristle brushes for detailed work and foam rollers for smooth, even application.
- Sandpaper: Medium-grit (120–150) for sanding the surface, and fine-grit (220) for smoothing before painting.
- Drop Cloths: Protect floors and surrounding areas from paint splatters.
- Painter’s Tape: Ensure clean, sharp edges for a professional look.
- Cleaning Supplies: A damp cloth, mild detergent, or wood cleaner to remove dirt and grease.

Step-by-Step DIY Painting Techniques
1. Cleaning and Sanding the SurfaceBegin by cleaning your furniture to remove dust, grease, or residue. Sand the surface with medium-grit sandpaper to create a smooth, paint-ready finish. For pieces with an old finish or varnish, sanding is essential to remove the sheen and allow the primer to adhere properly.
2. Choosing the Right Primer and Paint Type
Apply a primer suited to your wood type and paint. For dark woods or stained surfaces, use a stain-blocking primer to prevent bleed-through. Once dry, select a durable paint, such as chalk or enamel, depending on the desired finish.
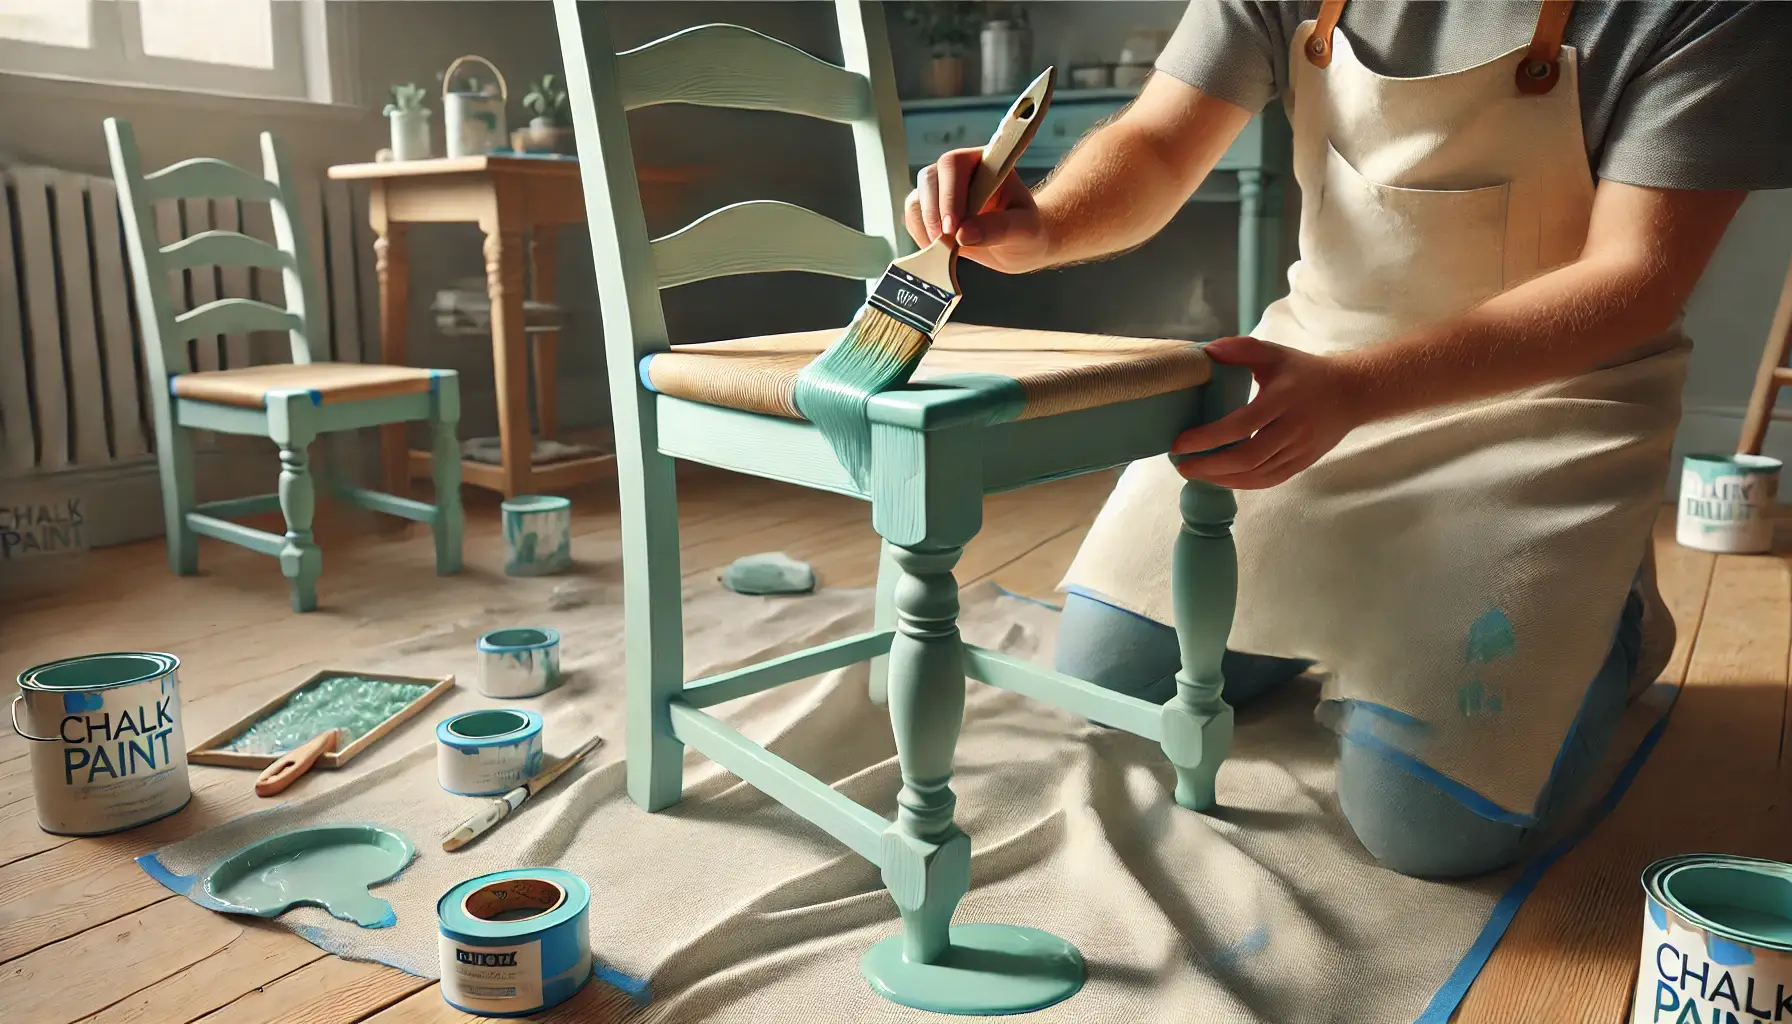
Use a foam roller for large, flat surfaces and a fine-bristle brush for detailed areas. Apply thin, even coats, allowing each layer to dry fully before adding the next. This ensures a smooth, streak-free finish.
Creative Painting Ideas for a Modern Look
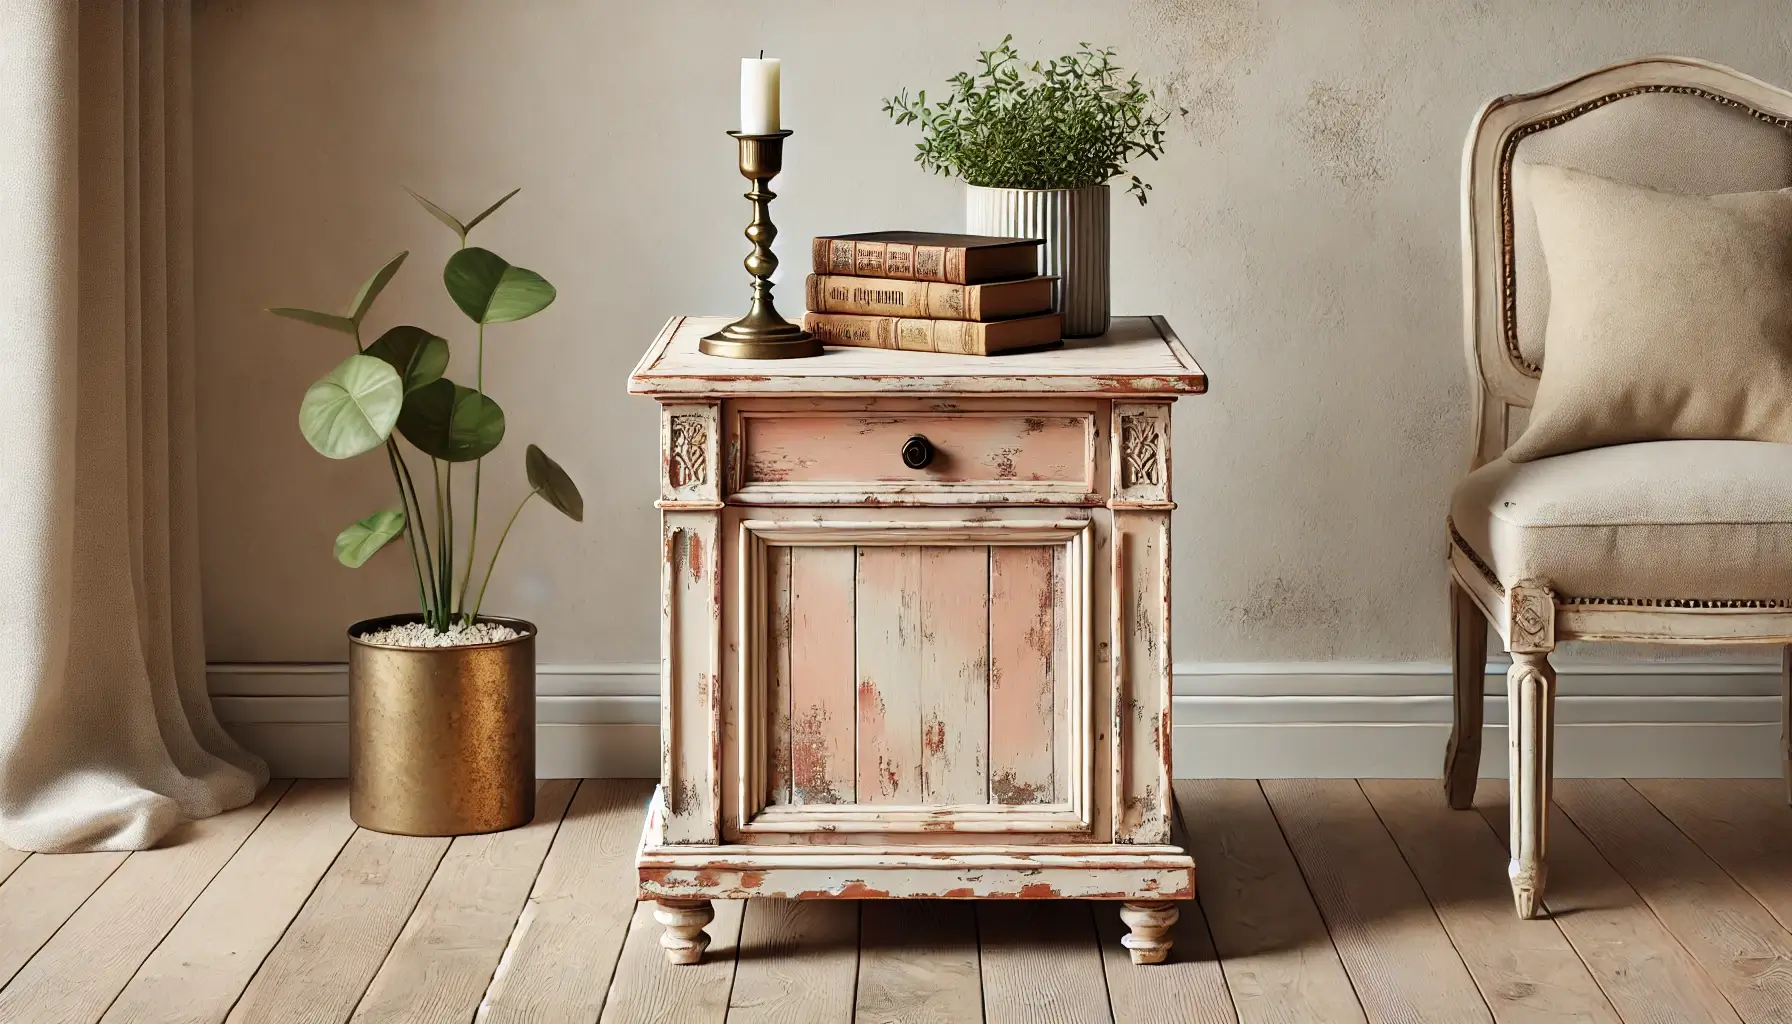
1. Distressed FinishAchieve a shabby chic aesthetic by sanding edges and corners after painting to reveal the underlying wood. This technique works well for vintage-inspired décor.
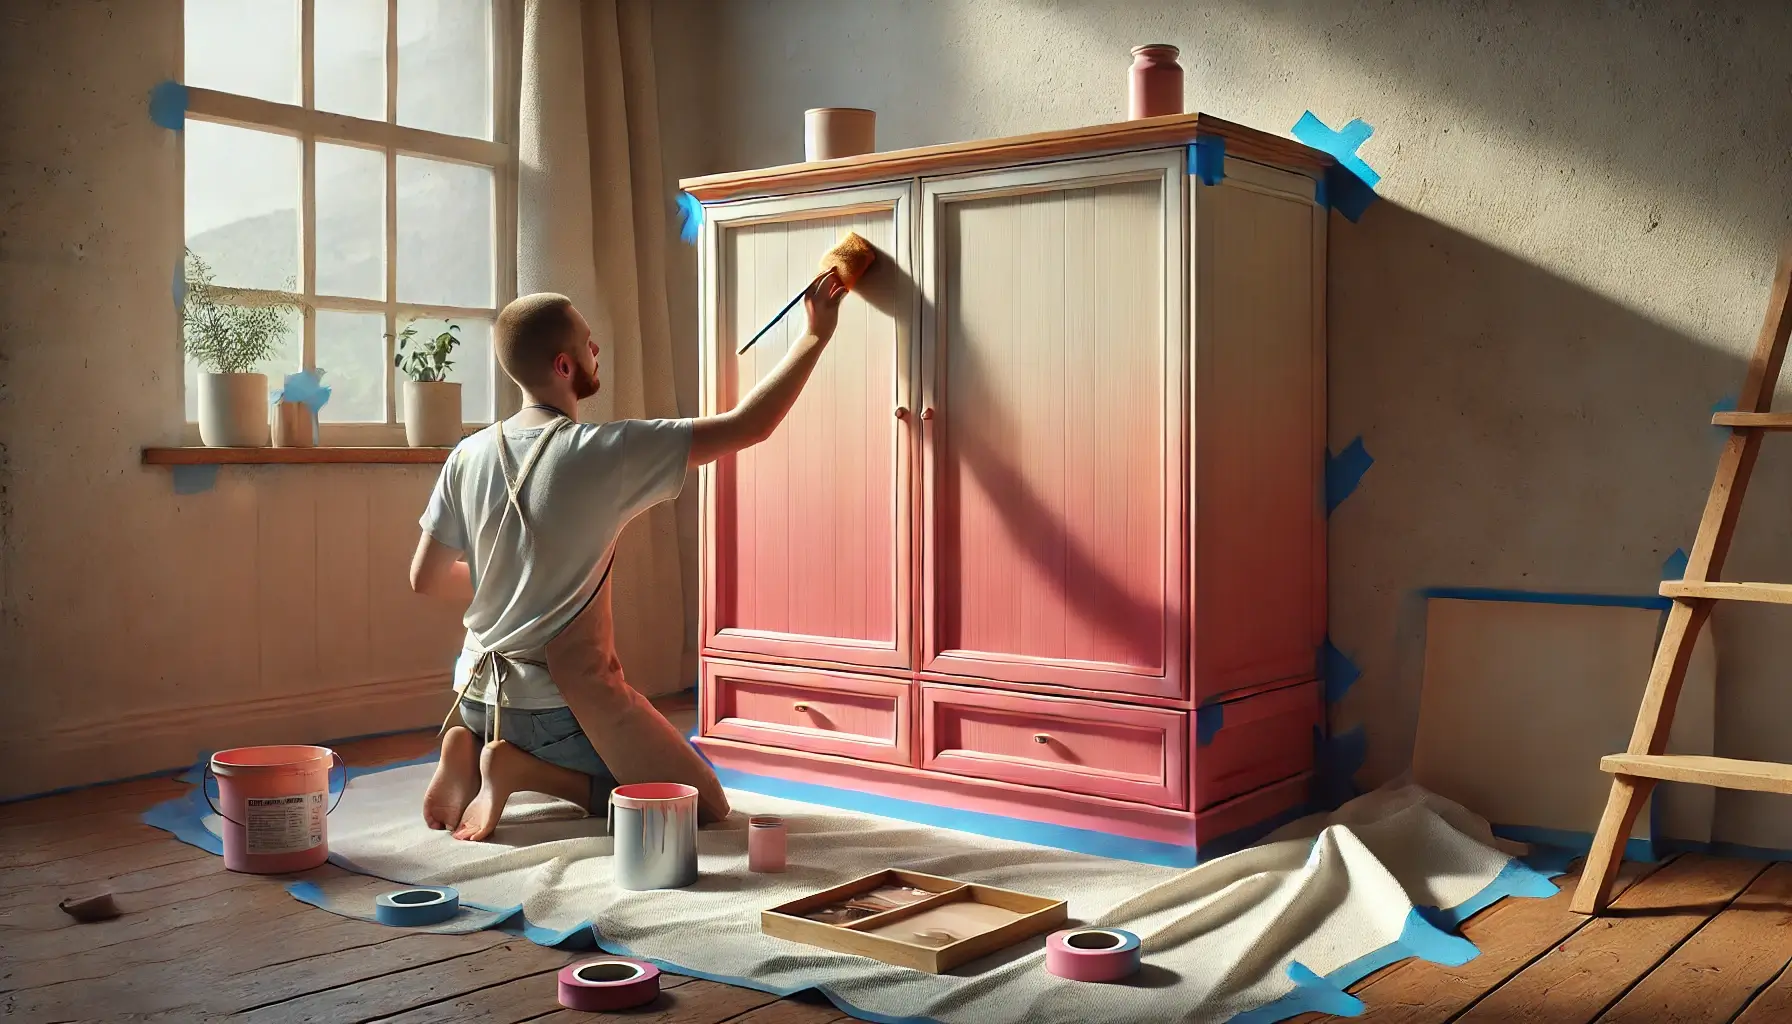
2. Ombre Effect
Blend two or more pastel or bold colours to create a gradient effect. This adds depth and interest to furniture, making it a unique statement piece.
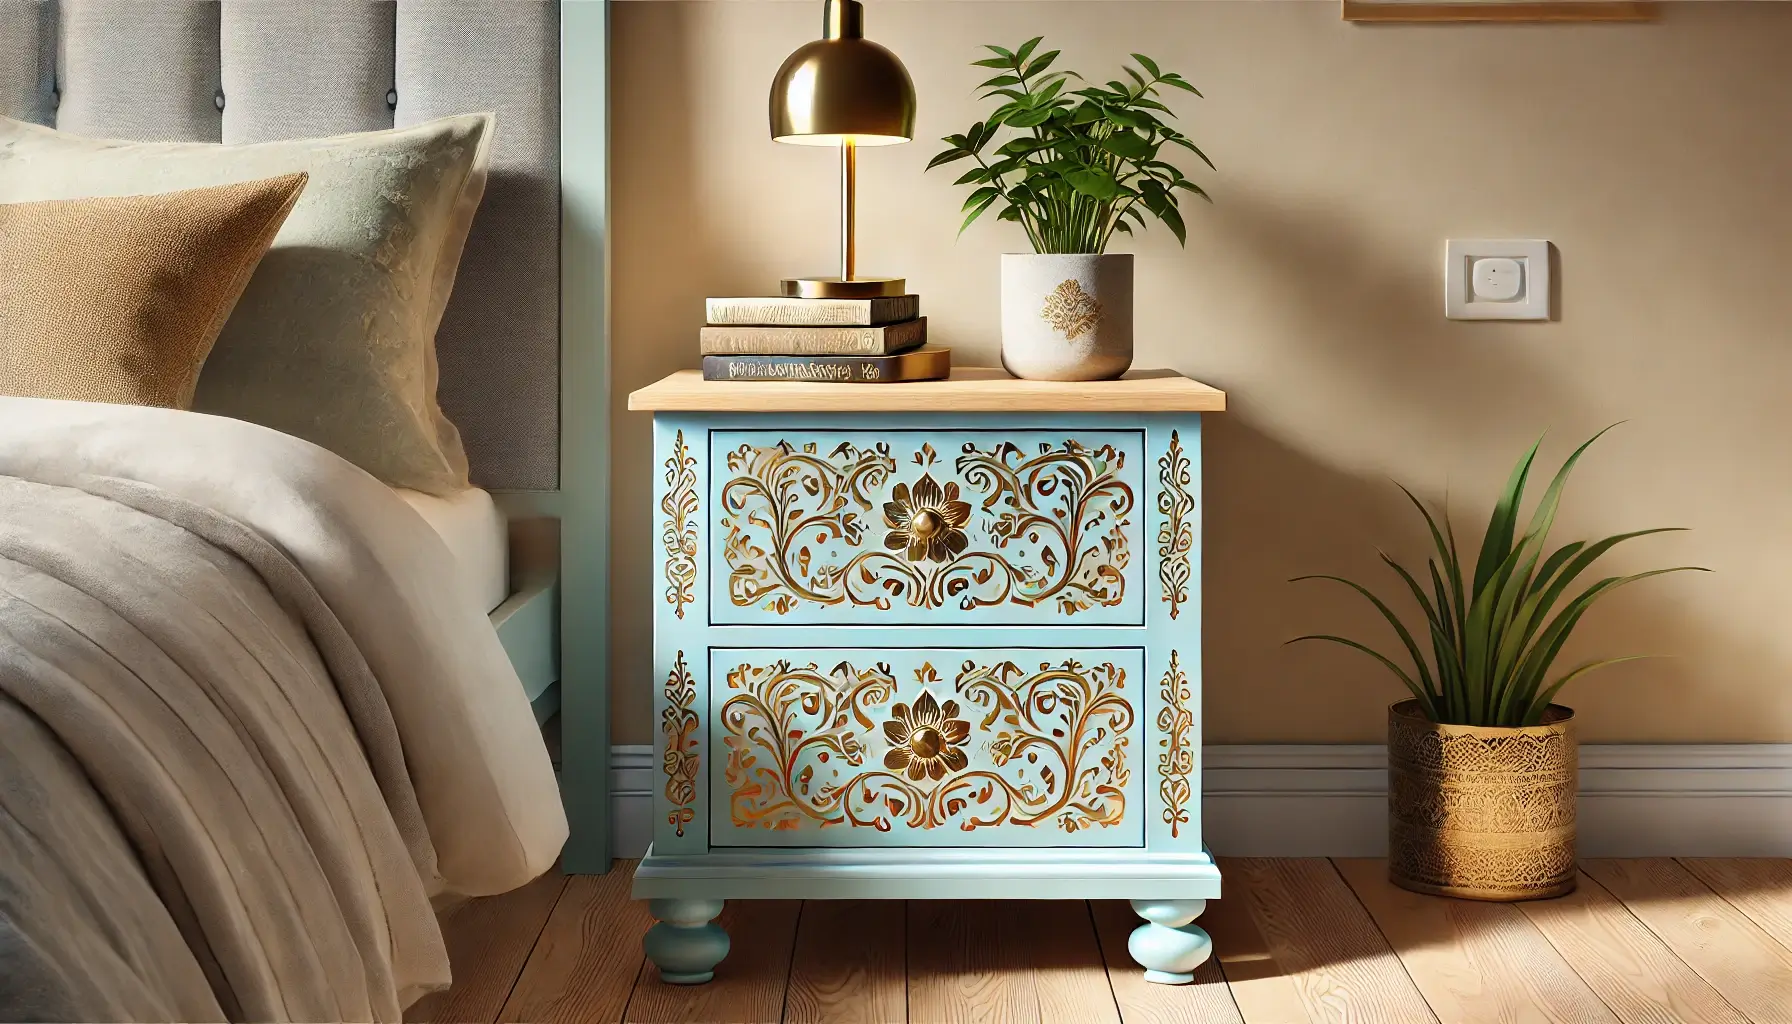
Use stencils to add intricate patterns, such as florals or geometric shapes, to drawers, tabletops, or cabinet doors. Metallic paints can add a touch of luxury to the design.
Maintenance Tips for Painted Wooden Furniture
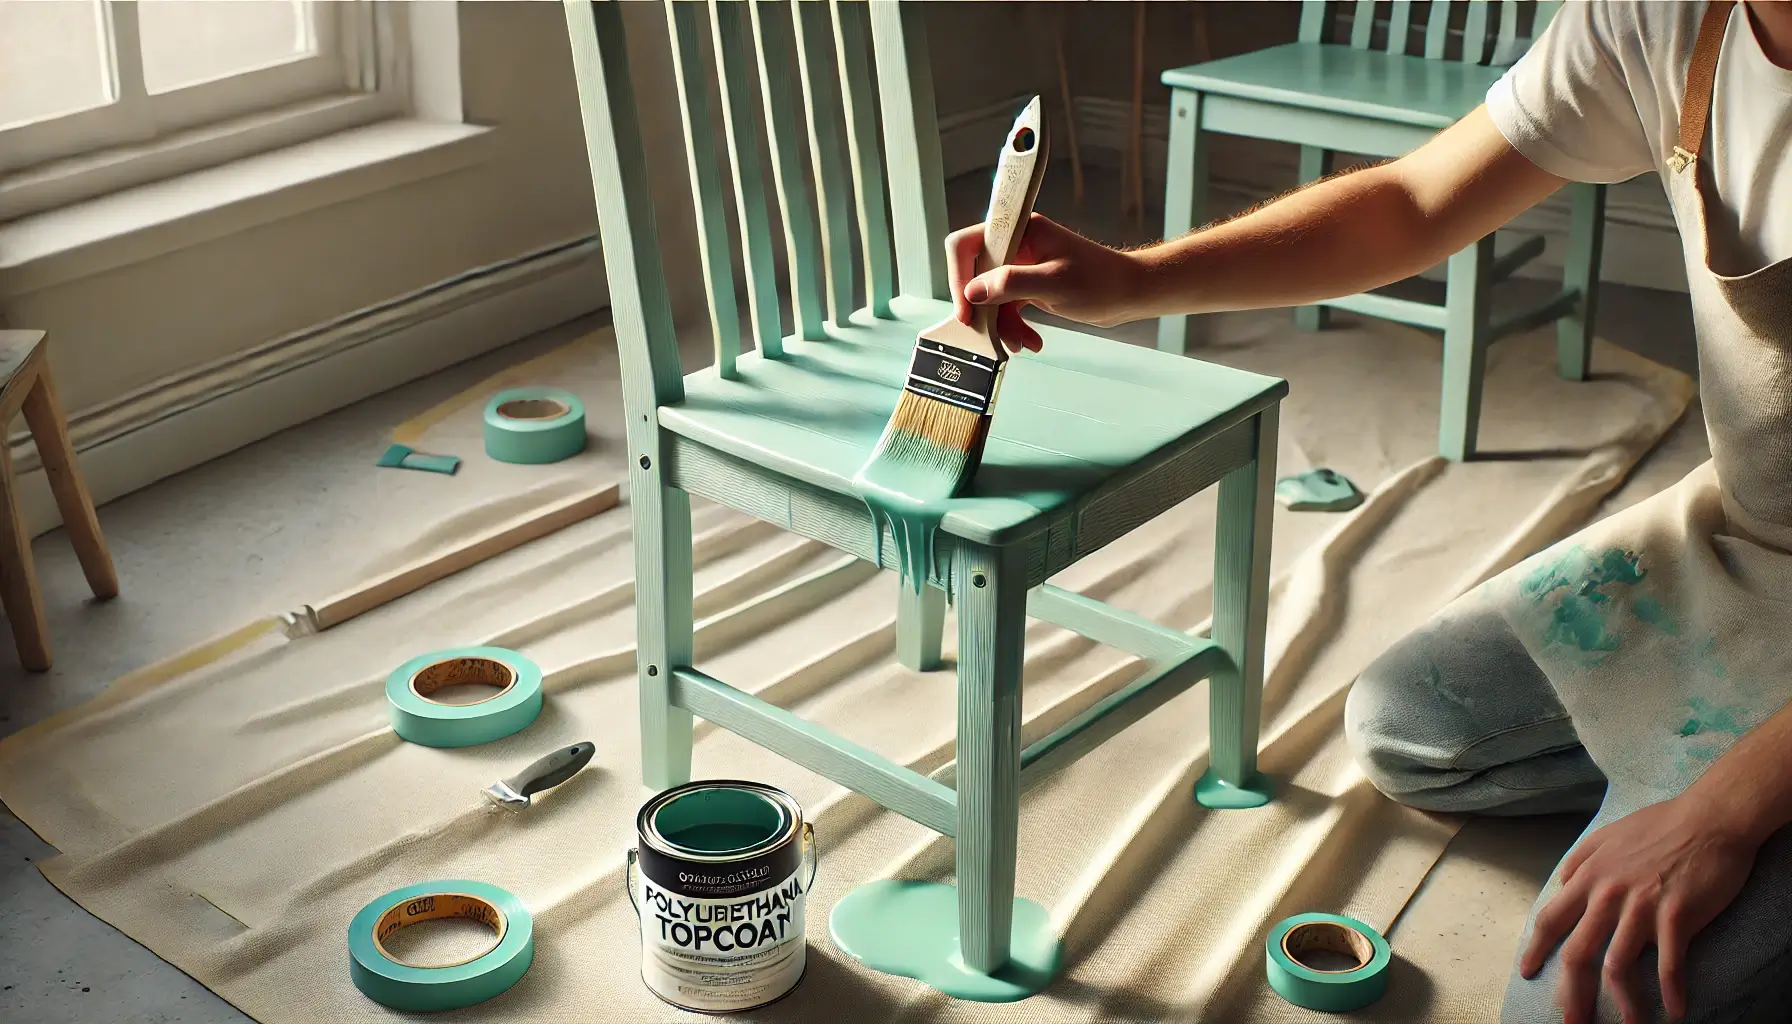
To keep your painted furniture looking its best, follow these maintenance tips:- Protect Against Scratches: Apply a clear polyurethane topcoat for added durability. This is especially important for high-use pieces like dining tables or cabinets.
- Clean Gently: Use a damp cloth or mild detergent to clean painted surfaces, avoiding abrasive scrubbers.
- Avoid Moisture: Keep furniture away from direct sunlight or damp areas to prevent paint from peeling or fading.
- Touch-Up Chips: Keep leftover paint for touch-ups in case of scratches or chips.
Conclusion
Modernising your wooden furniture with DIY painting techniques is a cost-effective, creative way to refresh your home décor. From choosing the right tools and paints to exploring unique finishes like distressed effects or ombre gradients, there’s no limit to how you can personalise your furniture. With careful preparation and a touch of imagination, you can turn old wooden pieces into stunning focal points that reflect your style and creativity.So, gather your tools, unleash your inner artist, and give your furniture the makeover it deserves. Your modernised wooden masterpiece awaits!
