The Ultimate DIY Guide to Geometric Wall Art for Your Home
Geometric wall art has taken the interior design world by storm, offering a stylish and customizable way to transform blank walls into statement pieces. Whether you prefer sharp, angular patterns or flowing, symmetrical curves, geometric designs are versatile enough to fit any décor style. Best of all, creating your geometric wall art is not only affordable but also a rewarding DIY project that allows you to add a personal touch to your home.
This guide will take you through every step of the process, from understanding why geometric wall art is a great choice, gathering the necessary materials, and creating your design to achieving a professional finish that wows everyone who sees it. Let’s dive in!
This guide will take you through every step of the process, from understanding why geometric wall art is a great choice, gathering the necessary materials, and creating your design to achieving a professional finish that wows everyone who sees it. Let’s dive in!
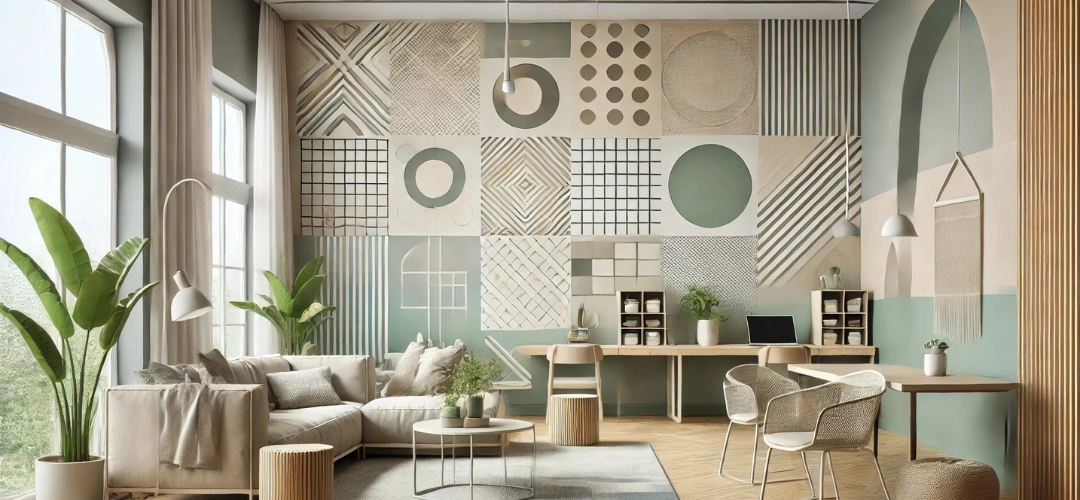
Why Choose Geometric Wall Art for Your Home?
Timeless Aesthetic AppealGeometric patterns have a classic, structured look that never goes out of style. Their symmetry and clean lines bring order and elegance to a space, making them perfect for modern, minimalistic, or even eclectic interiors.
Versatility in Design
The possibilities are endless when it comes to geometric wall art. You can create simple patterns like triangles or squares for a subtle effect or opt for more complex designs like hexagons or fractals to make a bold statement.
Customizable for Every Space
Geometric art can be tailored to suit different areas of your home. A large-scale design can act as a focal point in the living room, while smaller, intricate patterns work beautifully in bedrooms, hallways, or home offices.
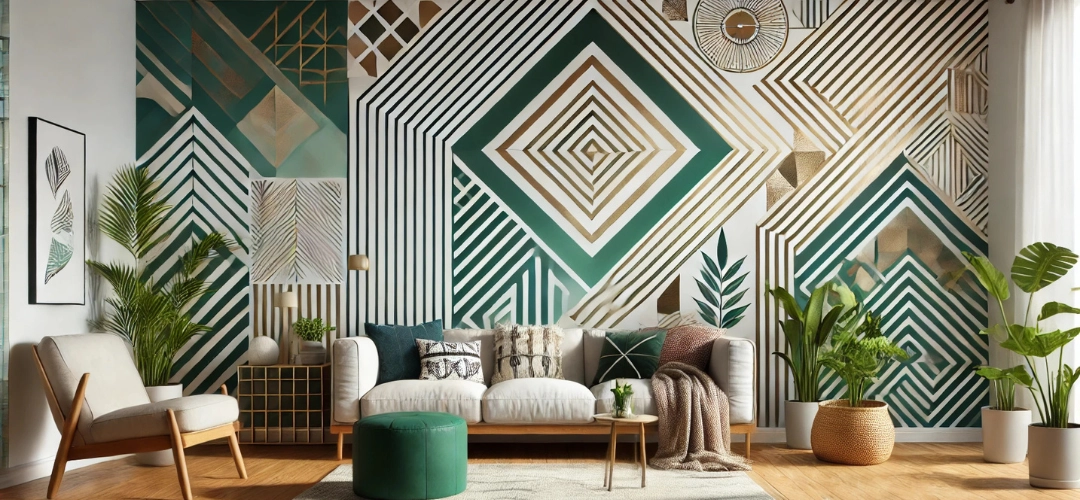
A Budget-Friendly Solution
Unlike expensive wallpaper or art installations, DIY geometric wall art requires minimal materials, most of which are readily available. This makes it an economical way to refresh your home.
Adds Depth and Character
By using contrasting colors or textured finishes, geometric wall art can create depth and dimension, making a small room feel larger or adding personality to an otherwise plain space.
Essential Tools and Materials You’ll Need
To create flawless geometric wall art, having the right tools is essential. Here’s what you’ll need:Core Materials
- Painter’s Tape: Ensures crisp, clean lines and allows you to section off shapes easily.
- Paints: Choose high-quality wall paint or acrylics in your preferred colors. Matte or satin finishes work best for a modern look.
- Paintbrushes and Rollers: A variety of brush sizes helps with precision, while rollers make covering large areas quicker.
- Measuring Tape: Ensures accurate dimensions for geometric shapes.
- Ruler or T-Square: Helps maintain straight edges and precise angles.
- Level: Ensures your design stays aligned and symmetrical.
- Drop Cloths or Plastic Sheets: Protect floors and furniture from accidental spills.
- Pencil and Eraser: For sketching your design directly on the wall.
- Masking Paper or Cardboard: Useful for testing colors and practicing brush strokes.
- Metallic Paints: Add a luxurious touch with gold, silver, or bronze accents.
- Clear Sealant: Protects your finished design and gives it a polished look.
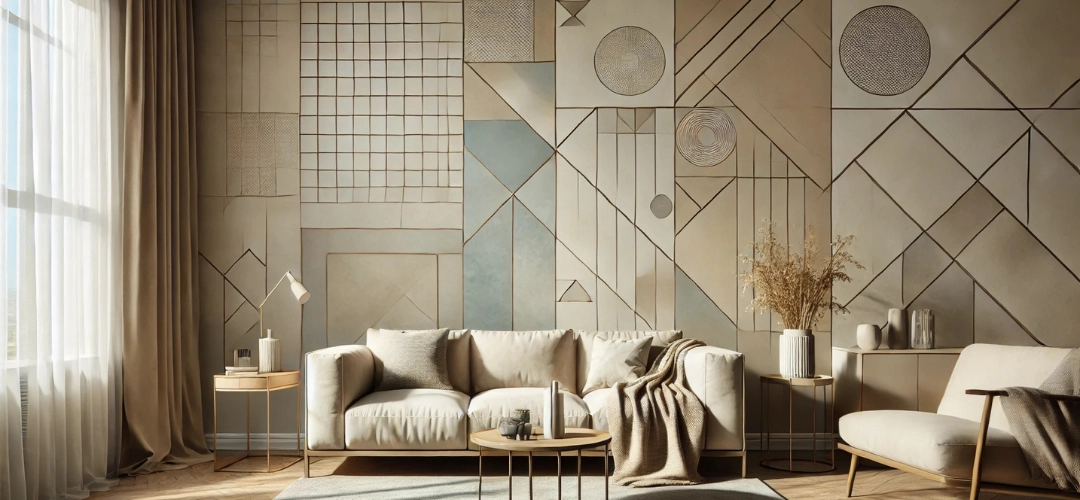
Step-by-Step Guide to Creating Geometric Wall Art
Step 1: Choose Your Design- Select a Pattern: Research geometric designs that resonate with your aesthetic, such as triangles, diamonds, chevrons, or hexagons.
- Plan Placement: Decide where your design will go and consider the dimensions of the wall.
- Clean the wall surface thoroughly to remove dust and grime.
- If the wall isn’t already painted in your desired base color, apply a base coat and allow it to dry completely.
- Lightly pencil in your geometric pattern on the wall. Use a ruler, level, and measuring tape for accuracy. Ensure all lines and shapes are evenly spaced and aligned.
- Tape along the edges of your shapes. Make sure the masking tape adheres well to the wall to prevent paint bleeding.
- Start filling in the shapes with your chosen colors. Use a small brush for edges and a roller for larger areas.
- Apply at least two coats for full opacity, letting each layer dry before applying the next.
- While the paint is still slightly wet, carefully remove the masking tape at a 45-degree angle. This helps prevent peeling or chipping.
- Use a fine brush to clean up any smudges or uneven edges for a professional finish.
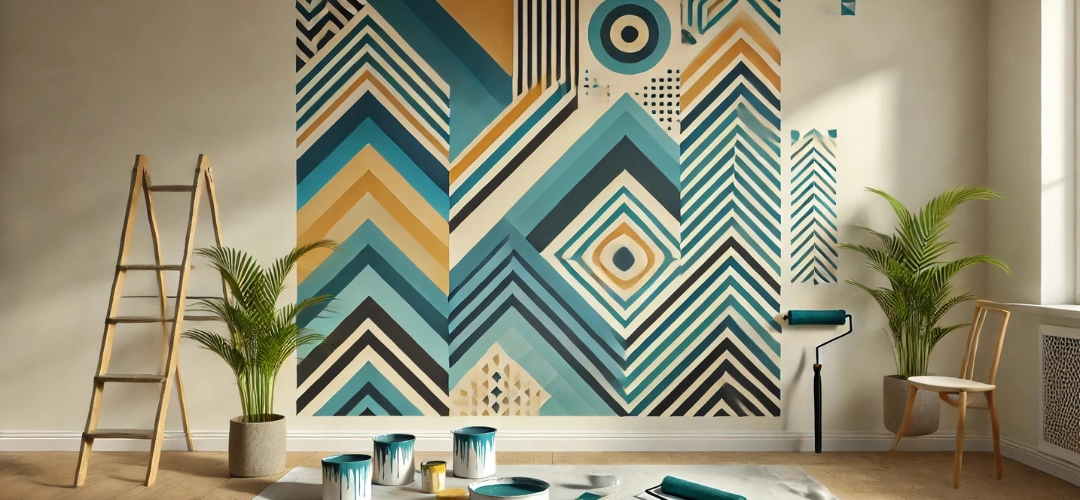
Color Choices: Matching Art with Wall Palettes
The right color palette can elevate your geometric wall art, ensuring it complements the rest of your décor.Neutral Tones for Subtle Sophistication
Shades like beige, taupe, and soft gray create an understated elegance that works well in living rooms or bedrooms with a modern or Scandinavian aesthetic.
Vibrant Hues for Bold Statements
Bright colors like mustard yellow, teal, and coral infuse energy and fun into your design. These colors are great for accent walls in playrooms or dining spaces.
Monochromatic Magic
Using varying shades of one color—such as light, medium, and dark blue—creates a cohesive, sophisticated look that’s perfect for offices or hallways.
Metallic Highlights
Gold, silver, or copper accents add a luxurious feel, especially in spaces like master bedrooms or formal dining rooms.
Pastels for Serenity
Soft pinks, mint greens, and baby blues create a calming effect, making them ideal for nurseries or reading nooks.
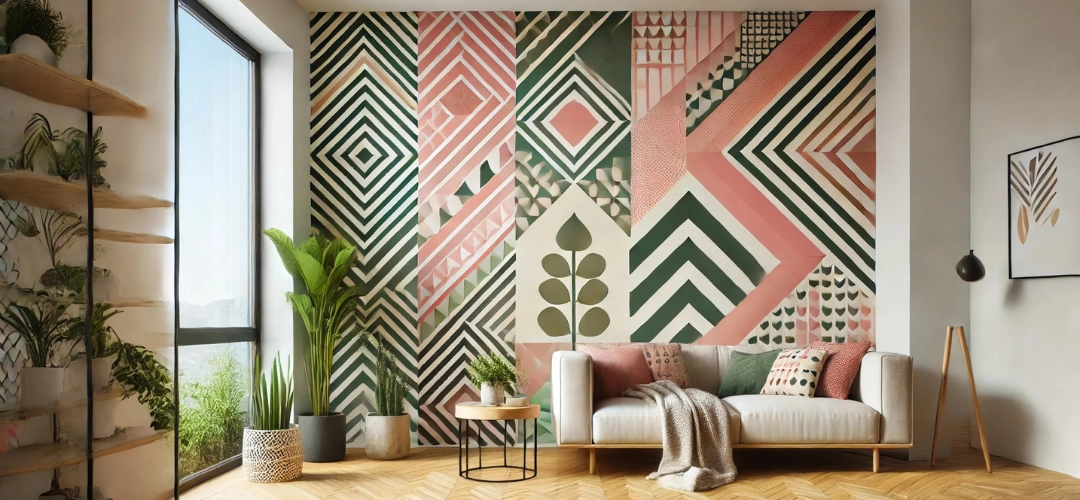
Tips to Achieve a Professional-Looking Finish
- Take Your Time: Precision is key for clean lines and even shapes. Work patiently to avoid mistakes.
- Test Colors First: Always test your color combinations on a small area or masking paper to see how they interact.
- Use High-Quality Masking Tape: Avoid budget masking tape, as it may bleed or leave residue.
- Maintain a Steady Hand: Use a level for straight lines and take breaks if you’re painting intricate details.
- Layer Strategically: Start with lighter colors and layer darker ones on top for better coverage.
- Seal Your Work: Consider adding a clear sealant to protect your design from fading or wear.
Conclusion
Geometric wall art is more than just a DIY project—it’s a way to express your creativity and transform your home into a space that truly reflects your personality. With a little planning, the right tools, and careful execution, you can create a stunning feature wall that rivals professional artwork.Whether you opt for bold, vibrant patterns or subtle, neutral tones, the possibilities with geometric wall art are endless. So, grab your tools, unleash your inner artist, and start turning your walls into masterpieces!
