Brush vs Roller? Find the Perfect Painting Tool for Your DIY Project
When embarking on a DIY painting project, choosing the right tool is crucial to achieving the best results. Two of the most common tools for painting are the paintbrush and the roller, each with its own advantages and limitations. To help you make an informed decision, this guide will break down the pros and cons of each, factors to consider when selecting a tool, and how to use them effectively.

Pros and Cons of Using a Brush
Using a paintbrush offers a number of benefits, particularly when precision is required. A brush provides superior control, making it ideal for painting edges, corners, and detailed areas like trim or moulding. Additionally, brushes allow for a smooth finish when used properly, and they can be utilised on various surfaces, including wood, metal, and intricate textures. However, brushes do have their drawbacks. Painting large areas with a brush can be time-consuming, and without careful technique, visible brush strokes may appear. Achieving an even, smooth finish with a brush requires skill and patience, making it less efficient for larger projects.Pros and Cons of Using a Roller
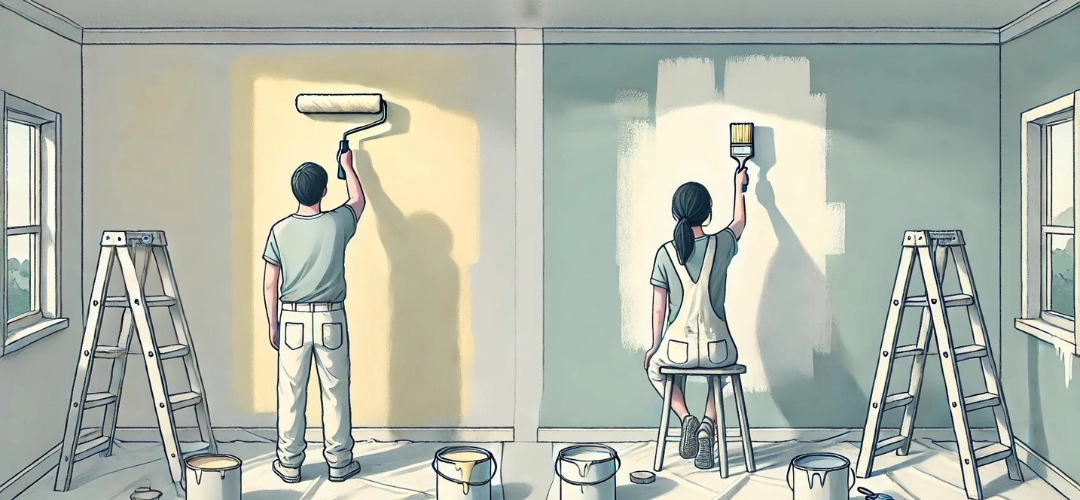
On the other hand, rollers are the go-to tool for large, flat surfaces. They can cover a lot of ground quickly and provide consistent, even coverage, reducing the likelihood of streaks or missed spots. This makes rollers perfect for painting walls and ceilings. However, rollers are not as precise as brushes, which limits their use in corners or detailed areas. They are best suited for broad strokes, and while they can speed up large projects, they can also cause splattering if not used correctly or if the roller is overloaded with paint. Additionally, rollers are less effective on rough or textured surfaces compared to brushes.Factors to Consider When Choosing a Painting Tool
Several factors will influence whether a brush or roller is the right tool for your DIY painting project. First, consider the size of the surface you’re painting. Rollers are ideal for large areas like walls, while brushes are better suited for smaller, more intricate surfaces. Surface texture is another key factor; brushes are better for textured or uneven surfaces, while rollers work best on smooth surfaces. The type of paint also matters; thicker paints are often easier to apply with a roller, while thinner paints might require the precision of a brush. Lastly, think about your skill level and the time you have available. Brushes require more finesse but offer greater control, while rollers are quicker and easier to use for beginners.Different Types of Brushes and Rollers
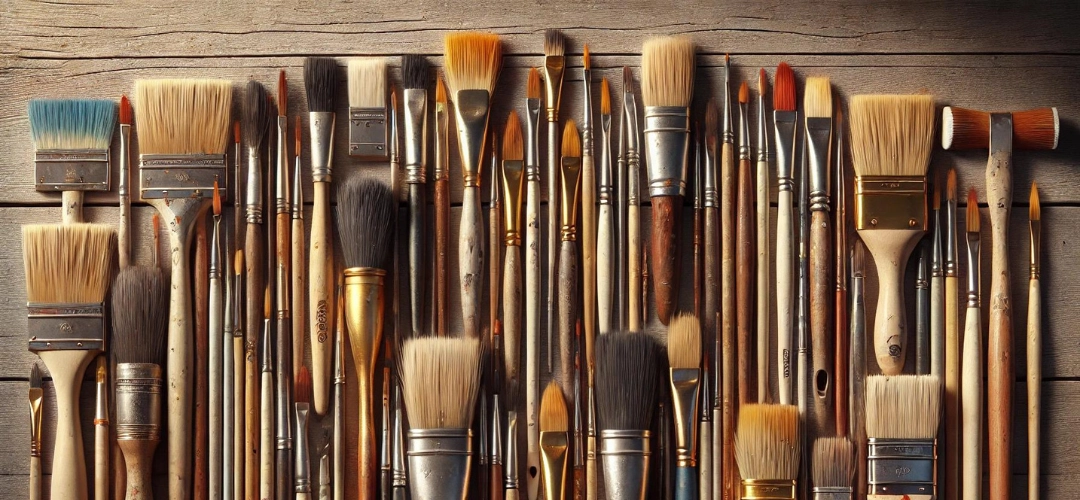
Both brushes and rollers come in a variety of styles designed for specific tasks. Brushes, for example, range from flat to angled to sash brushes. Flat brushes are great for covering wide, smooth surfaces, while angled brushes are designed for painting edges and corners with ease. Sash brushes, with their tapered bristles, are perfect for fine detailing on window frames and intricate areas. Rollers also come in different types, with foam rollers providing a smooth finish on flat surfaces and nap rollers available in various thicknesses for both smooth and textured surfaces. Thicker nap rollers are better for rougher textures, while thinner nap rollers are ideal for smooth walls.
Best Uses for Brushes in Painting Projects
Brushes excel in projects where detail and precision are important. They are perfect for painting trim, baseboards, window frames, and other small areas that require careful attention. Brushes are also effective when working with oil-based paints or when painting surfaces that have texture or intricate designs. If you’re doing decorative painting or need to apply paint to hard-to-reach corners and tight spaces, a brush is the tool of choice.Best Uses for Rollers in Painting Projects
When it comes to large, flat areas, such as walls, ceilings, or floors, rollers are the best tool. Their ability to cover vast areas quickly with consistent coverage makes them invaluable for big projects. Rollers are also excellent for applying multiple coats of paint evenly, ensuring a smooth, professional finish with minimal effort. If you’re painting a large room or exterior wall, a roller will save you both time and energy.How to Properly Use a Brush for Painting
To get the best results from a paintbrush, proper technique is essential. Start by selecting the right brush size and bristle type for your project. Synthetic bristles are best for latex paints, while natural bristles work well with oil-based paints. Dip the brush about a third of the way into the paint, avoiding overloading it, and tap off any excess paint to prevent drips. Apply the paint with long, smooth strokes, then lightly go over the area to eliminate any visible brush marks. Cleaning the brush immediately after use will help maintain its shape and extend its life for future projects.
